Install Boost on Ubuntu
Learn to install the boost C++ library easily or opt for the manual method to install a specific version on Ubuntu.

When your C++ program demands the boost library and your system doesn't have one, it will show the following error:
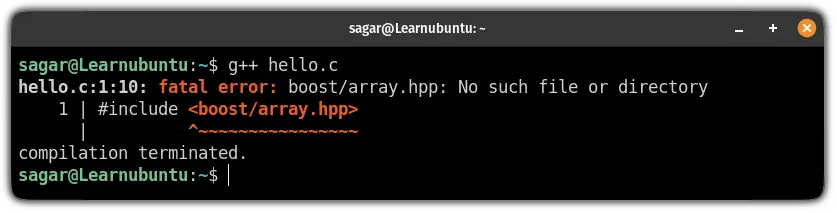
No worries! It's quite easy to overcome this error by installing boost.
In this tutorial, I will walk you through two ways to install the boost library on Ubuntu:
- Using default repository (easy)
- Manual installation to get the desired version (complicated)
So let's start with the first and the easy method.
Install boost library on Ubuntu using apt (easy and recommended)
This is the easiest way to install the boost library on Ubuntu.
Unless you need a specific version, you should stick to this method.
To install the boost library, all you have to do is execute the given command:
sudo apt get install libboost-all-devTo confirm the installation, you can check the installed version of the boost library:
dpkg -S /usr/include/boost/version.hp
And there you have it!
Install the boost library on Ubuntu manually
If your workflow demands a specific version of the boost library or you want to have the latest version of the boost, you can refer to this method.
To find the desired version of the boost library, visit the Boost version history webpage.
Once you find the preferred version, click on the Download button:
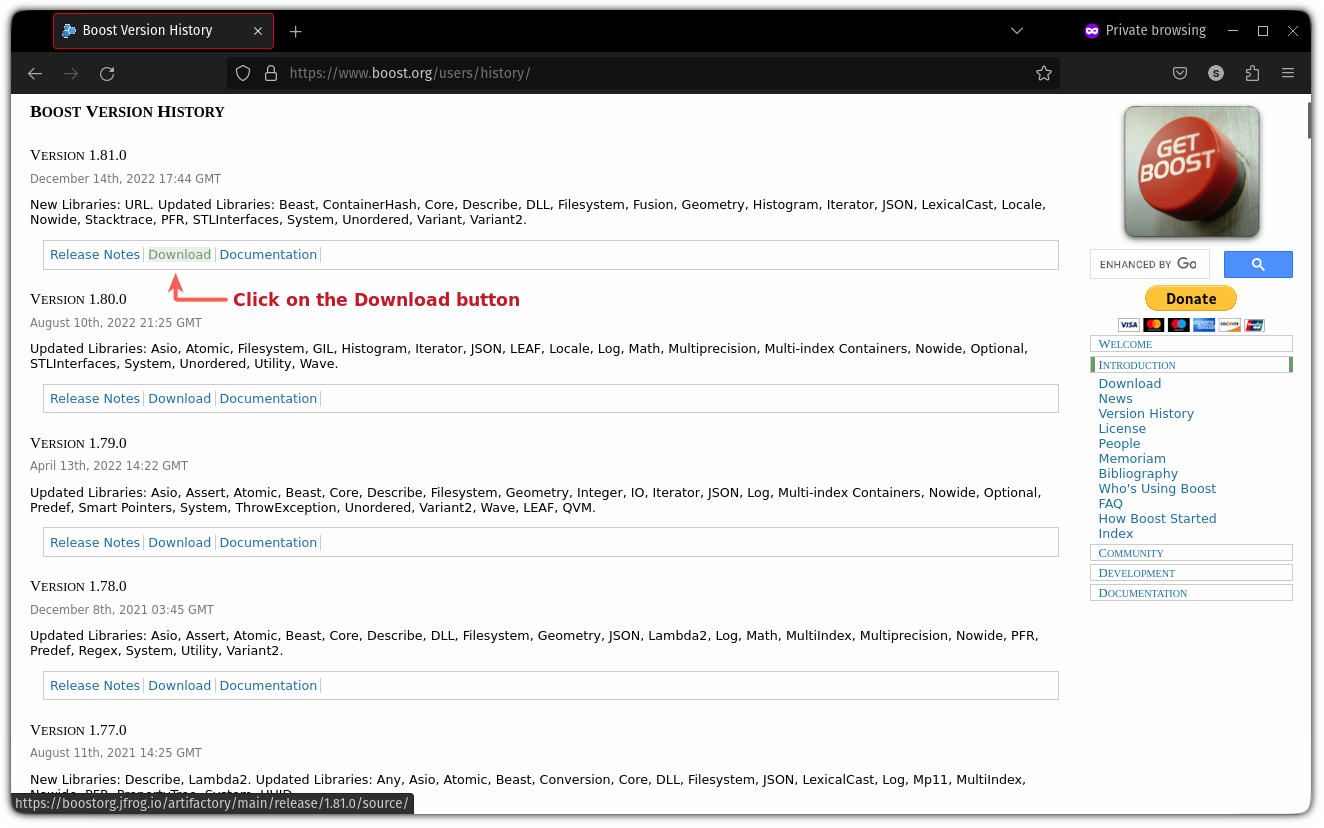
And it will open the download page with multiple options.
Look for the .tar.gz option, right-click on that option, and select the copy link option:
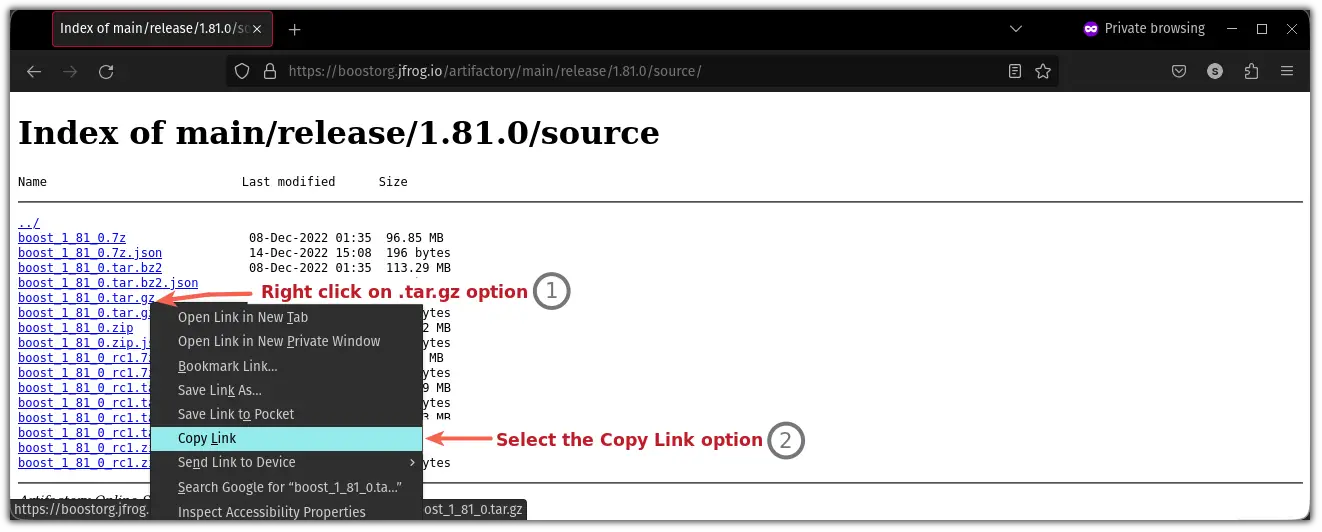
Now, use the wget command to download the file from the link you have just copied:
wget https://boostorg.jfrog.io/artifactory/main/release/1.81.0/source/boost_1_81_0.tar.gz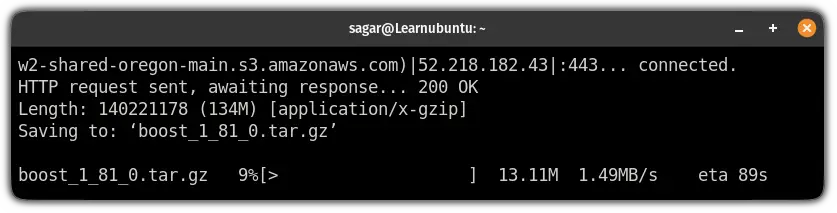
Once you are done with the download, extract the compressed file using the tar command:
tar xvf boost*.tar.gzNext, install the required packages to build the boost library:
sudo apt install build-essential g++ python3-dev autotools-dev libicu-dev libbz2-dev Now, change your directory where the files were extracted using the cd command:
cd boost_1_81_0/And run the bootstrap.sh with --prefix=/usr/:
sudo ./bootstrap.sh --prefix=/usr/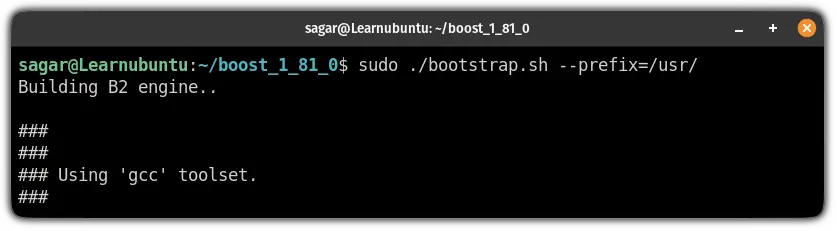
Next, execute the ./b2 to perform build checks and to build the boost library:
./b2And if it shows no errors, you can install the boost library using the following command:
sudo ./b2 installYou can find the installed libraries where you gave the path to the --prefix. (usr in our case):
ls /usr/lib/libboost_*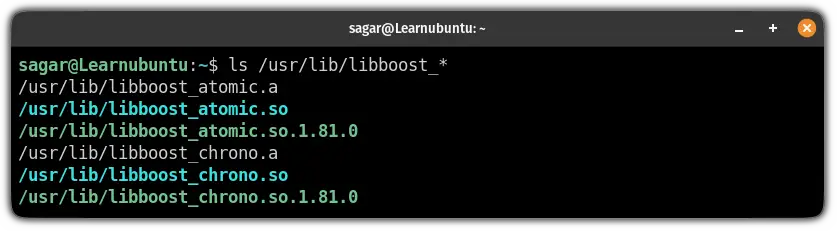
Testing the boost library with the C++ program
Here, I have created a simple code-named Nerd.c.
First, create a file named Nerd.c and open it using the following:
nano Nerd.cNow, enter the following into the file:
#include <boost/array.hpp>
#include <iostream>

using namespace std;
int main()
{
    boost::array<int, 10> arr
        = { { 1, 2, 3, 4, 5, 6, 7, 8, 9, 10 } };
    for (int i = 0; i < 10; i++) {
        cout << "being Ubuntu user, your nerd Rank is :" << arr[i] << "*"
             << "\n";
    }
    return 0;
}
Save changes and exit from the nano text editor.
Now, compile the file and it will show no errors:
g++ Nerd.cAnd finally, run the code:
./a.out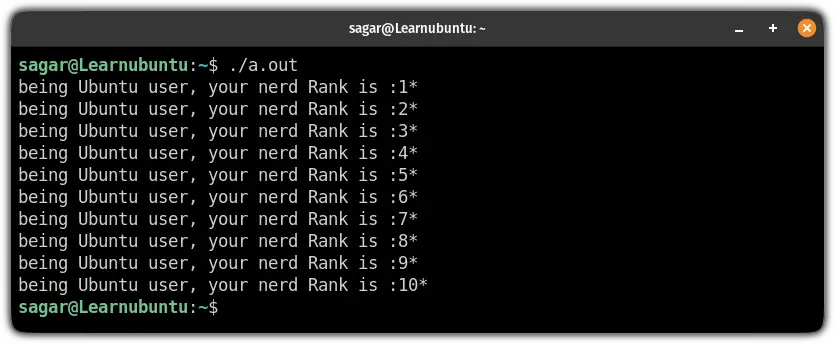
Quite simple. Isn't it?
Wrapping Up
I hope you will find this guide helpful!
Let me know if you face any errors while executing the shown steps.
And if you have any suggestions related to what should I cover next, let me know in the comments.

A software engineer who loves to tinker with hardware till it gets crashed. While reviving my crashed system, you can find me reading literature, manga, or watering my plants.