Install Certbot on Ubuntu
Certbot is an excellent tool for SSL certificate management. Learn how to install and use it on Ubuntu.

Let's Encrypt is an excellent tool for deploying SSL certificates for free.
There is a minor annoyance with it, though. The certificates expire after 90 days. You have to manually renew them every 90 days and this is rather inconvenient if you have to handle multiple websites.
Certbot helps you with that by automatically renewing the SSL certificates.
Installing Certbot on Ubuntu is pretty easy as I will be using Snaps.
Before you honor me in the comments section, there are two reasons why I'm avoiding the apt version for this tutorial.
- You get one iteration old package (version 1.21) whereas Snaps gets the latest version 2.6.0.
- The apt version does not include the NGINX plugins and needs to be installed manually which is a big no if you're using an NGINX server.
But if you still insist on using the apt version only, then, it can be installed using the following:
sudo apt install certbotHow to install Certbot in Ubuntu
If you're using something else that does not come with snaps configured out of the box, then, you can refer to our detailed guide on how to setup snaps on Linux.
Once you're done with the installation, you can install the Certbot snap version using the following command:
sudo snap install --classic certbotTo make Certbot work, you have to create a symbolic link from /snap/bin/certbot to /usr/bin/certbot using the following command:
sudo ln -s /snap/bin/certbot /usr/bin/certbotFinally, you can check the installed version of Certbot:
certbot --version 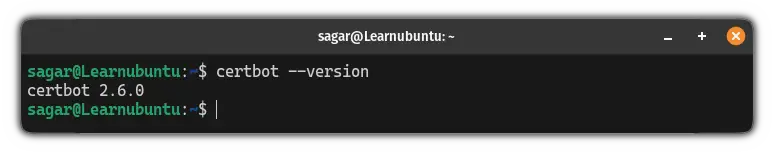
That's it!
How to install certificates using Certbot on NGINX web server
If you don't have an SSL certificate or it is expired, then, your website will be labeled as Connection is not secure:

Which may cause trust issues and Google Adsense won't work either.
As the number of certificates is limited, I would recommend you start with the test certificate and if things go right, you can proceed to adding the actual one.
The test certificate is used to check whether all the configurations on the web server are perfect or not.
To install the test certificate, use the following command:
sudo certbot --nginx --test-certIt will ask you to enter the following:
- The email address from where you'll be notified of urgent renewal and security notices.
- Open the link from the terminal to download a PDF file of terms and accept them by pressing
Y. - Would you like to receive mail from Certbot (optional), if yes, then, press
Y. - Select one or more domains to request certificates for. Press Enter to get for all.
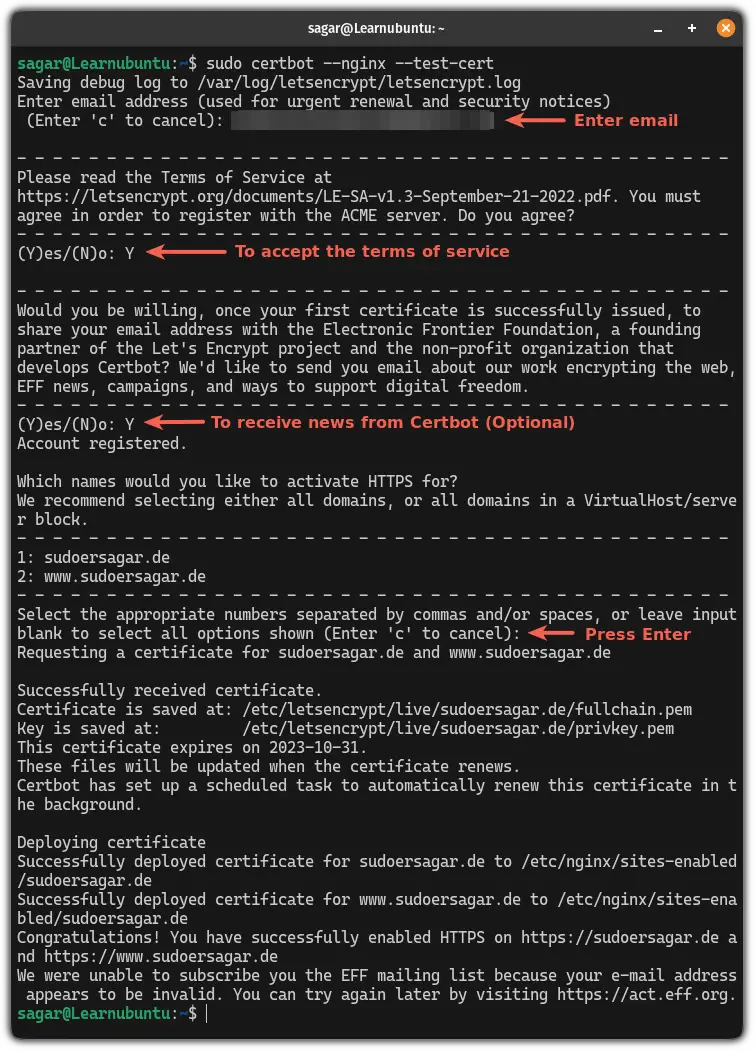
As you can see, Certbot installed certificates successfully.
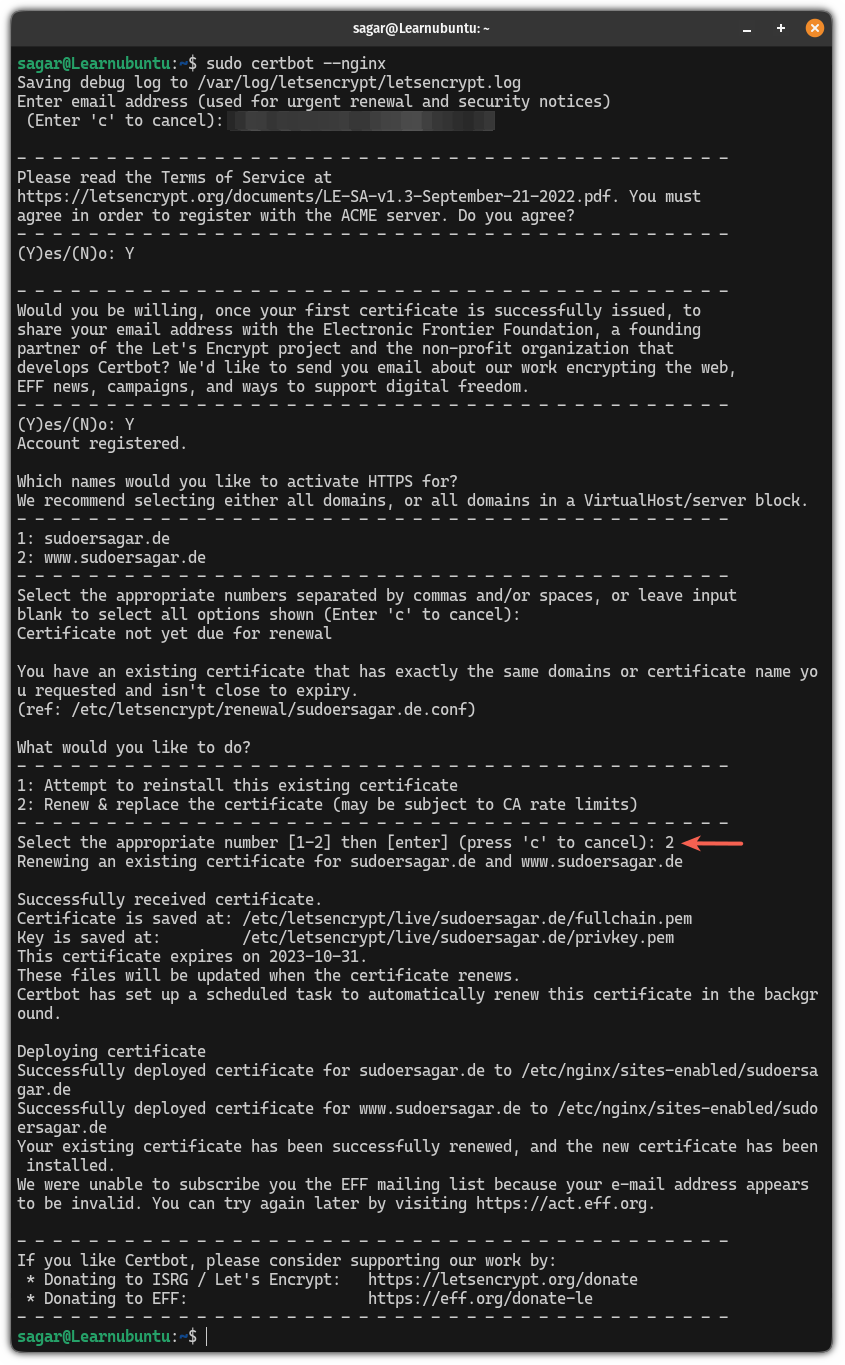
And if that was the same case for you too, then, you can use the following command to install the actual Certbot certificate:
sudo certbot --nginxWhile installing the actual certificate, there's only one thing that is different.
It will ask you whether you want to reinstall the current certificate or you want to replace and renew the certificate.
For the most users, going with the 2nd option would make more sense:
Once you have successfully installed the Certbot certificate, you'll no longer see the "Connection is not secure":
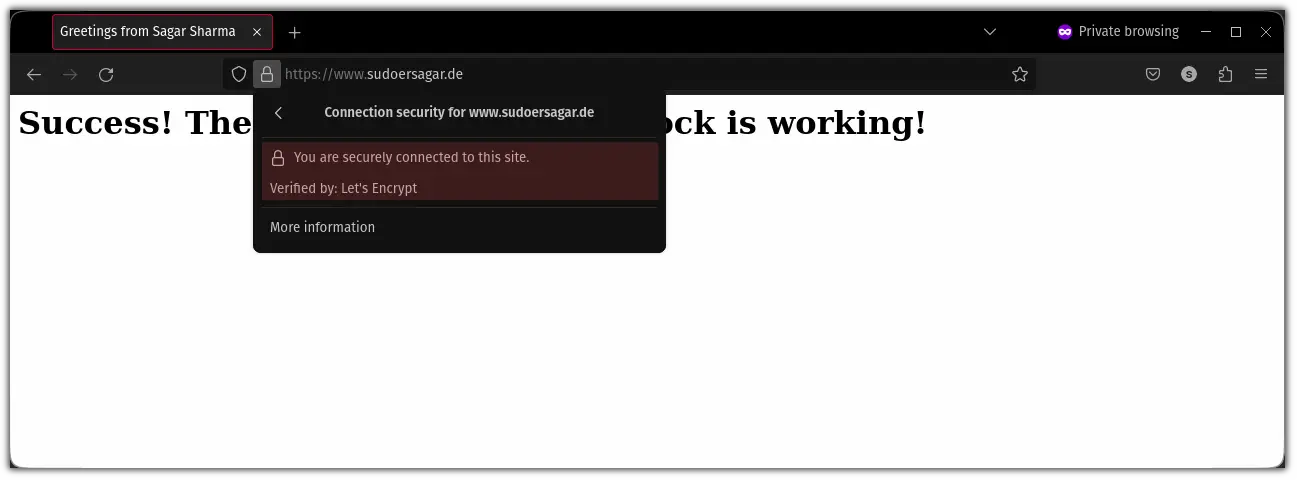
That's it!
Here's how to set up NGINX with Certbot
If you're a beginner and have no idea how you can set up an NGINX server and secure it with Certbot, then, we made a dedicated tutorial that won't skip any step:

I hope this guide has made installing Cerbot easy for you!

A software engineer who loves to tinker with hardware till it gets crashed. While reviving my crashed system, you can find me reading literature, manga, or watering my plants.