Installing CMake on Ubuntu
Installing cmake on Ubuntu is easy. But the situation could become tricky if you need the latest version of cmake.

CMake is an open source set of tools that makes it easier for you to test, compile and deploy software. CMake is compiler-independent, attracting developers of different computer programming languages.
You can easily install CMake on Ubuntu using the apt command:
sudo apt install cmake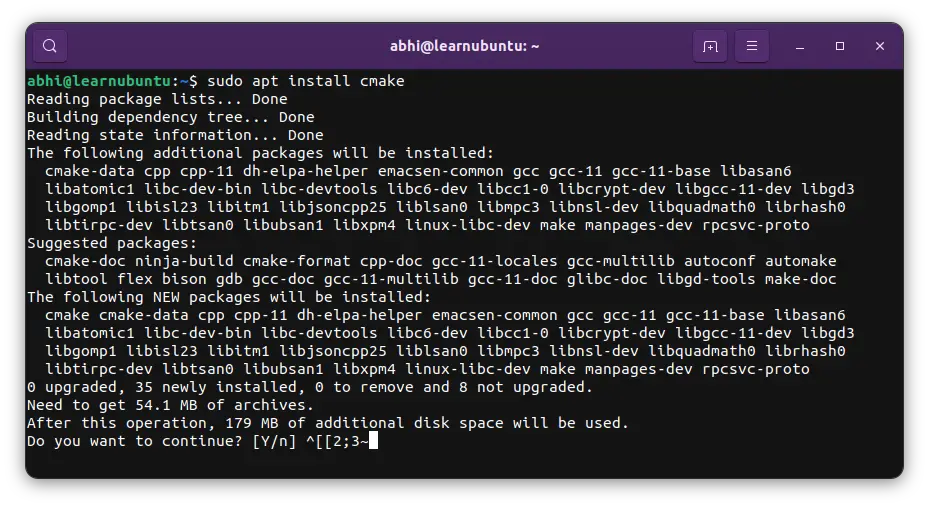
If you use the cmake version provided in the Ubuntu repositories, you will NOT miss out on security updates. This is the recommended way to go about installing cmake on Ubuntu.
However, what you get from the Ubuntu repositories may not be the latest version of CMake. Check the installed CMake version:
cmake --versionIs that a problem? Not really. Unless you must use the latest version of cmake for some reasons.
How do you get the latest version of cmake?
- Use Snap (easier)
- Build from the source code (complicated)
I'll discuss both methods one by one.
Method 1: Install the latest cmake on Ubuntu using Snap
Thanks to the Snap packaging, you can get the latest cmake version straight from the developers.
I would advise removing existing cmake version you installed in APT package format to avoid conflicts:
sudo apt remove cmake
sudo apt autoremove
All you have to do is to use the following command:
sudo snap install cmake --versionWait for a few seconds or minutes for the process to complete and then enjoy it.
Method 2: Install latest cmake from the source code (not recommended)
Now, this is a complicated process and it is certainly not everyone's cup of tea. Go to this route only if
Step 1: Install dependencies
To build cmake, some dependencies are required. They are build-essential and libssl-dev and thankfully, they are already available in the Ubuntu repositories.
sudo apt install build-essential libssl-devThis meta package will also install many other tools like gcc etc.
Now that the dependencies are installed proceed to the next step.
Step 2: Get CMake source code
Visit the git repo of CMake and get either the latest version or the version you desire. From the Github releases page of CMake, download the file that says "Source code (tar.gz)."
For this guide, I will use the latest version (GA) of CMake. That means I will avoid using any release version that ends with the -rcX string, where X is a number.
At the time of writing this, the latest version of CMake is version 3.22.5, so I will be using that as a reference.
Once you download the source archive from Github, extract it using the following command:
tar xf CMake-VERSION.tar.gzWhen the extraction is complete, change the directory to the one created by archive extraction.
Step 3: Build CMake
Now that the source code is available locally, it is time to build CMake. A bootstrapping script is provided, which helps build CMake locally.
Run the bootstrap script:
./bootstrapWhen the script starts executing, you will see output similar to what is shown in the image below.
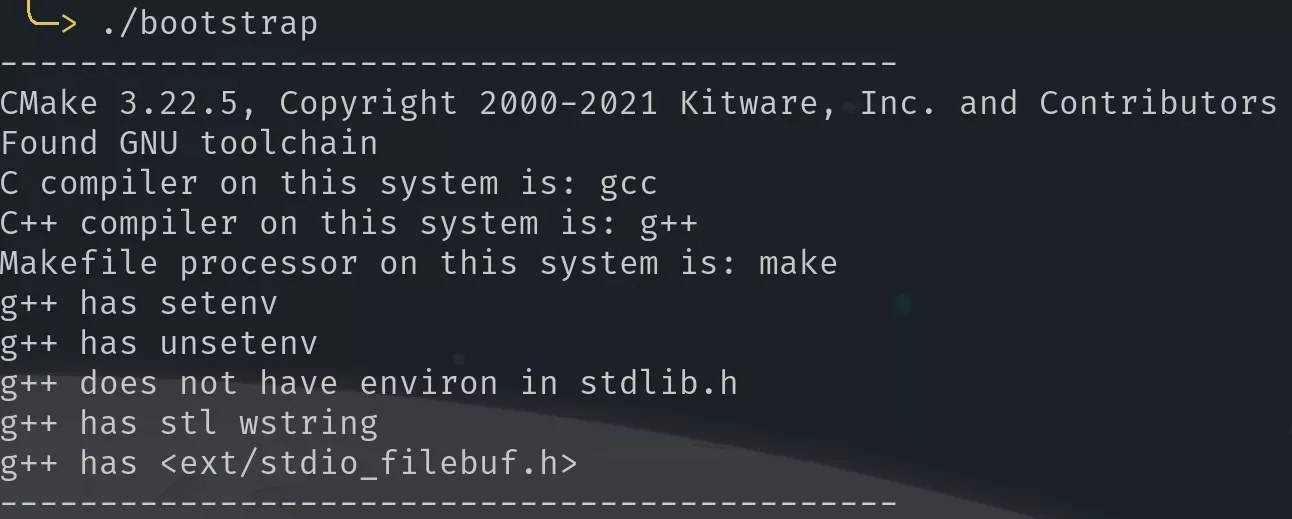
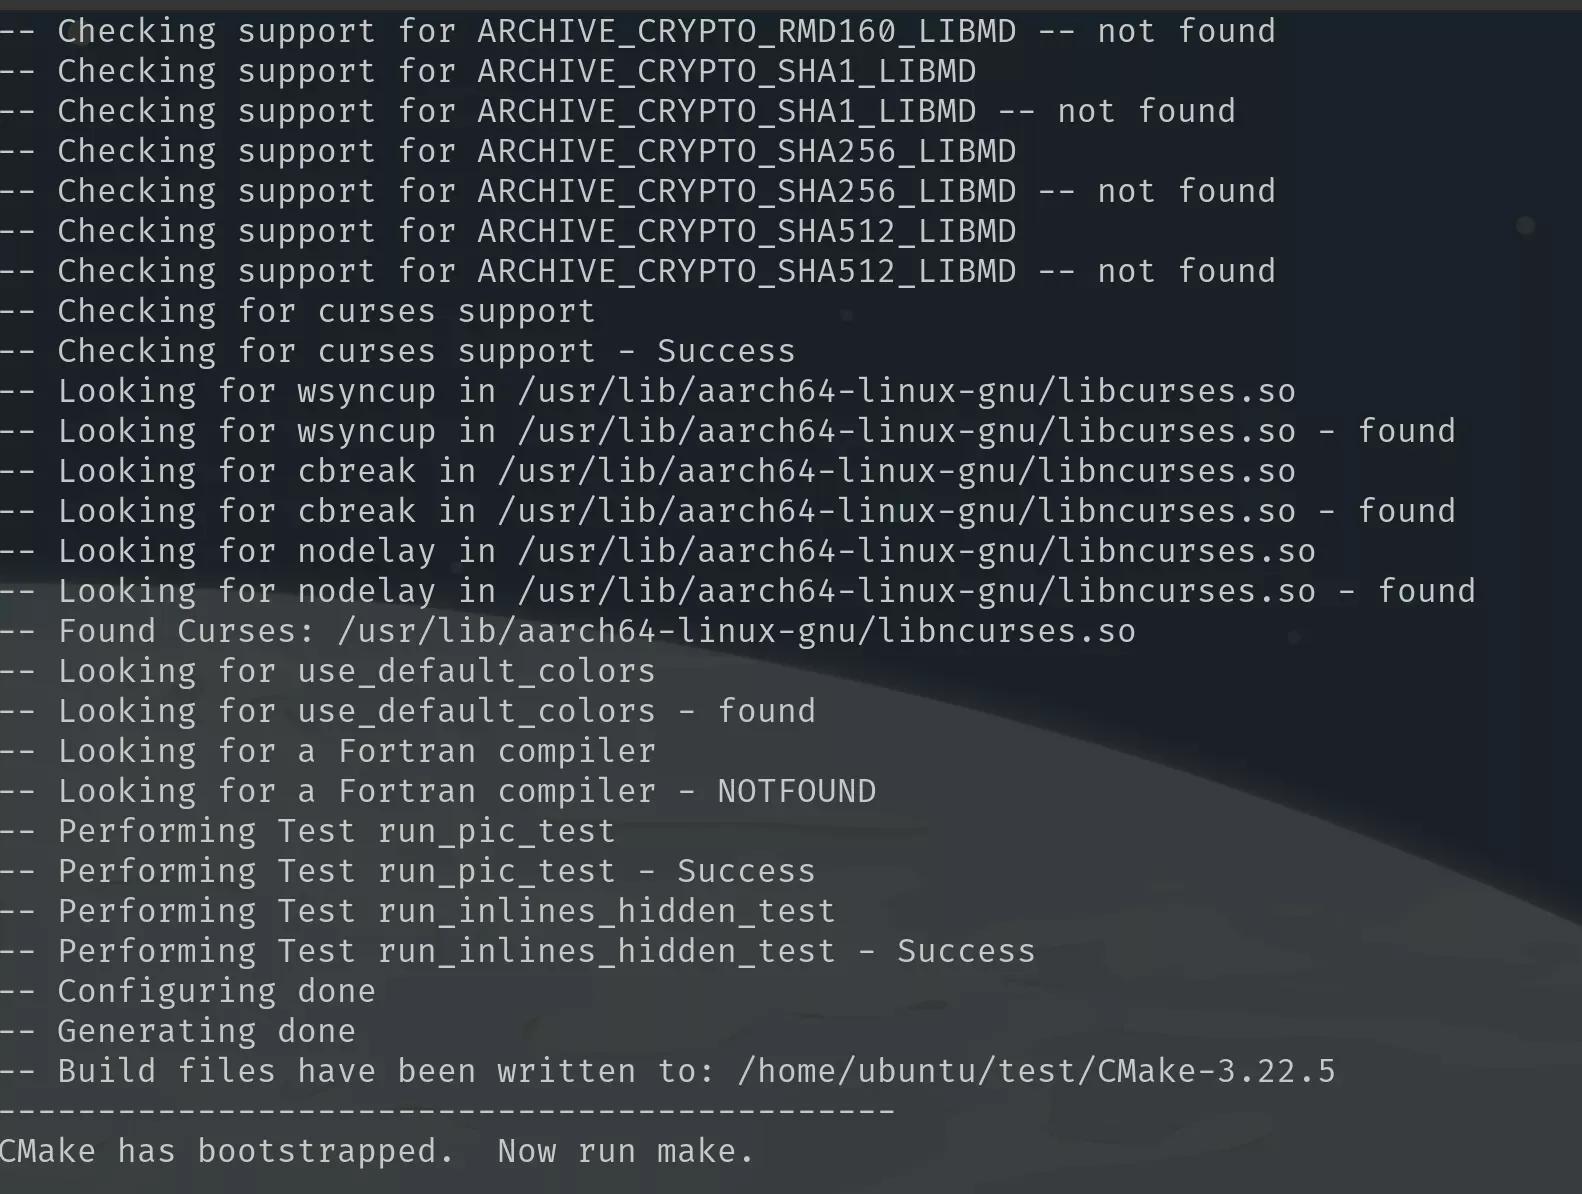
This may take some time, depending on your CPU horsepower. So sit back and feel like a hacker as random scrolling text appears on your screen.
Once the bootstrapping process completes, you will see a line that says, "CMake has bootstrapped. Now run make.".
Now, we do exactly what the bootstrap output tells us to do. Run the make command:
make
Once the make command starts, the code will start compiling. This process will also take quite a while, depending on how powerful your CPU is. Give it some time.
Your output should look similar to the image attached below.
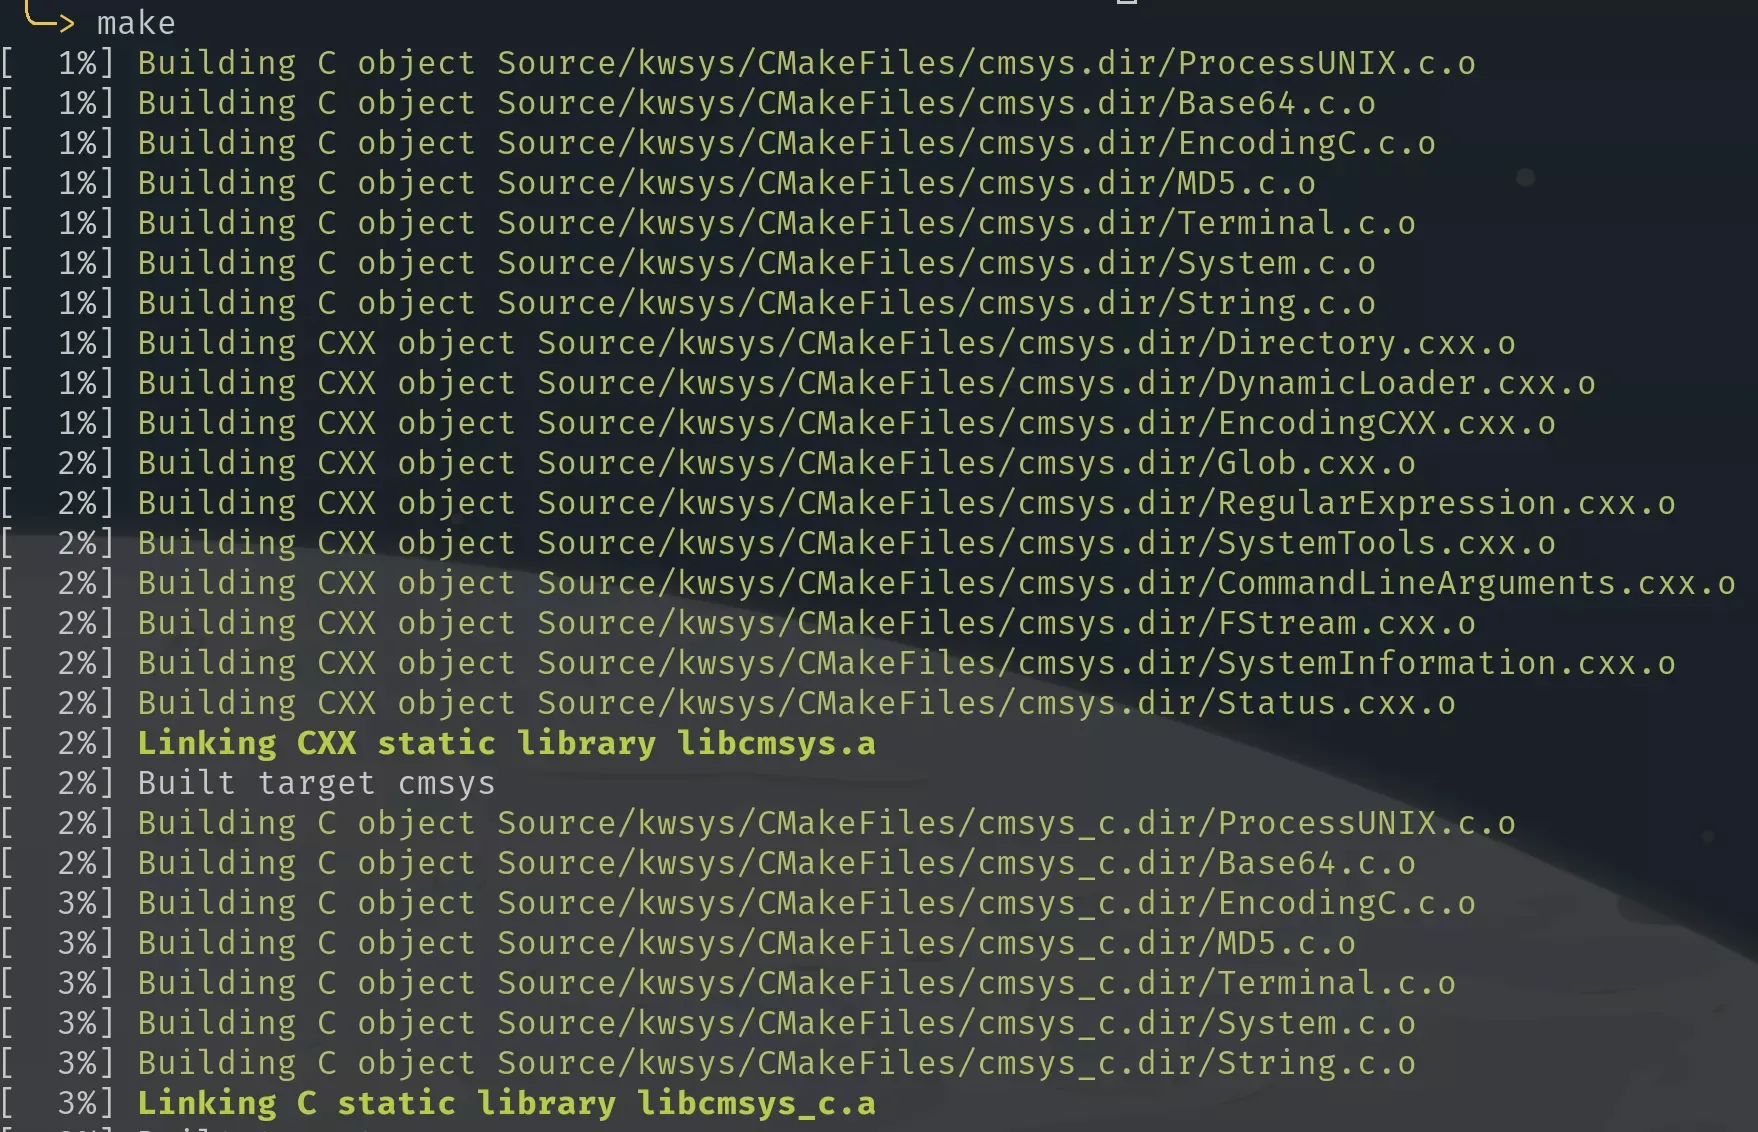
This time, you will be able to see progress with a percentage. When the make command finishes execution with the progress reaching 100%, CMake has been compiled.
Step 4: Install CMake
Now that CMake has been built, it is time that CMake is installed.
You can easily install CMake using the make command. Below is the command that should be executed:
sudo make installBy running this command, necessary files related to CMake will be placed into their correct directories.
Step 5: Verify installation
To check if CMake was installed, run the cmake command and use the --version (or -version) option.
When you run the command cmake --version, it will output the version of CMake.
Below is the output from my build of CMake.
$ cmake --version
cmake version 3.22.5

CMake suite maintained and supported by Kitware (kitware.com/cmake).
As you can see, I have CMake successfully installed.
Conclusion
In my opinion, using the apt version of cmake is what you should go for. If you desire the latest version, use the snap version. Only if you are in dire need of a specific cmake version, opt for the source code method.
