Install Deb Files in Ubuntu Command Line
Learn all about installing, removing and updating applications from deb files in the Ubuntu command line.
— Abhishek

Installing deb files in Ubuntu is not difficult. You just have to double-click on it and it gets opened in the Software Center.
That works in most cases if you are running it on a desktop. It may not work if you are running an Ubuntu server and there is no GUI.
If you download the deb file and want to install it using command line, you can do that easily as well.
You can use the apt command to install deb packages in the terminal like this:
sudo apt install path_to_deb_fileIf you are in the same directory as the deb file, you must add ./ before the deb file name.
sudo apt install ./deb_fileThe apt command is not the only way here. There are other ways you can use to install deb files in the command line.
Let's see it in a bit more detail. I presume that you have already downloaded the deb files here.
Using apt command to install deb files in the terminal (recommended)
This is the method I recommend. Why? Because it installs the deb files with the dependencies. You'll need an active internet connection to download and install the dependencies of course.
To install deb files with the apt command, you need to either provide the path of deb file:
sudo apt install path_to_deb_fileOr, change the directory and be in the same location as the deb file but add ./before the deb file name:
sudo apt install ./deb_fileMake sure that the deb file doesn't have space in its name or else it may create issues.
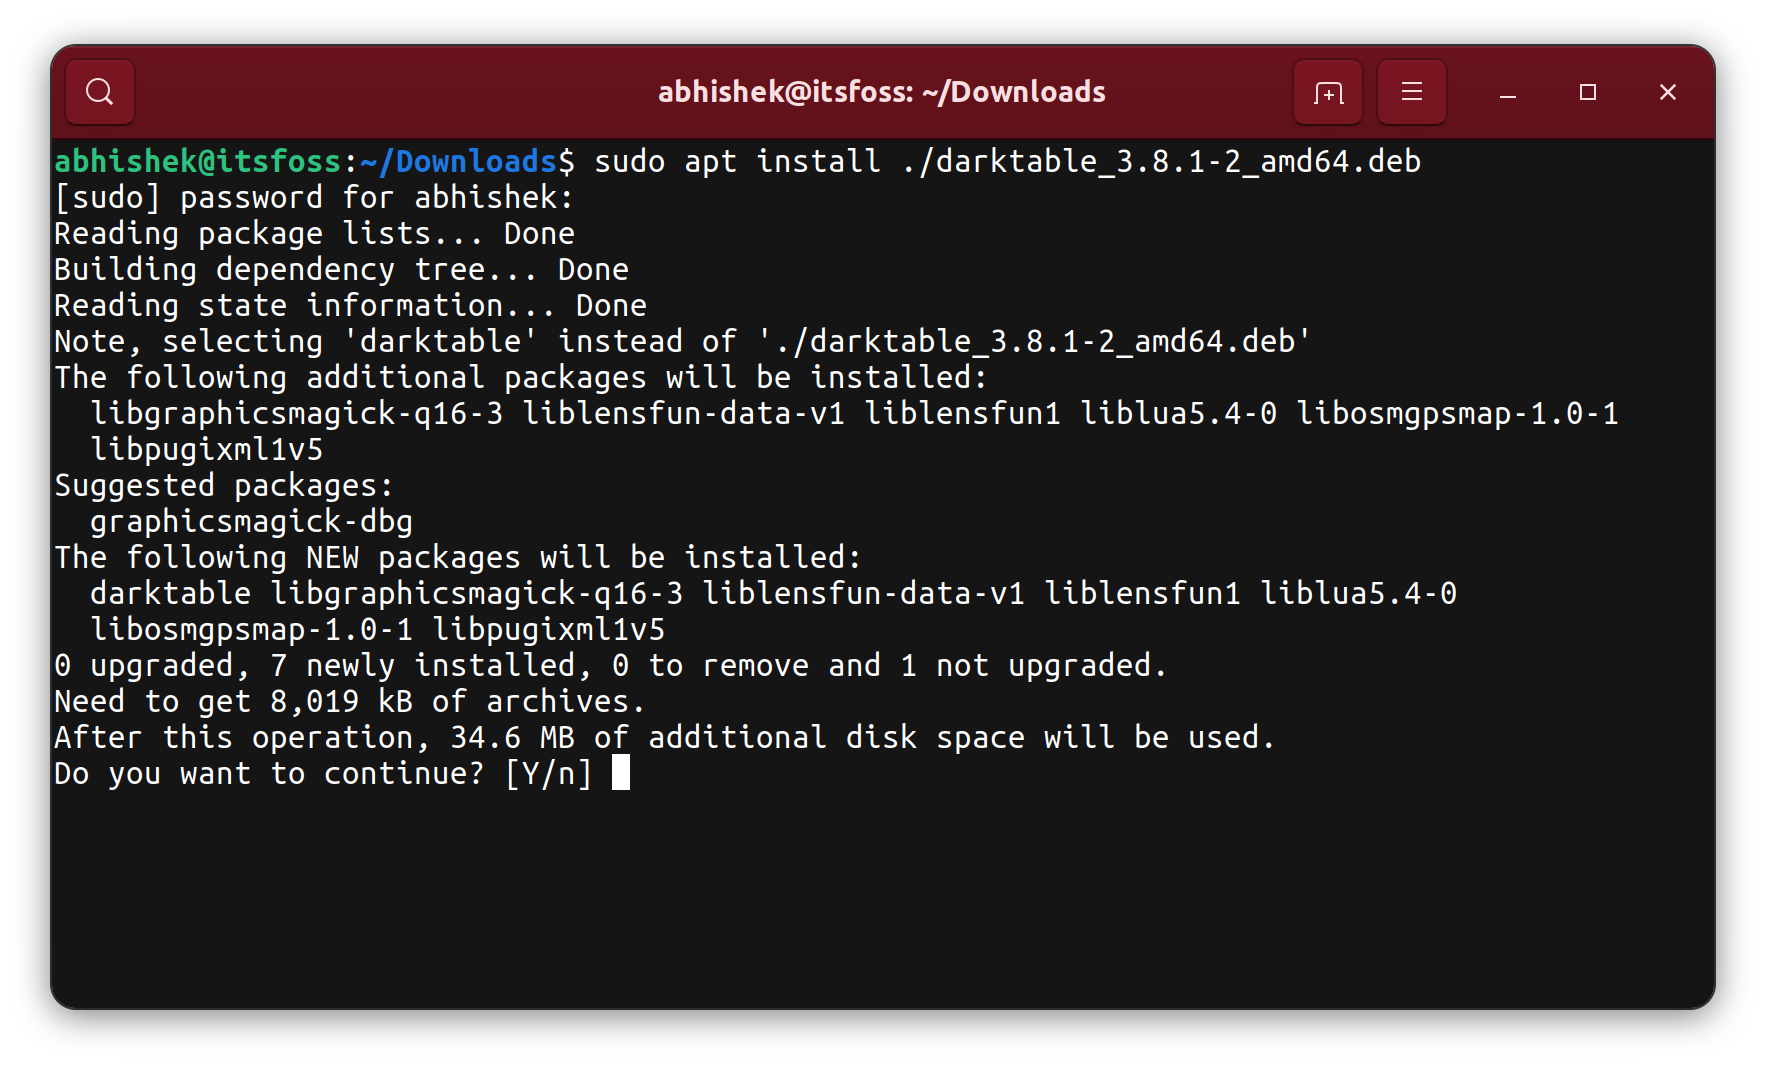
Let me share a practical example where I install the Darktable application using the deb file I downloaded from its website:

Did you notice that it installs additional packages? That's the beauty of it and that's why I recommend using the apt command as it installs the dependencies along with the given deb file.
Using apt-get command to install local deb files
The apt and apt-get commands are similar in many aspects. The apt command is the newer of the two and it is only a subset of the older apt-get commands.
If you prefer the apt-get command, you can use it to install the deb files in the same way as the apt command.
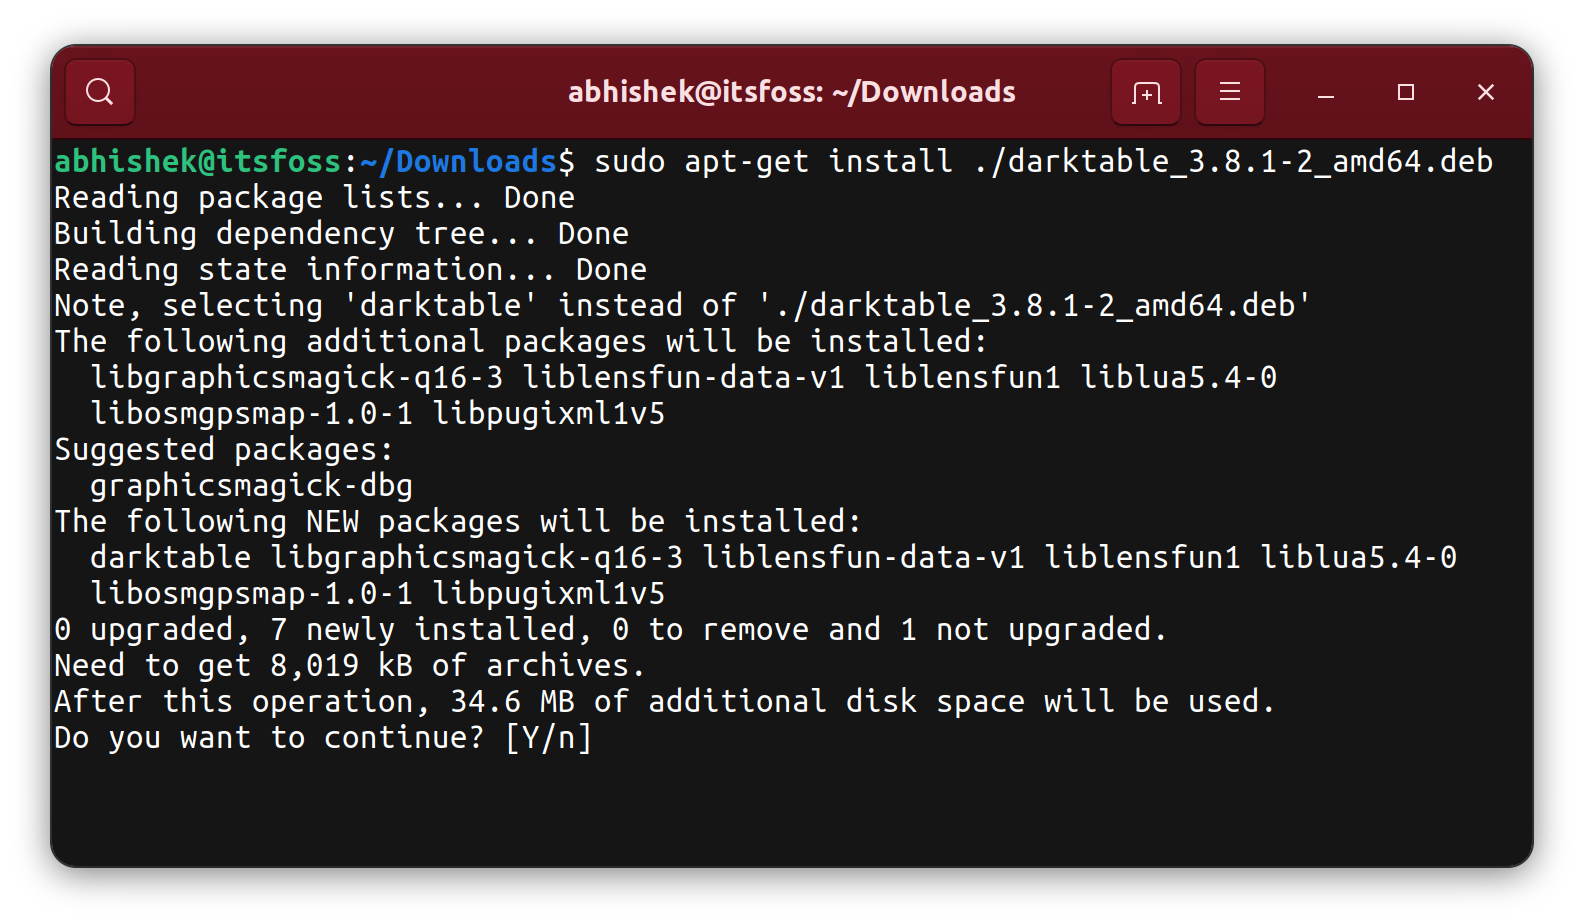
sudo apt-get install ./deb_fileThe apt-get command also installs the dependencies along with the deb file. Take a look at the screenshot below. Does it not look the same as the one you saw in the apt command section above?

Using dpkg command to install local deb files (not recommended)
The dpkg is the original package manager from Debian. It's a low-level utility that is more suitable for scripting and tools. In fact, the apt and apt-get commands use dpkg underneath for installing the packages.
If you really want, you can use the dpkg command to install deb files:
sudo dpkg -i deb_fileThe -i option is for install. You don't need to provide the ./ here.
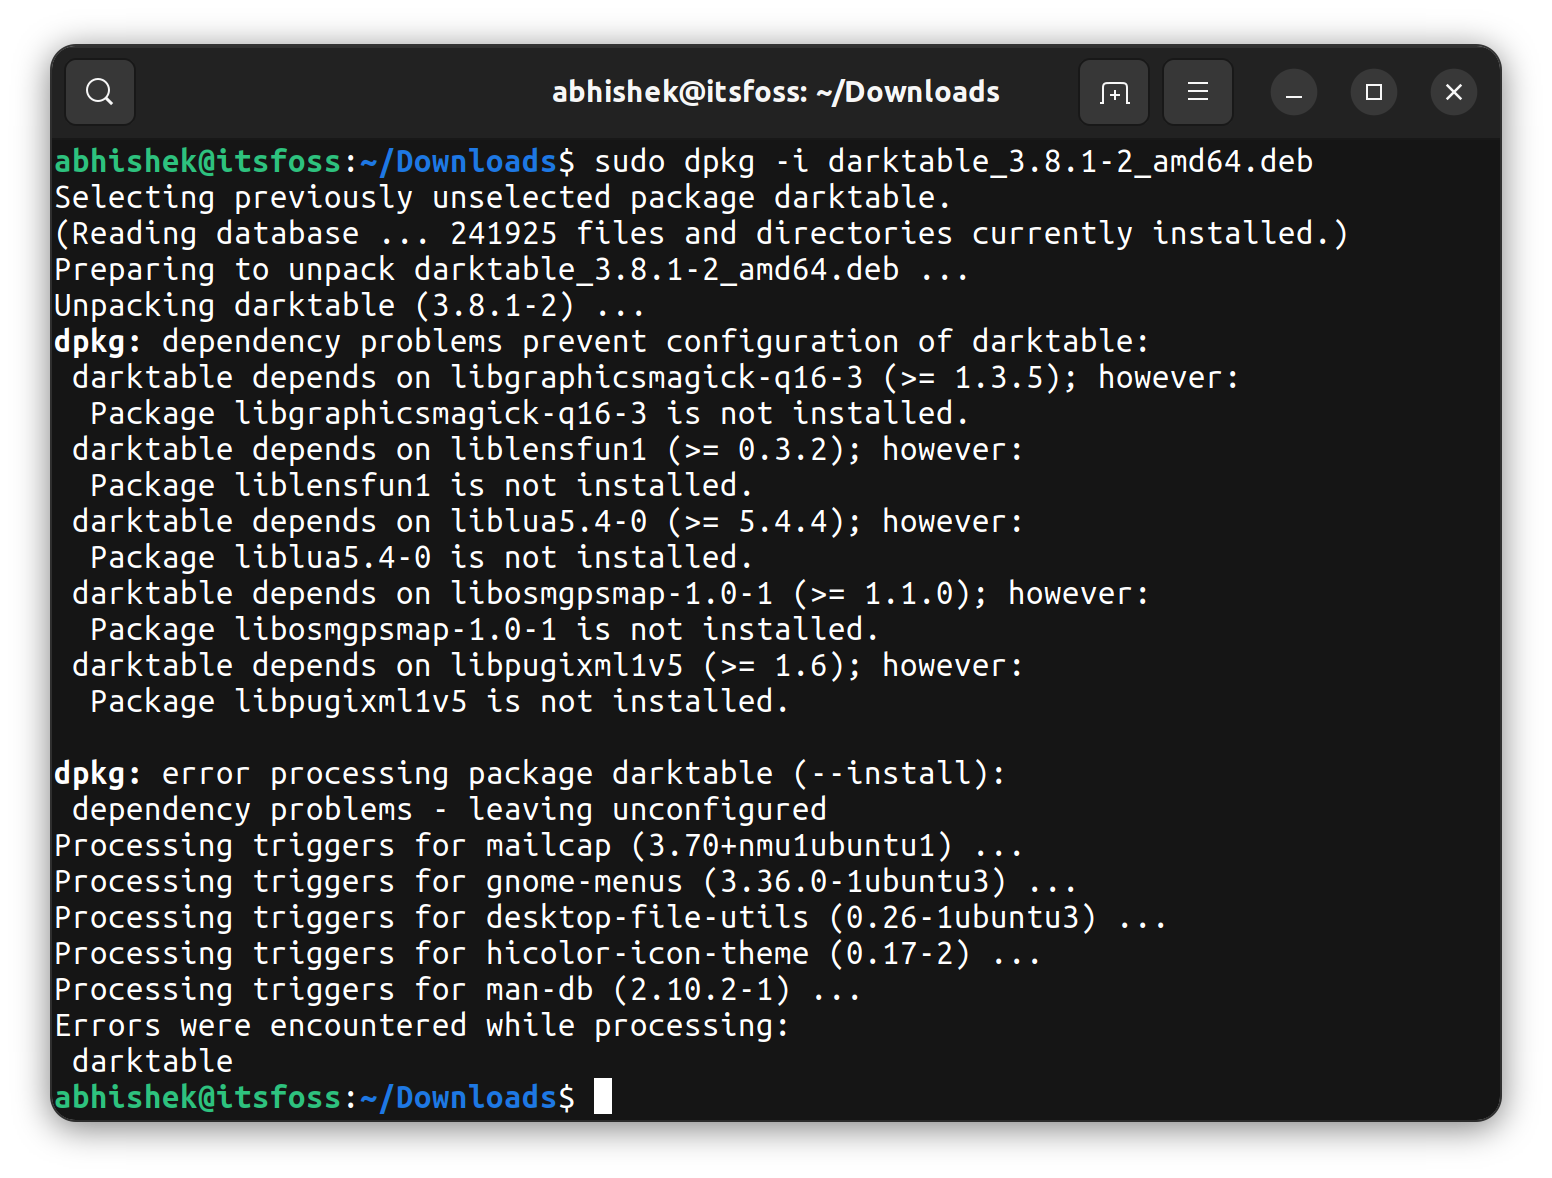
However, the major problem with this approach is that it doesn't install the required dependencies even though it installs the package.

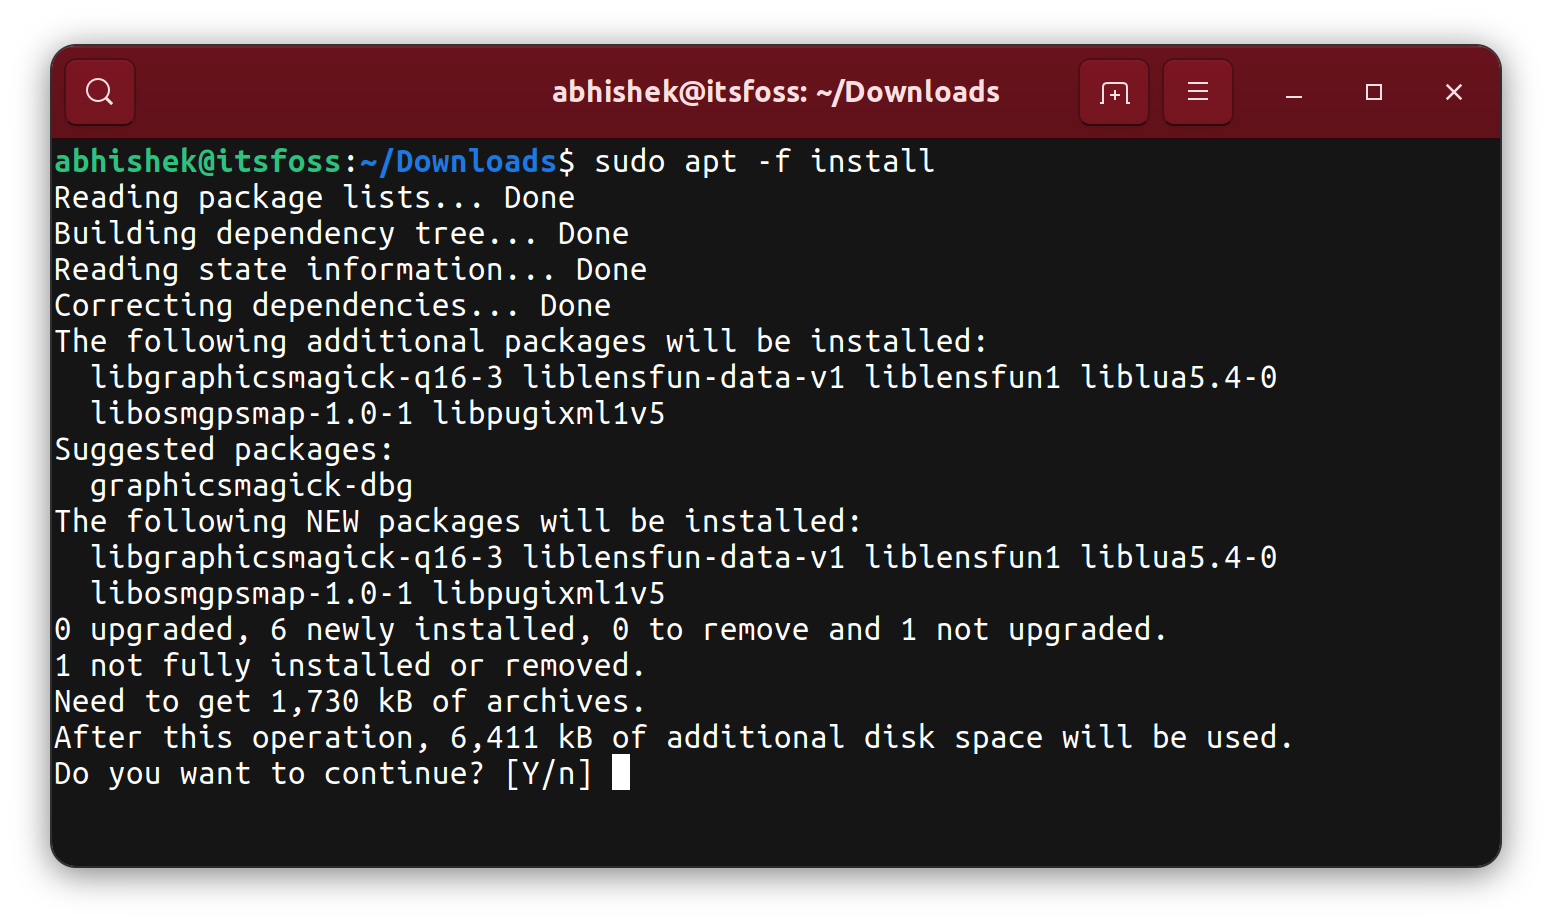
This means the installed application won't run properly. You can install the dependencies that were missed by the dpkg command with:
sudo apt install -f
See, this is why I don't recommend this method. You have to use two commands here. If you have to use the apt command later anyway, why use the dpkg command in the first place?
Installed the deb file. What next?
So, you successfully installed the deb file in Ubuntu. That's good. Before you leave, you should learn about a few related things that may trouble you later.
You don't need the deb file for removing the application later
Some users wonder if they need to keep the deb file even after installing it successfully.
No, you don't need it anymore. Not even for removing the application later. You can delete the deb file without hesitation.
Removing application installed via deb file
Let's talk about uninstalling the application you installed via the deb file.
You have to use the application's name to remove it with the apt command in the terminal:
sudo apt remove application_nameIf you don't recall the exact application executable name, just type a few letters and hit the tab key. Your Ubuntu system should show the installed applications that match those letters.
For example, to install the Darktable app, I could just use:
sudo apt remove daAnd hit the tab key:

As you can see, there are two packages in my system that starts with da. From here, I can get the package name darktable.
If you don't find a match with the starting letters (it could happen), you can list all the installed packages and grep with some string:
apt list --installed | grep -i search_stringOnce you have the exact package name, just use it with the apt remove command.
Tab completion is a super useful feature of the Ubuntu terminal. You should use it all the time.
Updating packages installed via deb file
There is no straightforward answer to this because it depends on the deb file you used.
- Some deb files add a repository (like Google Chrome) in the sources.list and thus you get the new version with the system updates.
- Some packages will notify you if there is a new version available. You download the new deb file and install it again to update it.
- Some packages won't give you any hints. You have to figure out yourself if there are new versions available from the project's website. If there is any, you download the deb file and install the new version.
Conclusion
Well! Now, you know how to install deb files in Ubuntu. I have tried to answer a few additional questions that could have bothered you.
I hope you find this tutorial useful. If you still have any questions or suggestions, please let me know in the comments.