Install Hadoop on Ubuntu
Hadoop is popular among Java developers. Learn how to install and set up Hadoop on Ubuntu in this tutorial.

Apache Hadoop is a collection of utilities that allows you to manage the processing of large datasets across clusters of computers.
Also, it is tolerant to cluster failures. If one of your clusters crashes, Hadoop can be used to recover data from other nodes.
And in this guide, I will walk you through the installation process.
How to install Hadoop on Ubuntu
To install Hadoop, you will have to go through various steps, which include:
- Installing Java and configuring environment variables
- Creating user and configuring SSH
- Installation and configuration of Hadoop
So let's start with the first step:
Step 1: Installing Java on Ubuntu
To install java on Ubuntu, all you have to do is execute the following command:
sudo apt install default-jdk default-jre -y
To verify the installation, check the java version on your system:
java -version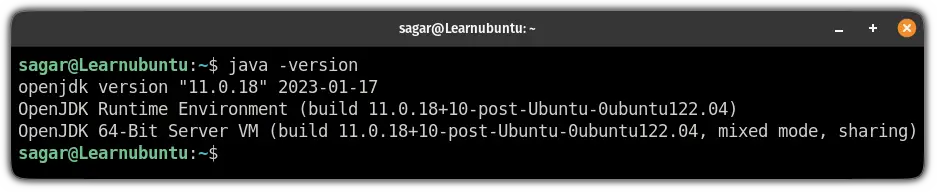
Step 2: Create a user for Hadoop and configure SSH
First, create a new user named hadoop:
sudo adduser hadoopTo enable superuser privileges to the new user, add it to the sudo group:
sudo usermod -aG sudo hadoopOnce done, switch to the user hadoop:
sudo su - hadoopNext, install the OpenSSH server and client:
sudo apt install openssh-server openssh-client -y
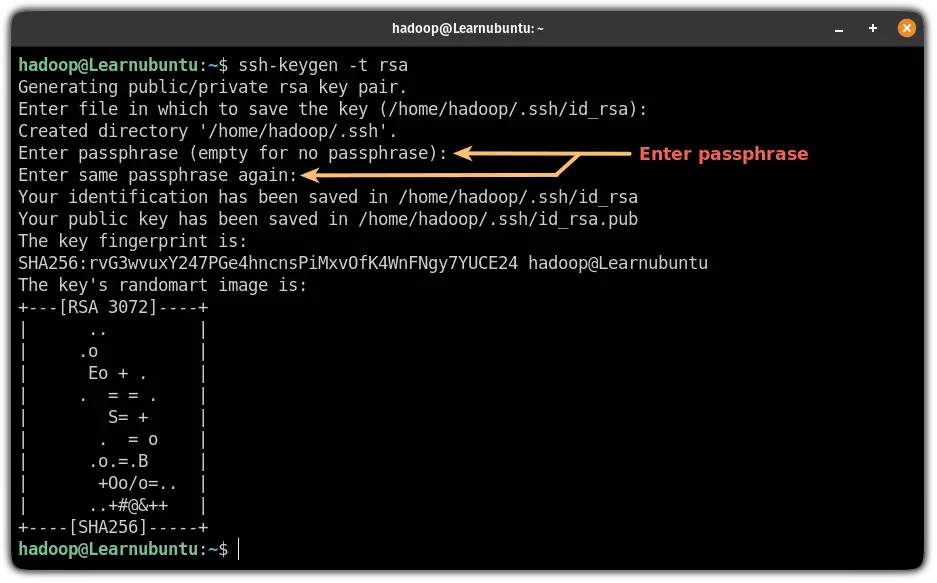
Now, use the following command to generate private and public keys:
ssh-keygen -t rsaHere, it will ask you:
- Where to save the key (hit enter to save it inside your home directory)
- Create passphrase for keys (leave blank for no passphrase)
Now, add the public key to authorized_keys:
cat ~/.ssh/id_rsa.pub >> ~/.ssh/authorized_keysUse the chmod command to change the file permissions of authorized_keys:
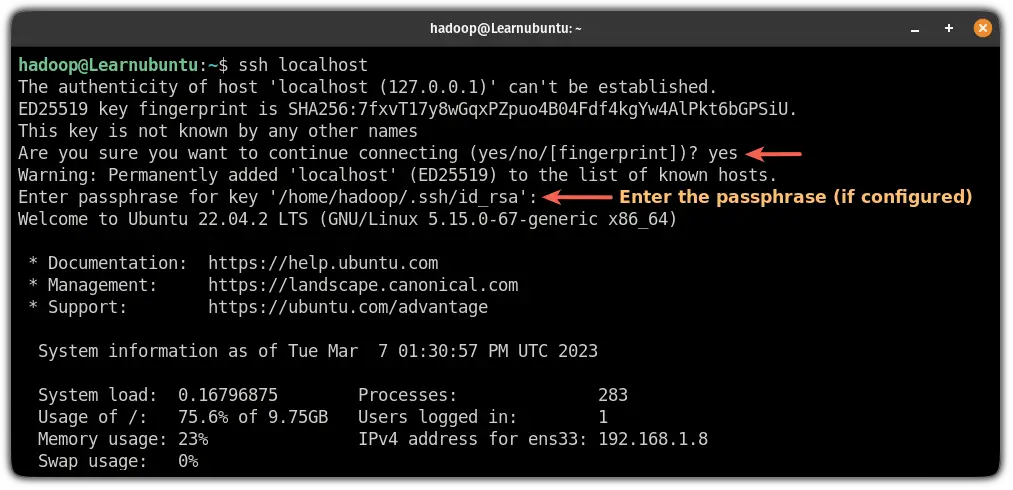
sudo chmod 640 ~/.ssh/authorized_keysFinally, verify the SSH configuration:
ssh localhostIf you have not configured the password, all you have to do is type yes and hit enter if you added a passphrase for the keys, it will ask you to enter here:
Step 3: Download and install Apache Hadoop on Ubuntu
If you have created a user for Hadoop, first, log in as the hadoop user:
sudo su - hadoopNow, visit the download page for Apache Hadoop and copy the link for the most recent stable release.
While writing, its 3.3.4 so I will be using the wget command to download this release:
wget https://downloads.apache.org/hadoop/common/stable/hadoop-3.3.4.tar.gzOnce you are done with the download, extract the file using the following command:
tar -xvzf hadoop-3.3.4.tar.gzNext, move the extracted file to the /usr/local/hadoop using the following command:
sudo mv hadoop-3.3.4 /usr/local/hadoopNow, create a directory using mkdir command to store logs:
sudo mkdir /usr/local/hadoop/logsFinally, change the ownership of the /usr/local/hadoop to the user hadoop:
sudo chown -R hadoop:hadoop /usr/local/hadoopStep 4: Configure Hadoop on Ubuntu
Here, I will walk you through the configuration of the Hadoop environment variable.
First, open the .bashrc file using the following command:
sudo nano ~/.bashrcJump to the end of the line in the nano text editor by pressing Alt + / and paste the following lines:
export HADOOP_HOME=/usr/local/hadoop

export HADOOP_INSTALL=$HADOOP_HOME

export HADOOP_MAPRED_HOME=$HADOOP_HOME

export HADOOP_COMMON_HOME=$HADOOP_HOME

export HADOOP_HDFS_HOME=$HADOOP_HOME

export YARN_HOME=$HADOOP_HOME

export HADOOP_COMMON_LIB_NATIVE_DIR=$HADOOP_HOME/lib/native

export PATH=$PATH:$HADOOP_HOME/sbin:$HADOOP_HOME/bin

export HADOOP_OPTS="-Djava.library.path=$HADOOP_HOME/lib/native"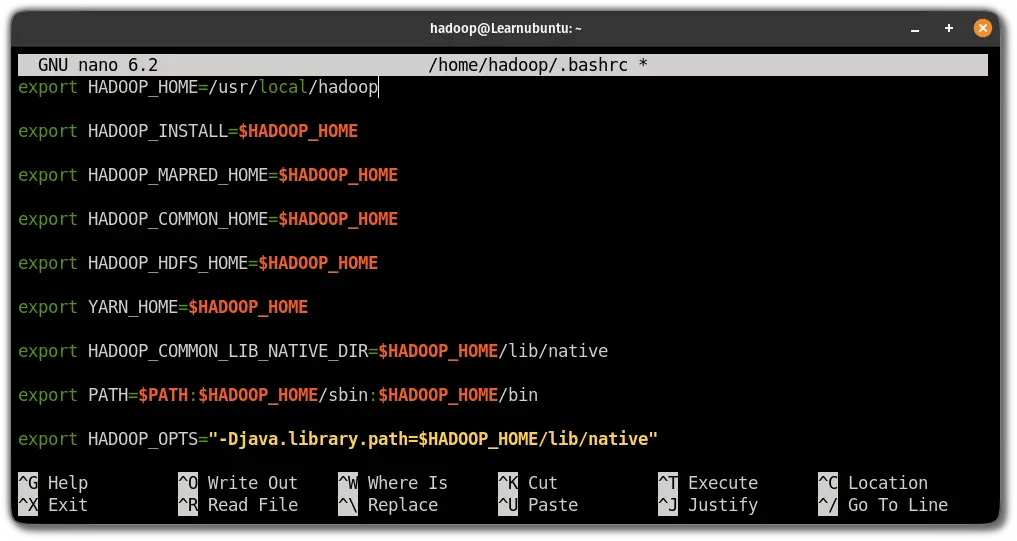
Save changes and exit from the nano text editor.
To enable the changes, source the .bashrc file:
source ~/.bashrcStep 5: Configure java environment variables
To use Hadoop, you are required to enable its core functions which include YARN, HDFS, MapReduce, and Hadoop-related project settings.
To do that, you will have to define java environment variables in hadoop-env.sh file.
Edit the hadoop-env.sh file
First, open the hadoop-env.sh file:
sudo nano $HADOOP_HOME/etc/hadoop/hadoop-env.shPress Alt + / to jump to the end of the file and paste the following lines in the file to add the path of the Java:
export JAVA_HOME=/usr/lib/jvm/java-11-openjdk-amd64

export HADOOP_CLASSPATH+=" $HADOOP_HOME/lib/*.jar"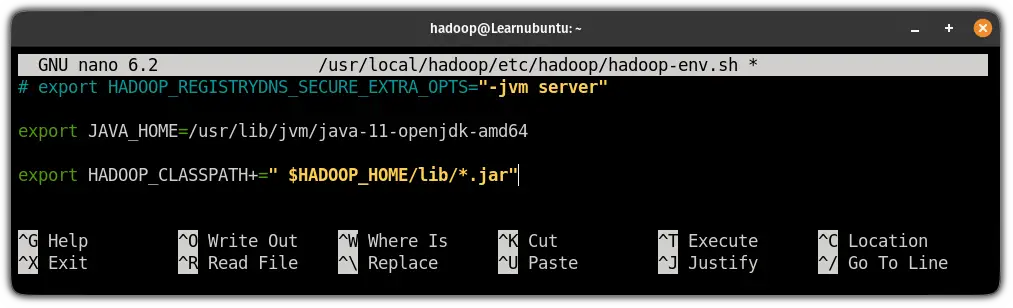
Save changes and exit from the text editor.
Next, change your current working directory to /usr/local/hadoop/lib:
cd /usr/local/hadoop/libHere, download the javax activation file:
sudo wget https://jcenter.bintray.com/javax/activation/javax.activation-api/1.2.0/javax.activation-api-1.2.0.jarOnce done, check the Hadoop version in Ubuntu:
hadoop version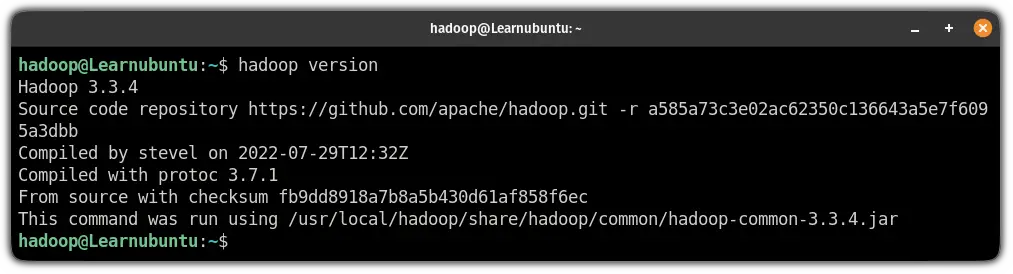
Next, you will have to edit the core-site.xml file to specify the URL for the name node.
Edit the core-site.xml file
First, open the core-site.xml file using the following command:
sudo nano $HADOOP_HOME/etc/hadoop/core-site.xmlAnd add the following lines in between <configuration> </configuration>:
<property>

      <name>fs.default.name</name>

      <value>hdfs://0.0.0.0:9000</value>

      <description>The default file system URI</description>

   </property>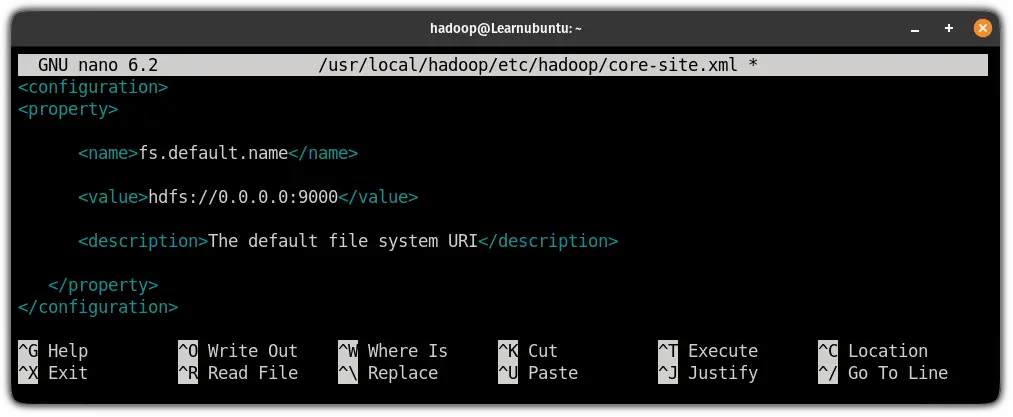
Save the changes and exit from the text editor.
Next, create a directory to store node metadata using the following command:
sudo mkdir -p /home/hadoop/hdfs/{namenode,datanode}And change the ownership of the created directory to the hadoop user:
sudo chown -R hadoop:hadoop /home/hadoop/hdfs
Edit the hdfs-site.xml configuration file
By configuring the hdfs-site.xml file, you will define the location for storing node metadata, fs-image file.
So first open the configuration file:
sudo nano $HADOOP_HOME/etc/hadoop/hdfs-site.xmlAnd paste the following line in between <configuration> ... </configuration>:
<property>

      <name>dfs.replication</name>

      <value>1</value>

   </property>


   <property>

      <name>dfs.name.dir</name>

      <value>file:///home/hadoop/hdfs/namenode</value>

   </property>


   <property>

      <name>dfs.data.dir</name>

      <value>file:///home/hadoop/hdfs/datanode</value>

   </property>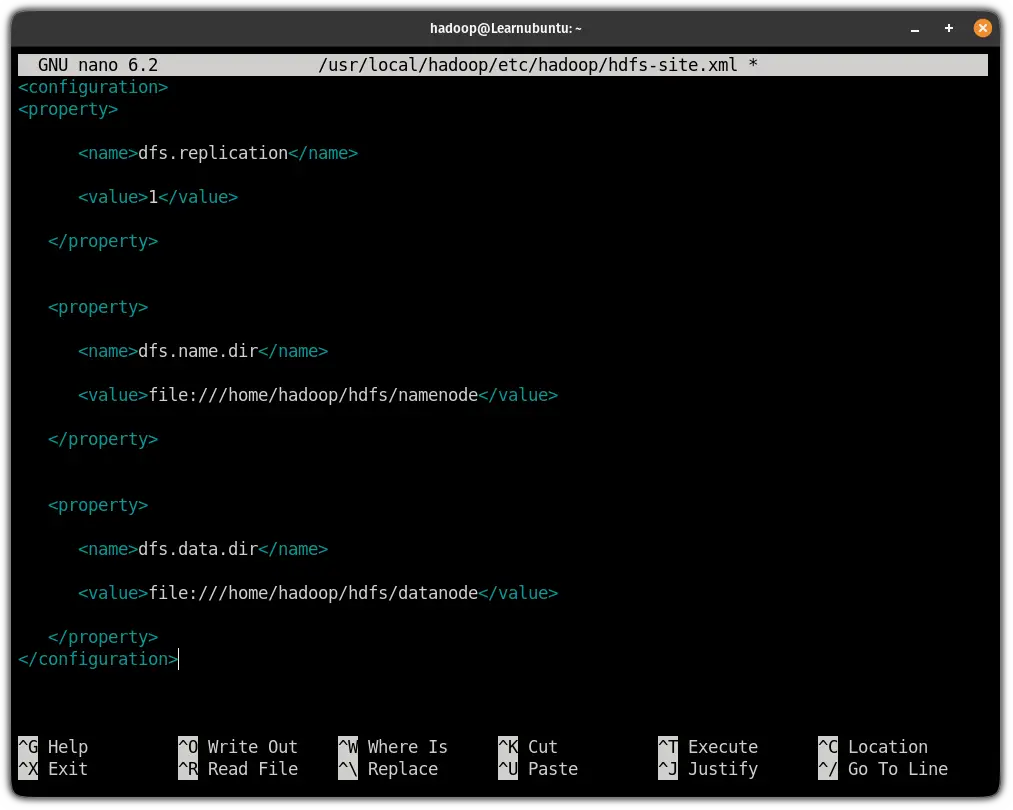
Save changes and exit from the hdfs-site.xml file.
Edit the mapred-site.xml file
By editing the mapred-site.xml file, you can define the MapReduce values.
To do that, first, open the configuration file using the following command:
sudo nano $HADOOP_HOME/etc/hadoop/mapred-site.xmlAnd paste the following line in between <configuration> ... </configuration>:
<property>

      <name>mapreduce.framework.name</name>

      <value>yarn</value>

   </property>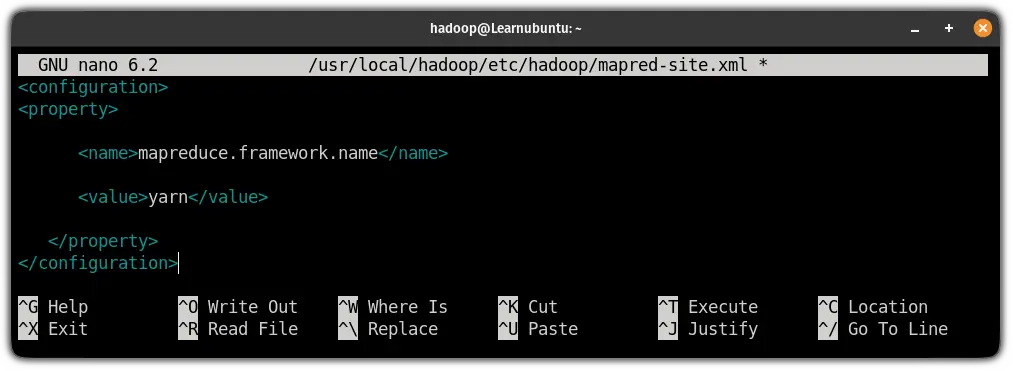
Save and exit from the nano text editor.
Edit the yarn-site.xml file
This is the last configuration file that needs to be edited to use the Hadoop service.
The purpose of editing this file is to define the YARN settings.
First, open the configuration file:
sudo nano $HADOOP_HOME/etc/hadoop/yarn-site.xmlPaste the following in between <configuration> ... </configuration>:
<property>

      <name>yarn.nodemanager.aux-services</name>

      <value>mapreduce_shuffle</value>

   </property>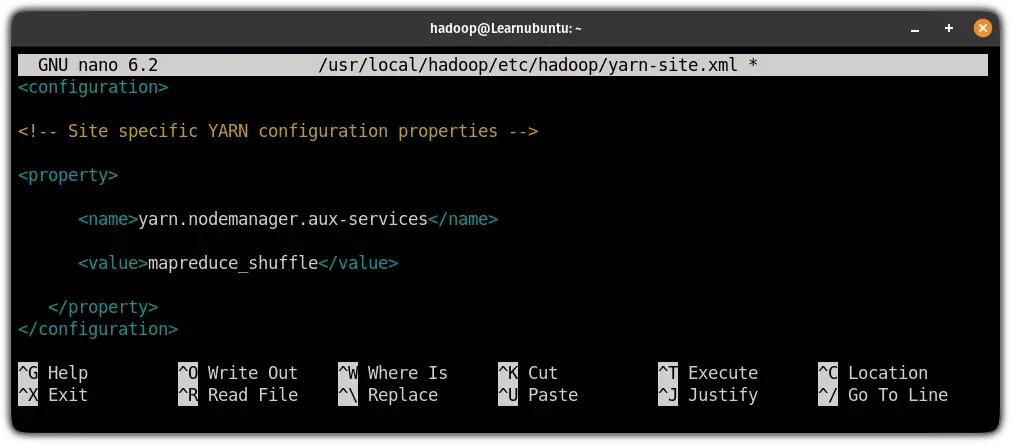
Save changes and exit from the config file.
Finally, use the following command to validate the Hadoop configuration and to format the HDFS NameNode:
hdfs namenode -format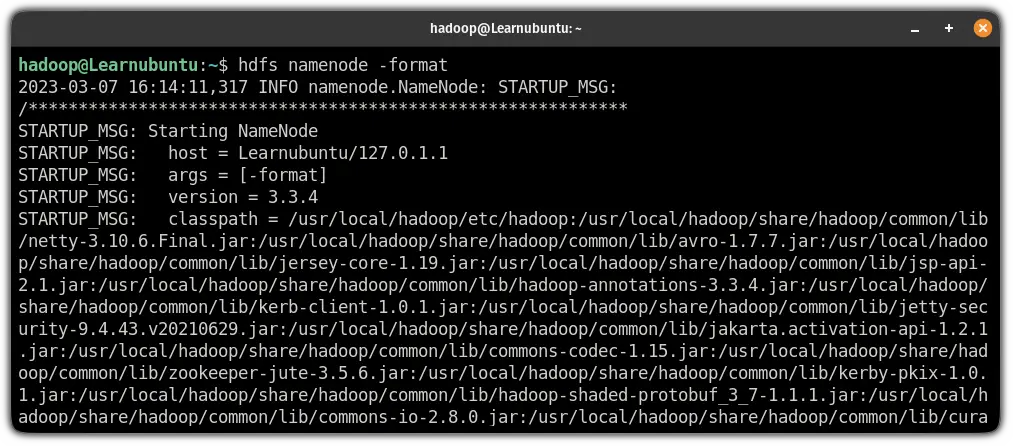
Step 6: Start the Hadoop cluster
To start the Hadoop cluster, you will have to start the previously configured nodes.
So let's start with starting the NameNode and DataNode:
start-dfs.sh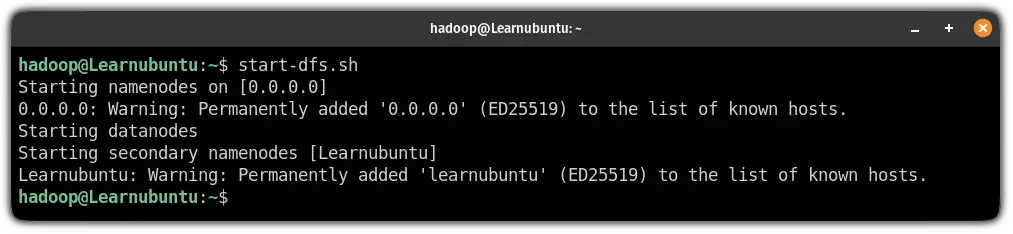
Next, start the node manager and resource manager:
start-yarn.sh
To verify whether the services are running as intended, use the following command:
jps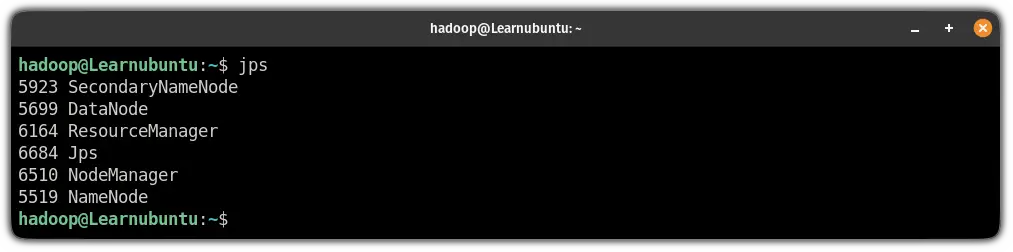
Step 7: Access the Hadoop web interface
To access the Hadoop web interface, you will have to know your IP and append the port no 9870 in your address bar:
http://server-IP:9870My IP is 192.168.1.9 so I will be entering the following:
http://192.168.1.9:9870
And there you have it!
Wrapping Up
While the tutorial was lengthy for sure, the major part was just copying and pasting lines to your terminal.
I hope you will find this guide helpful.
But if you encounter any errors while executing shown guide, let me know in the comments and I will try my best to come up with the best solution possible.

A software engineer who loves to tinker with hardware till it gets crashed. While reviving my crashed system, you can find me reading literature, manga, or watering my plants.