Install and Setup Zsh on Ubuntu
Envy the beautiful Z shell? Learn how to install zsh on Ubuntu and customize it with Oh My Zash.

Want to make your terminal look like this?
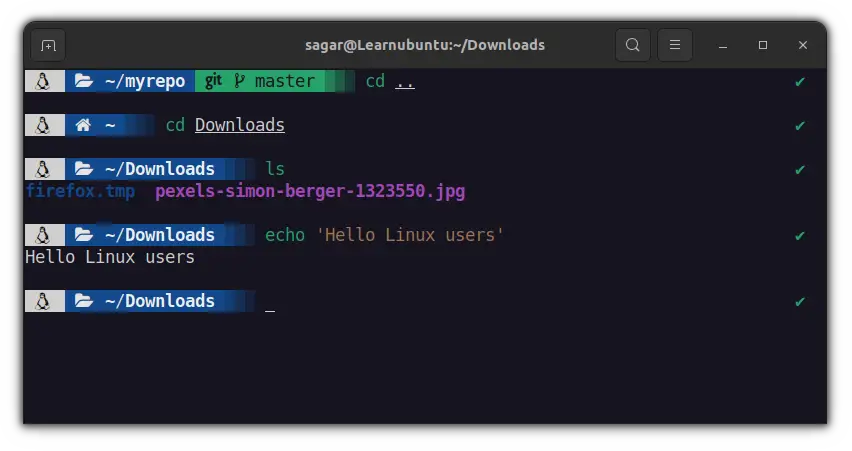
That's Z shell (zsh). While bash shell is omnipresent, zsh is a popular shell among developers.
But wait, why would anyone invest their time just for some punchy looks? Well, it's more than just looks.
The Zsh (Z shell) has a plethora of plugins and themes that primarily focus on decluttering unnecessary elements and some visual/performance tweaks for better productivity.
So in today's guide, I'll be walking you through the installation and some basic customization over Zsh that may serve as a base for limitless customization in the upcoming future.
Install Zsh on Ubuntu
Installation is quite simple as Zsh is available in the default Ubuntu repository.
While you can install zsh like this:
sudo apt install zshI recommend installing git and font awesome for additional customization I'll be showing in this tutorial.
sudo apt install zsh git fonts-font-awesomeThe first run
Once you have zsh installed on your, you can start it in your terminal by typing this command:
zshAnd you'd met with the following screen:
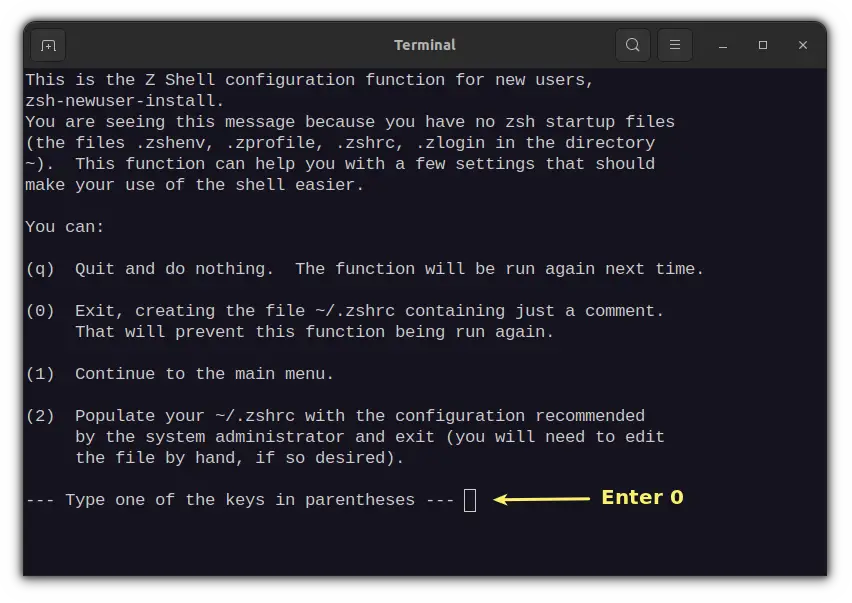
Zsh uses the .zshrc file for configuration and it gives you many options on how you want to manage the .zshrc file.
For this guide, I'm going with creating an empty .zshrc file by pressing 0.
So your default Zsh would look something like this:
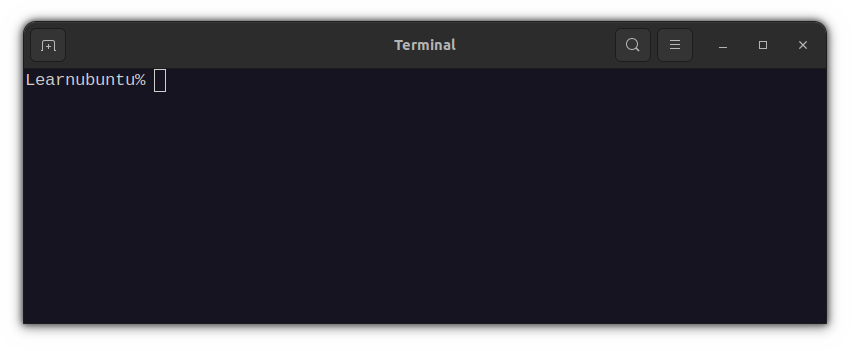
You didn't expect it to look this simple, did you?
Sit back and relax. You're about to have an eye candy terminal in no time.
Customizing your Zsh setup
Let's start with the installation of Oh My Zsh, a framework for Zsh that is a primary and integral part of this guide.
1. Installing Oh My Zsh in Ubuntu
I'm going with Oh My Zsh because it is a very efficient way to manage your configuration of Zsh.
Whether you want to change themes or plugins, Oh My Zsh will make it quite straightforward.
And you'll only need a single command for installation:
sh -c "$(wget https://raw.github.com/ohmyzsh/ohmyzsh/master/tools/install.sh -O -)"After installation, you'd be welcomed with a minimal theme which is a lot better than what Zsh offered us after the first installation:

Well, the Oh My Zsh is only supposed to be a base for customization so you don't have to worry about its default looks.


2. Adding Auto Suggestion and Syntax Highlighting
Tired of writing the long command old way? try the auto-suggestion plug-in with syntax highlighting for enhanced workflow.
So let's start with downloading the auto-suggestion plugin:
git clone https://github.com/zsh-users/zsh-autosuggestions ${ZSH_CUSTOM:-~/.oh-my-zsh/custom}/plugins/zsh-autosuggestionsNow, use the given command to download the syntax highlighting plugin:
git clone https://github.com/zsh-users/zsh-syntax-highlighting.git ${ZSH_CUSTOM:-~/.oh-my-zsh/custom}/plugins/zsh-syntax-highlightingOnce you're done with the download part, you'll have to add downloaded plugins in the .zshrc file.
nano ~/.zshrcand add zsh-syntax-highlighting and zsh-autosuggestions in plugins. Let me show you:
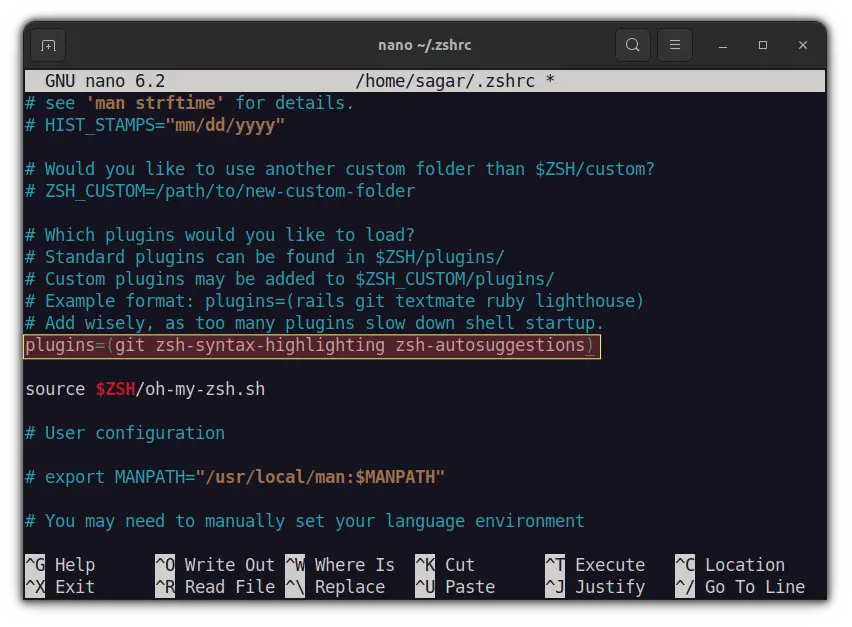
Save the config file and restart the terminal. Just your terminal, no need to reboot the system. Your terminal should look like this now:

3. Adding Powerlevel10k Theme
This part is where you'll be the one deciding how you want your terminal looks.
Because the Powerlevel10k has a plethora of options that will result in how your terminal is themed and all of them can't be covered in this guide.
So let's start with the installation:
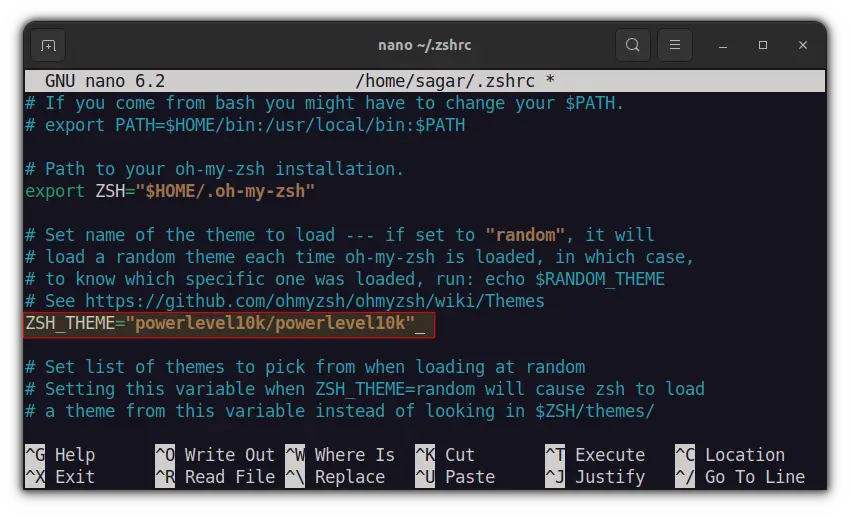
git clone --depth=1 https://github.com/romkatv/powerlevel10k.git ${ZSH_CUSTOM:-$HOME/.oh-my-zsh/custom}/themes/powerlevel10kNow, you'll have to change the default theme in the ./zshrc file to powerlevel10k To open the config file, use the given command:
nano ~/.zshrcYour default Zsh theme will be robbyrussell which you'll have to interchange with powerlevel10k/powerlevel10k as shown in the image:
Save the config file and restart your terminal. You'll be welcomed with the given screen:
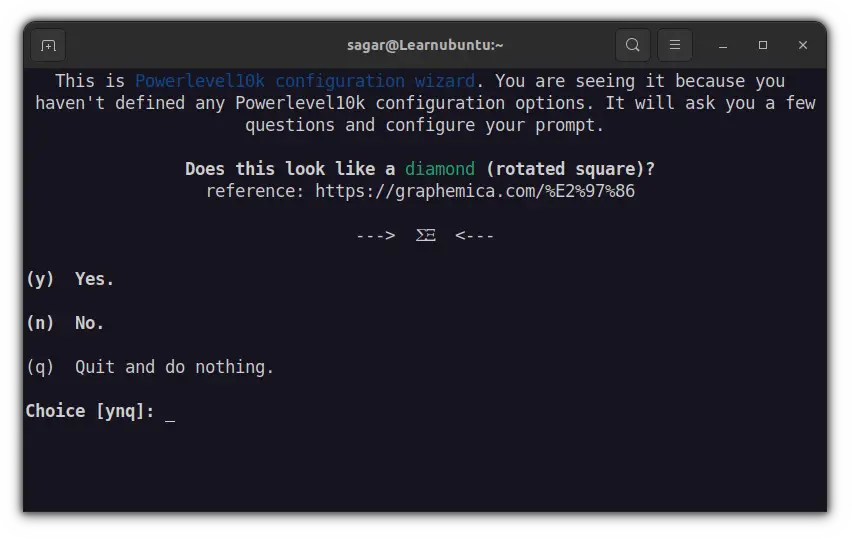
It will ask you whether the given icon resembles a diamond or not. For me it's not so I'll go with n.
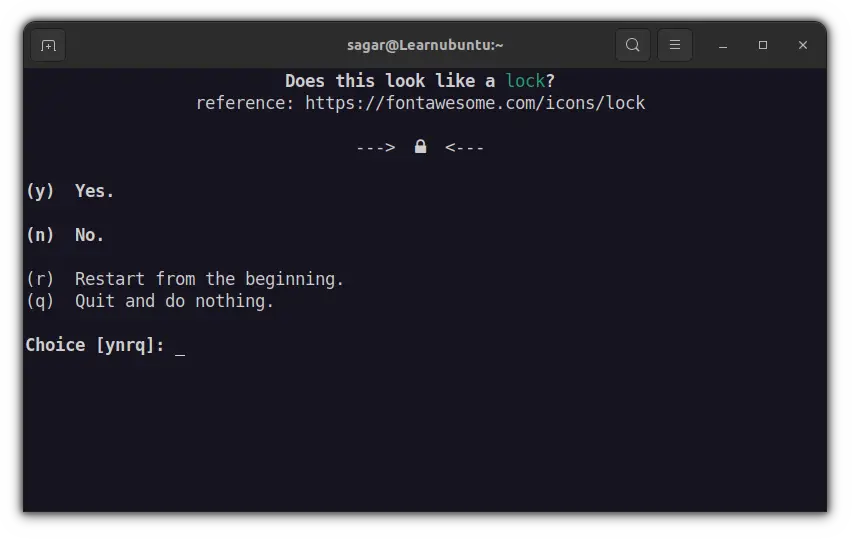
Similarly, there's another question "Does this look like a lock?" For me, its yes so I'd be entering y.
This is the last question where you have to answer whether icons fit between crosses. They're overlapped in my case so I'd be entering n.
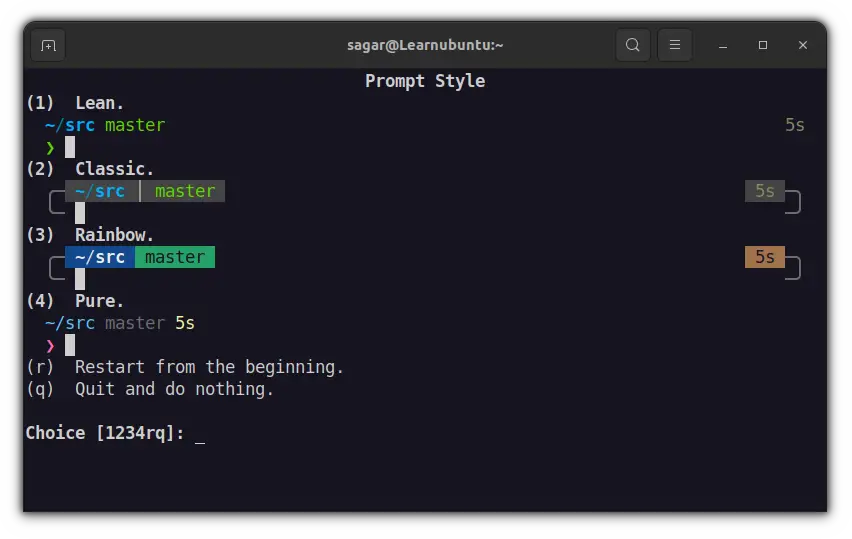
From here on, you'd be given multiple options such as prompt style and so on. Select what works for you and I'll be skipping to the end part to save the configuration.
Once you're done with all the choices, you'd be given the following prompt:
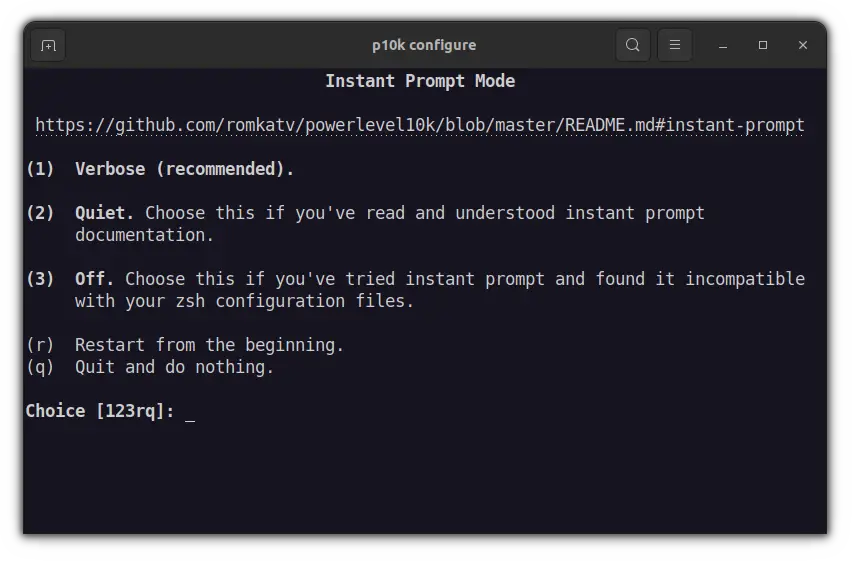
I'd highly recommend you go with 1st option verbose as you'd have a backup config file that allows you to reset the choices you went with in Powerlevel10k.
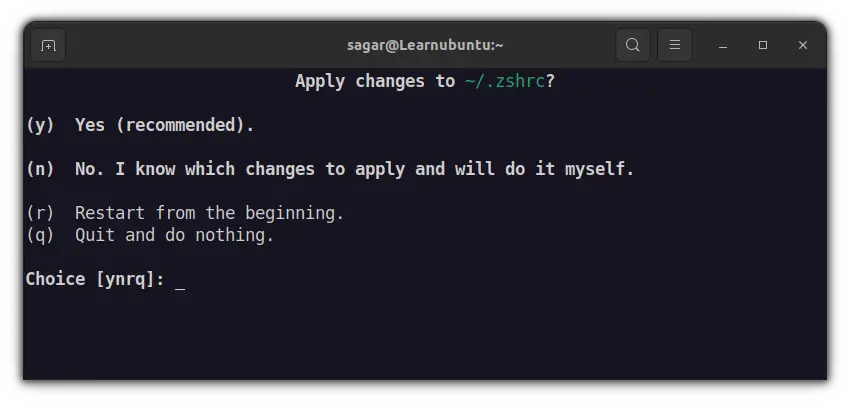
Now, you can save the config file by pressing y.
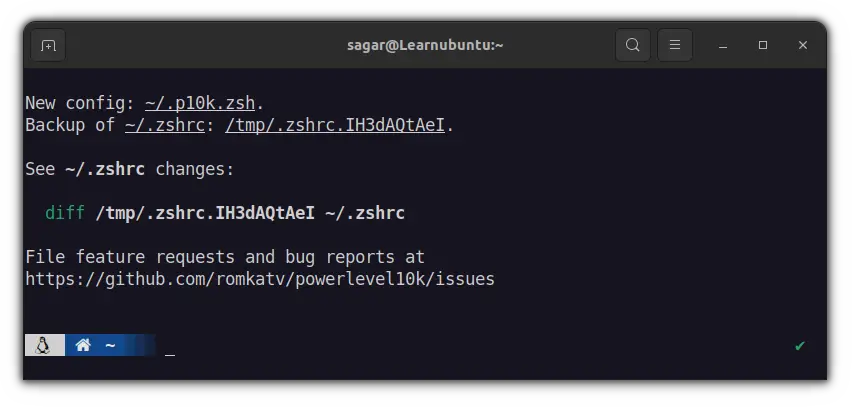
And it will show you where the backup and new config file reside.
Want to start configuring Powerlevel10k from scratch again? just use the given command and the configuration process would start from the beginning:
p10k configureBut wait, as I told you earlier, this is just a basic customization guide and you can try different themes from Zsh's them section on GitHub.

Make zsh your default shell
If you like the zsh shell, you can make it your login shell, i.e., your default shell so that whenever you open the terminal or log into your system via SSH, you are logged into Zsh.
To change the shell, enter this command:
chshIt will show you the default shell (bash for the majority) which you've to change to /bin/zsh.
Let me show you how:
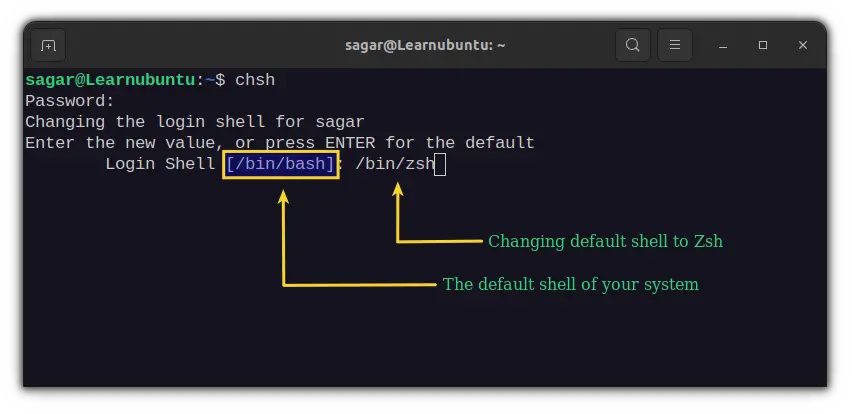
You'll have to log out and back in to apply these changes.
Conclusion
You learned to install Zsh on Ubuntu and configure it properly and beautifully with Oh My Zsh.
The Zsh can be considered a DIY shell as you have access to numerous plugins and themes that there's nothing left to complain about but just adore your terminal.
If you have any queries, feel free to ask in the comments below.

A software engineer who loves to tinker with hardware till it gets crashed. While reviving my crashed system, you can find me reading literature, manga, or watering my plants.