Install Sqlite3 on Ubuntu
Sqlite is an excellent lightweight database system. Learn how to install Sqlite3 on Ubuntu systems.

Being one of the least complex database engines, the sqlite3 is preferred by beginners as well as advanced users.
Unlike most database systems, sqlite3 doesn't require a server and can be embedded into the end program.
This makes sqlite3 stand out as a lightweight, user-friendly, and portable solution.
So in this tutorial, I will show you how you can install sqlite3 and how to create a simple table in Ubuntu
How to install and use Sqlite3 on Ubuntu
The sqlite3 is available in the default repository of Ubuntu and can easily be installed with the following command:
sudo apt install sqlite3Once you are done with the installation, you can use the following command to check the installed version:
sqlite3 -version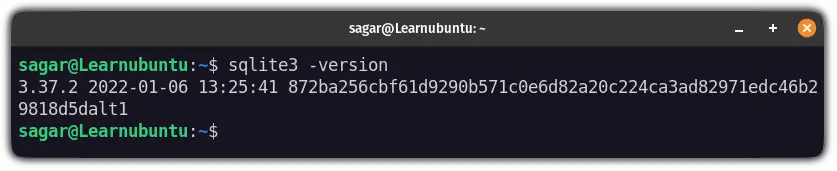
And if you get similar output, it means, the sqlite3 has been installed successfully!
Create Sqlite3 database in Ubuntu
To create a database, you'd need to append the name with a relative path to the sqlite3 command:
sqlite3 /path/to/fileHere, I created a database named LU inside my home directory:
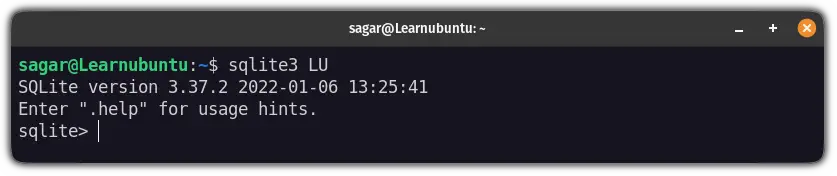
sqlite LUAnd it will get you into the sqlite prompt:
To make sure you are dealing with the right database, you can execute the following in sqlite prompt to know the database you're dealing with:
.databases
Now, here, I will create a table named Team:
CREATE TABLE Team(Name String,age Int);Next, you will have to insert data respective to the data fields that you've just created.
Here, I will add the data of three team members:
insert into Team(Name, age) VALUES ('Tom',25),('Mark',40),('Steve',35); 
To verify whether you have successfully added the data, you can list the contents of the table using the following:
SELECT * FROM Team;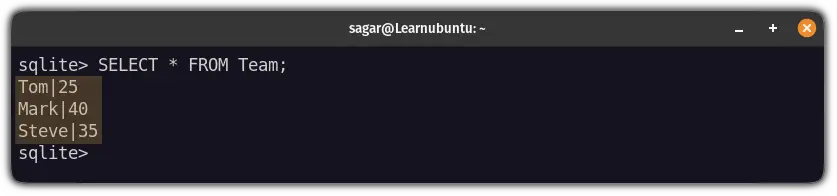
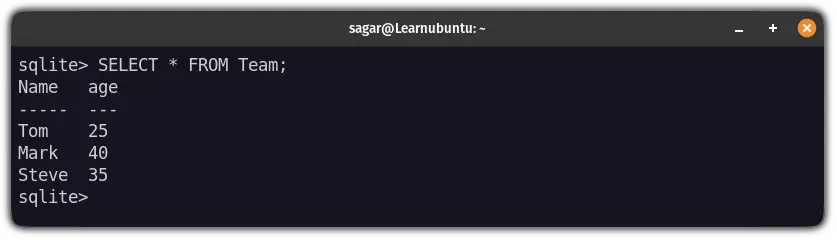
And if you want to enable headers and separate the output with columns, use the following command:
.headers on.mode columnAnd here are the results:
But this can also be done using GUI. Want to know how? Here's the bonus from my side!
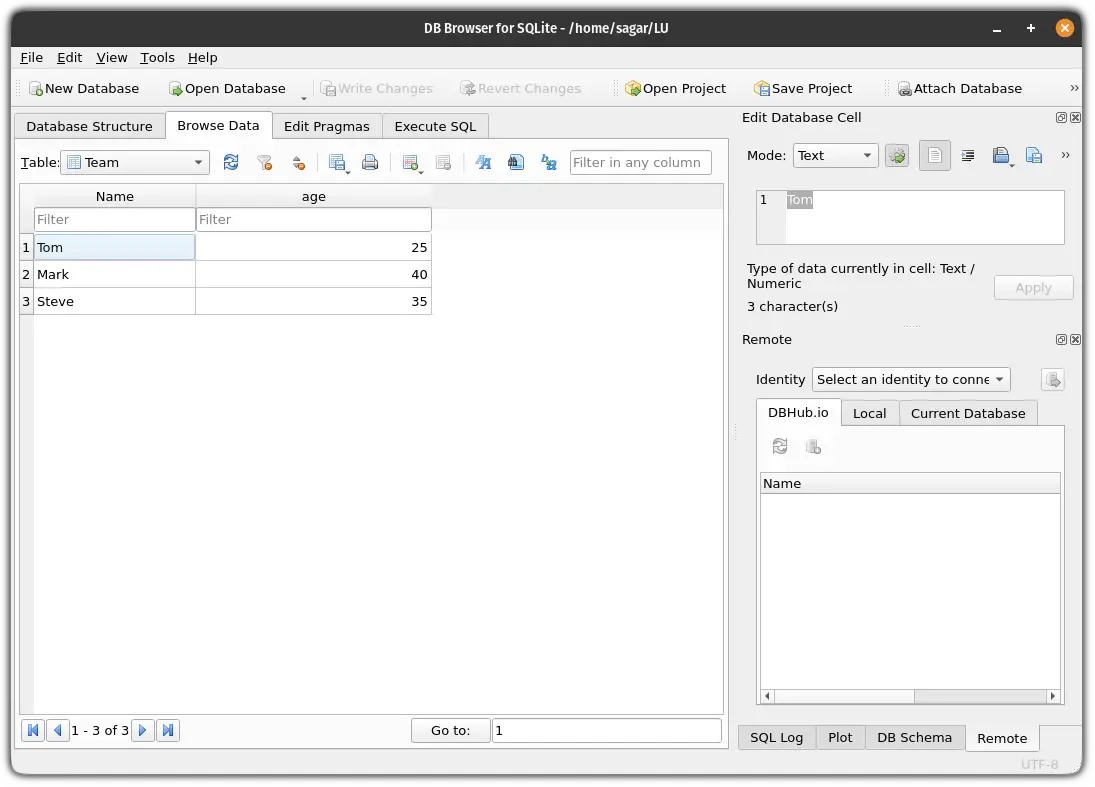
Bonus: Install the Sqlite Database browser in Ubuntu desktop
The sqlite database browser is a GUI utility that lets you handle almost all the operations related to the database without going through the terminal (I will still advise you to embrace the terminal)
To install the sqlite browser, you will need to execute the following command:
sudo apt install sqlitebrowserOnce done, all you need to do is execute the following command and it will start the sqlite browser:
sqlitebrowser &From here, you can create a new database or work with the old one. For example, here's the database that I created recently:
Pretty useful. Right?
Wrapping Up
In this tutorial, I explained how you can install sqlite3 in Ubuntu and how you can create a database for you.
I hope you will find this informative and if you have any queries, feel free to comment!

A software engineer who loves to tinker with hardware till it gets crashed. While reviving my crashed system, you can find me reading literature, manga, or watering my plants.