How to Install Vim in Ubuntu
Learn how to install the latest version of Vim editor on Ubuntu.

The versatile text editor everyone is ready to taunt and post memes about, but nobody is willing to learn. Yes, it's none other than the Vim text editor.
For most users, it must be installed in your system by default but due to some reason, if it is not there, it can be installed using a single command:
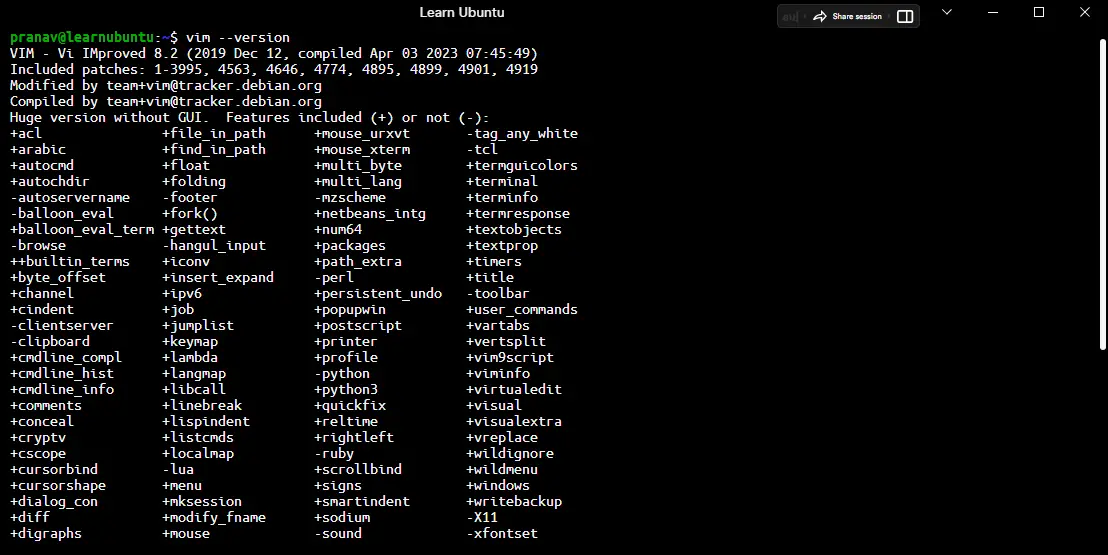
sudo apt install vimOnce done, you can check the installed version using the following:
vim --versionWhile writing, it gave me VIM version 8.2:
But what if you want to use the most recent version of VIM? Well, in this guide I'll be sharing multiple methods to do so.
Getting the latest version of Vim (if you really need it)
The latest version of Vim is not found in the official repositories, but there's a workaround for that.
And in this tutorial, I will be sharing 3 ways to get the latest version of VIM:
- Using a PPA (Recommended)
- Using Homebrew
- Installing VIM from the source
1. Using a PPA
Using PPA in Ubuntu is preferred when you don't get the desired package from the default repository.
So let's start with adding PPA to the system:
sudo add-apt-repository ppa:jonathonf/vimOnce done, update the repositories and install Vim using the following command:
sudo apt update && sudo apt install vimThis command upgrades your Vim installation if it is already present, and creates no conflicts, fortunately.
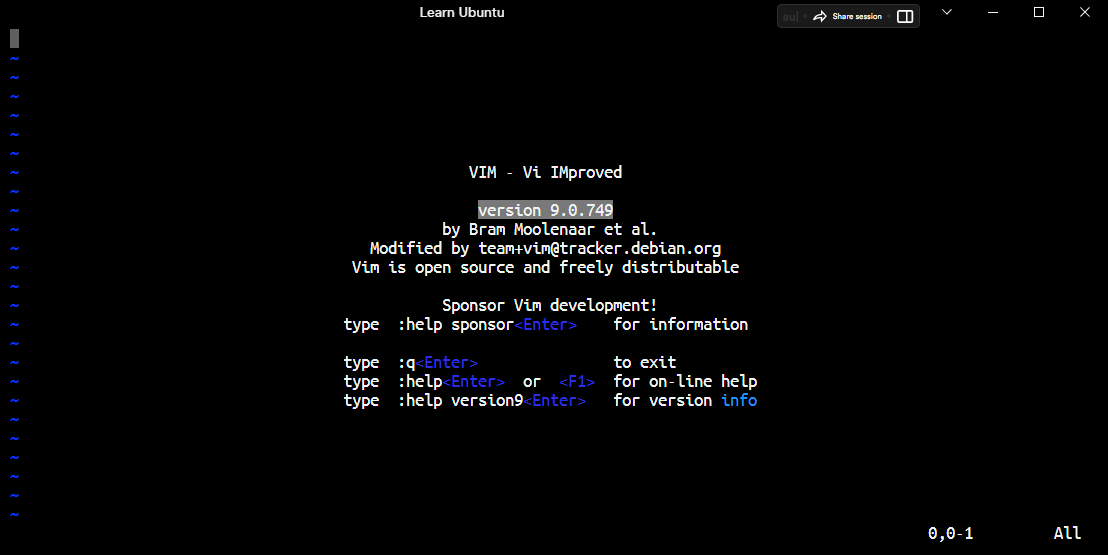
Now the current version of Vim is found to be 9.0, the latest.
How to uninstall
To remove VIM, all you have to do is use the normal apt remove command that you generally use for the removal of the package:
sudo apt remove vim Once done, you may also want to remove PPA from Ubuntu which can easily be done using the following command:
sudo add-apt-repository -r ppa:jonathonf/vimTo learn more about how PPA works, I would highly recommend you our detailed guide covering all the major aspects of the PPA:
 Abhishek Prakash
2. Using Homebrew
An advantage of installing it from a package manager like this leads to the automatic updating of the package(s) if there's a newer version. This seems more convenient than directly sourcing from GitHub.
Homebrew is a versatile package manager available for Mac OS and Linux. You can install Homebrew in Ubuntu seamlessly:
Abhishek Prakash
Once done, the latest Vim can be obtained by the below command:
brew install vim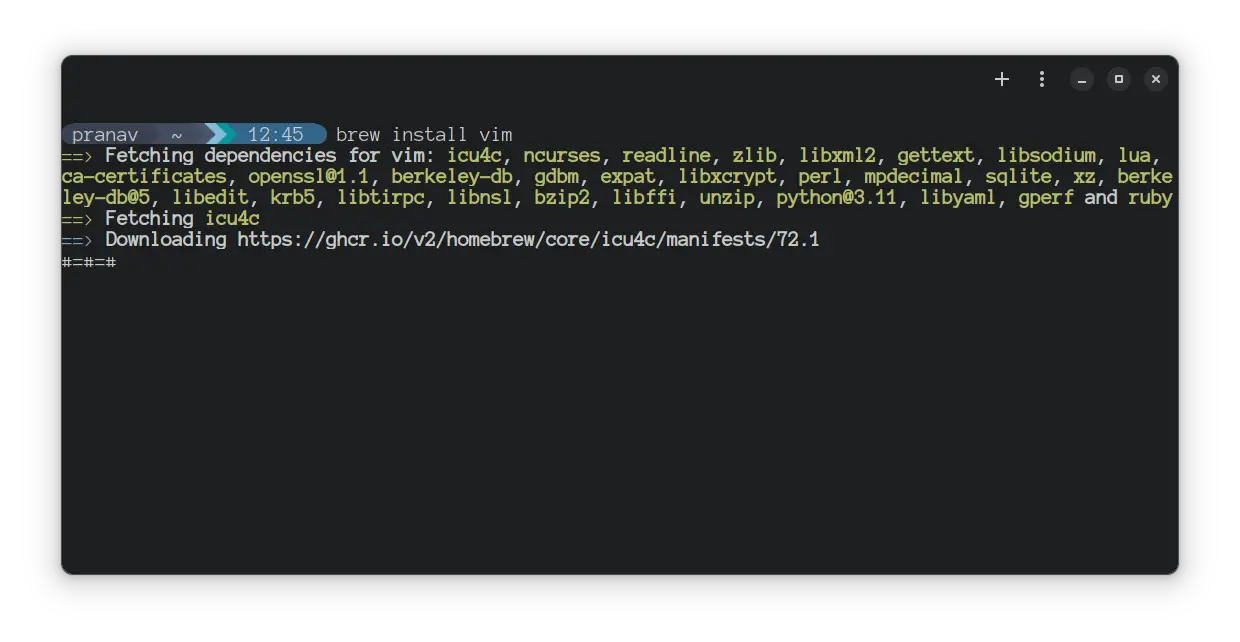
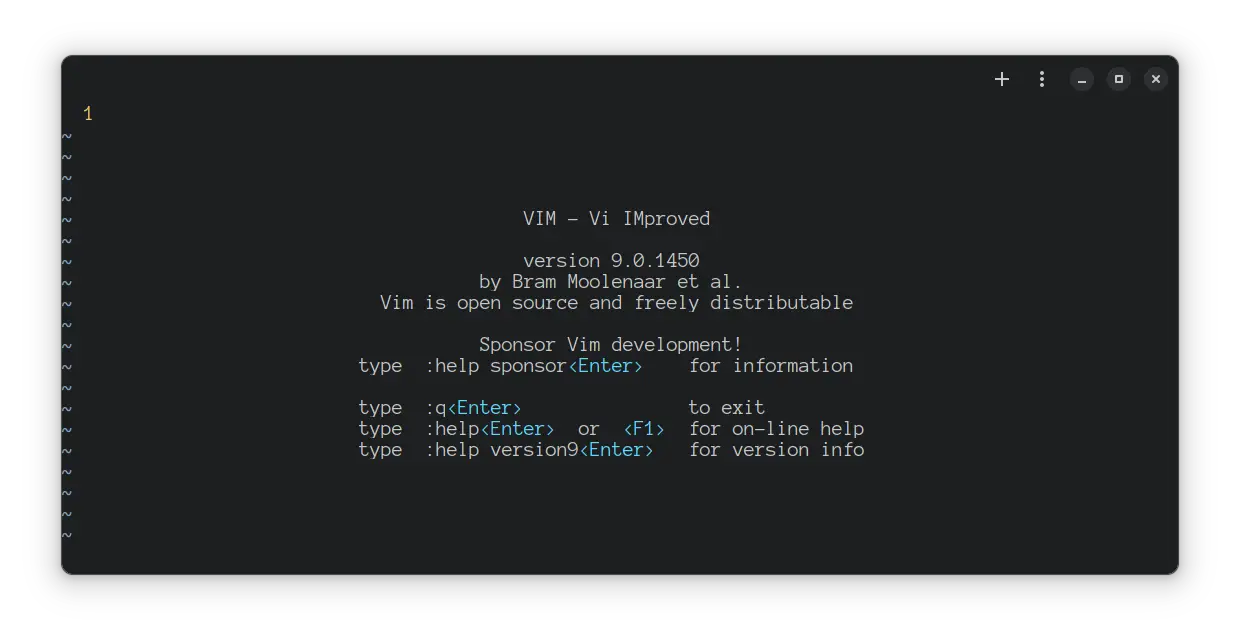
This command also creates no conflicts and it upgrades Vim seamlessly. This upgrades to the absolute latest version of Vim available.
How to uninstall
Homebrew makes package management quite easy so for the removal of VIM, all you have to do is execute the following command:
brew remove vim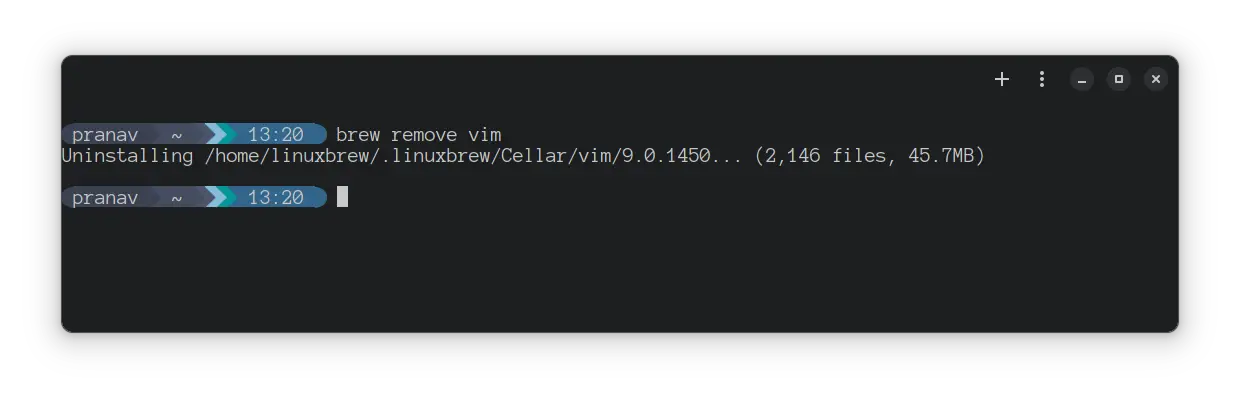
3. Manually compiling from source (not recommended)
The source code for Vim is available on its GitHub page, from where we will be downloading and compiling it manually.
For that, you will need to install git and GNU Make in your system if not already present, which is done by
sudo apt install git make ncurses-devThen, you have to download the source code and clone it into the folder as shown below:
git clone https://github.com/vim/vim.gitNext, switch to the source directory of the cloned repo:
cd ./vim/srcNow, you can use the following command to build the package as per defined in the makefile:
makeAnd finally, you can use install the build package using the given command:
sudo make installThat's it, you have the latest version of VIM installed in your system.
How to uninstall
If you installed VIM from the scratch, you can use the shown steps to for removal.
First, you'd have to use a VIMRUNTIMEDIR variable that defines the directory where the support files are located.
To do so, you'd have to identify the directory name which will be different based on the version using the following command:
find /usr/share/vim/ -type d -name "vim*"The second result is what we are looking for:

In my case, its /usr/share/vim/vim82 but the last two digits can be different in your case.
Once you find yours, use the following command:
make VIMRUNTIMEDIR=/path/to/vimIn my case, it will be the following:
make VIMRUNTIMEDIR=/usr/share/vim/vim82And finally use the following command to remove VIM:
sudo make uninstallThat's it!
Want to learn more about installing packages from source?
If you're curious and want to learn more about how you can install packages from source in different scenarios, you can refer to our detailed guide on that topic:
Sylvain Leroux
I hope you will find this guide helpful.
And if you have any queries, feel free to ask in the comments.
