How to Install VS Code on Ubuntu
There are multiple ways to install VS Code on Ubuntu. Here are the recommended ones.

Microsoft Visual Studio Code (also known as VS Code) is one of the most popular code editors out there.
It is open source and available for Windows, macOS and Linux. With a seamless Git integration, full of features and a robust extension marketplace, VS Code has become the default choice for programmers worldwide.
If you want to install VS Code on Ubuntu, there are several ways. However, here, I'll restrict it to just two methods:
- Install it in Snap format (a bit slow to start and takes more disk space but you get the latest version automatically)
- Install it in deb format from the website (won't get automatic updates so you have to download the deb file again and again)
Method 1: Install Visual Studio Code from Ubuntu Software Center
VS Code is available as Snap. You can download and install the program from the Software Center or use the command line:
sudo snap install code --classicClassic is used here because the application is not completely snadboxed.
Alternatively, you can look for it in the app store.
Open the Software Center from the system menu. Click the search icon and type "VS Code" in the bar and click the "Visual Studio Code" from the search results.
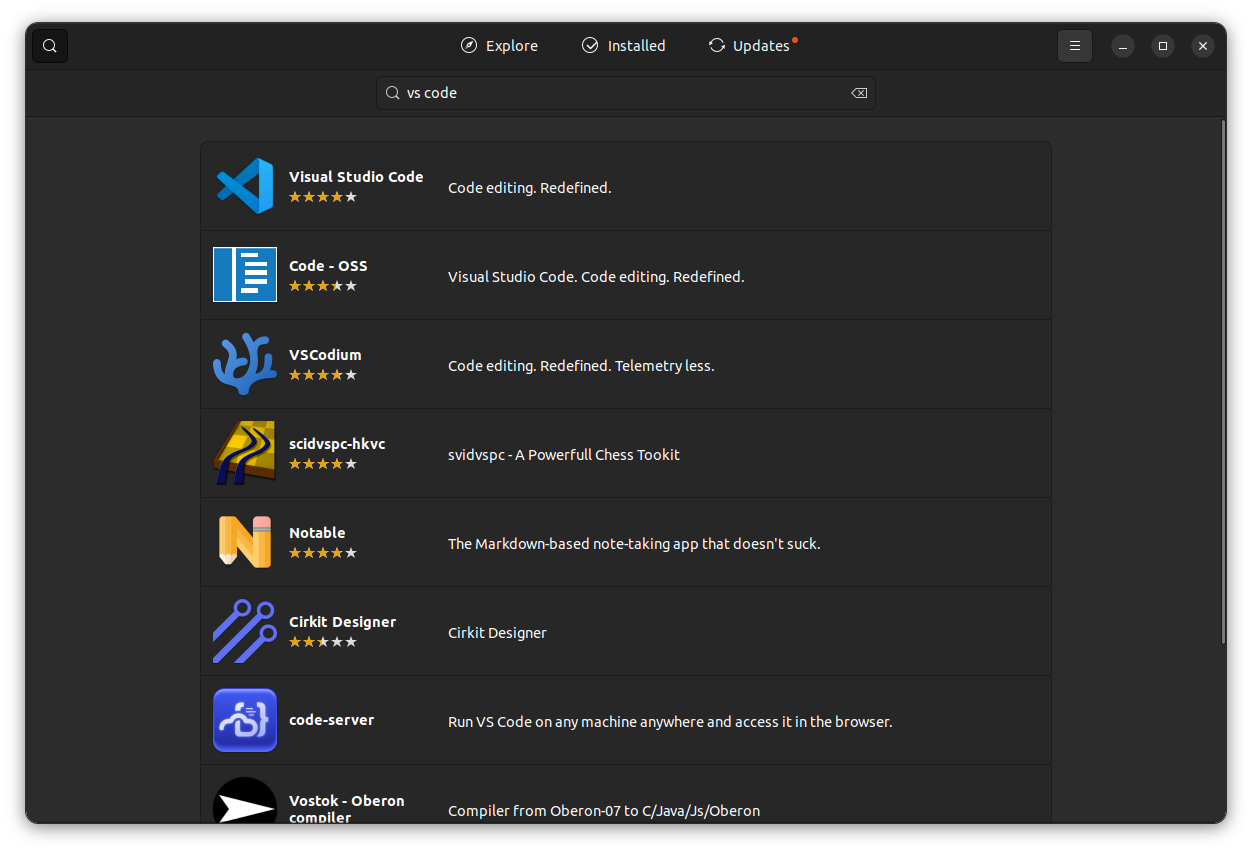
Click the green-colored "Install" button on the app page.
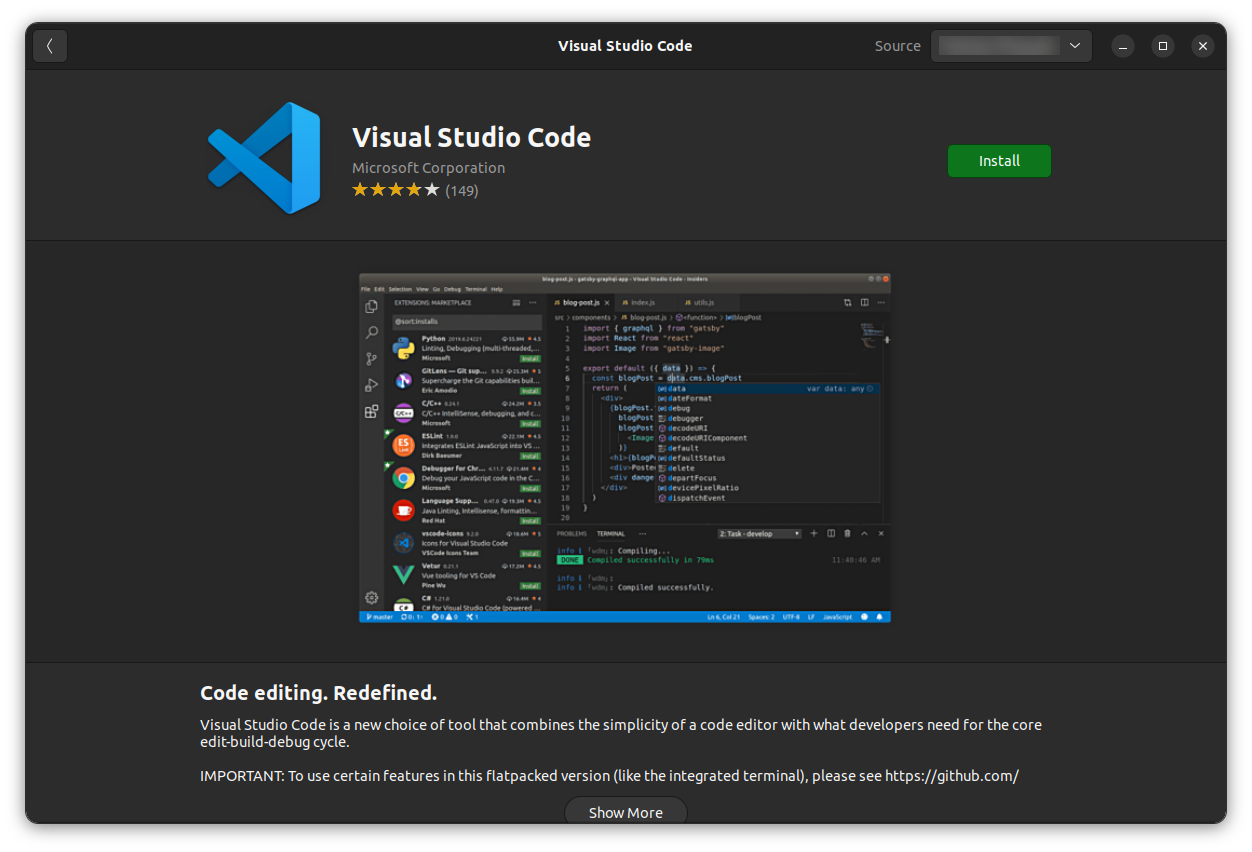
Give a few moments for the Ubuntu Software Center to install the package.
Open the VS Code and enjoy the freemium features on your Linux distribution.
Remove Visual Studio Code Snap
You can uninstall VS Code if you installed it in snap format through the command line or from the Ubuntu Store.
Open the Ubuntu Store from the system menu. Click the "Installed" app section. Find VS Code from the app list. Select VS Code and click the trash can button.
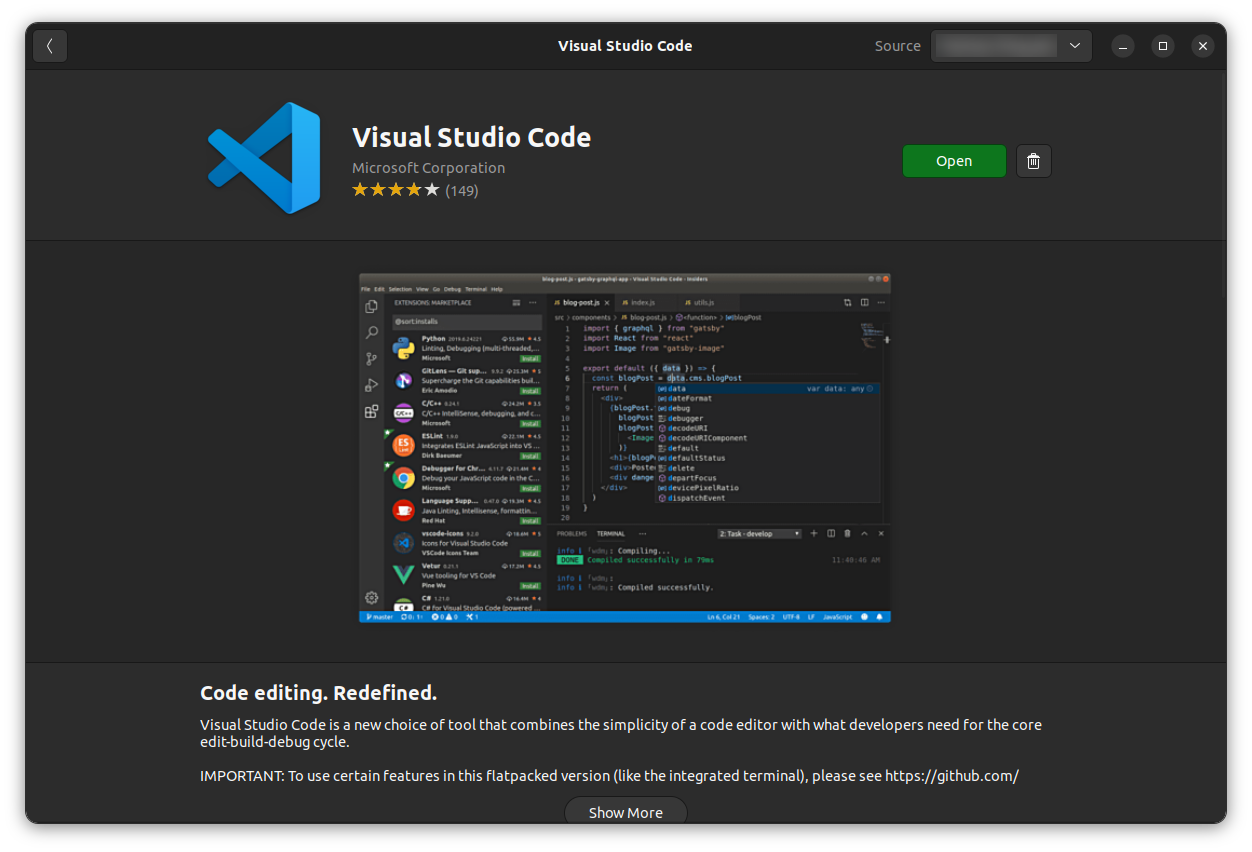
Click the uninstall button from the pop-up window.

Or, open the terminal from the system menu, then paste the below command.
sudo snap remove --purge codeMethod 2: Install Visual Studio Code on Ubuntu Using the .Deb/.Rpm Package
Microsoft provides ready to install binaries for Linux distributions in Deb and RPM format.
The problem with this method is that every time there is a new version available, you have to manually download the deb file again and install it.
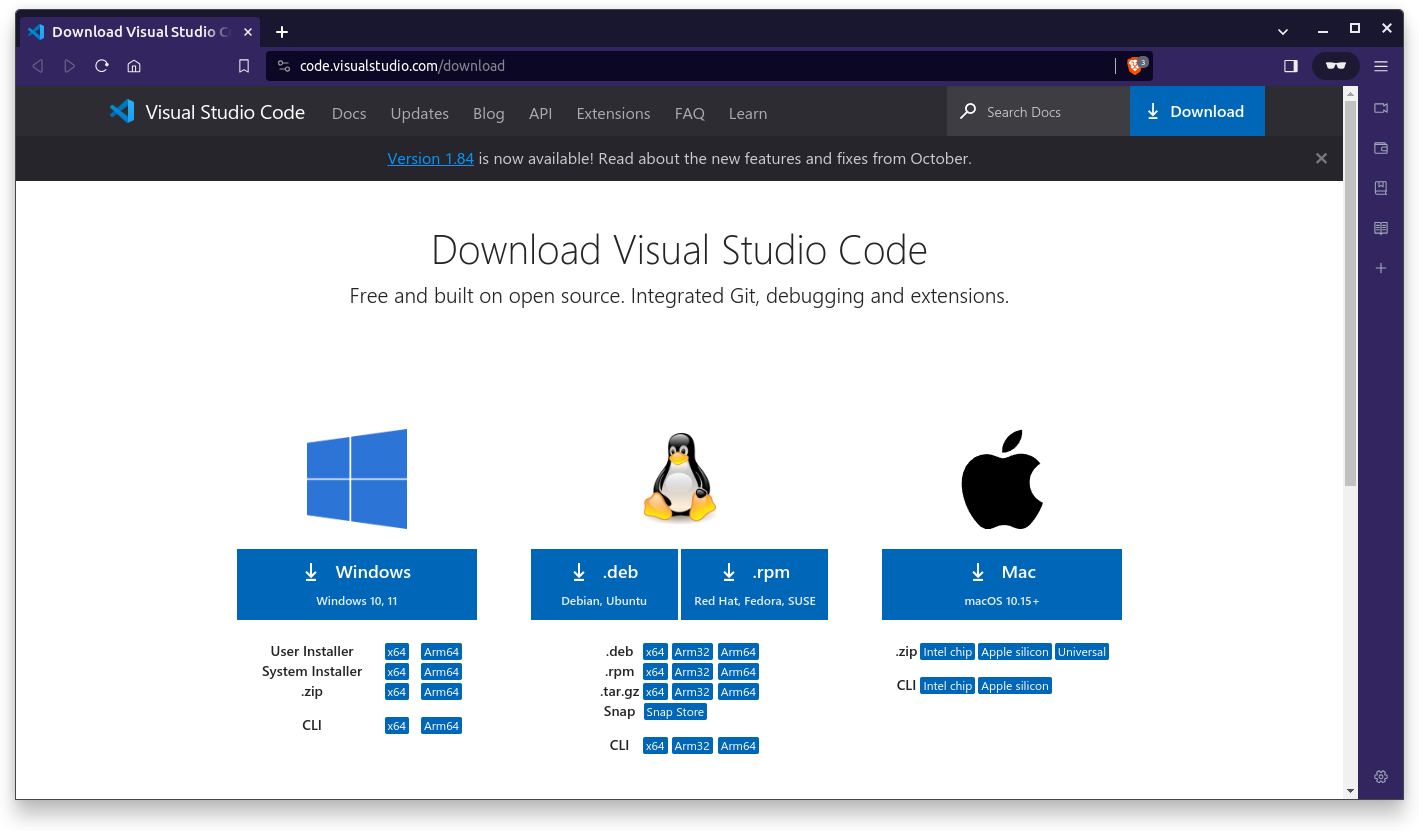
Go to the download package of VS Code website.
Download the .deb for Ubuntu and .rpm for Fedora.
Select the downloaded deb file and right-click the mouse for more options.
Select the "Open With Software Center" option.
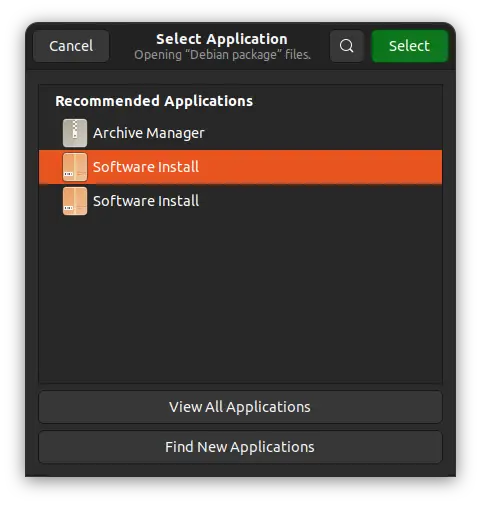
Select the "Software Install" and click the "Select" button.
Click the "Install" button.
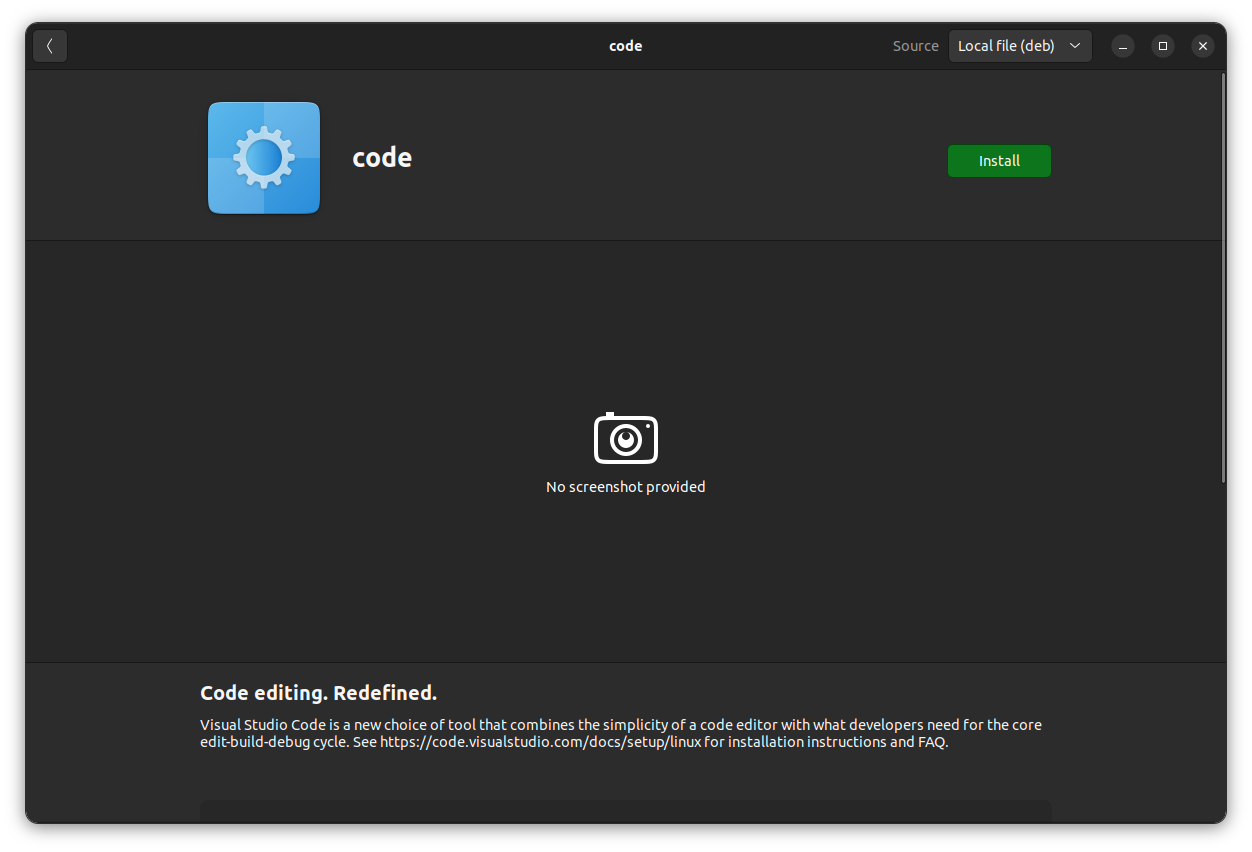
The package manager will install VS Code in a minute.
Remove Visual Studio Code .Deb/.Rpm Package
You can remove the VS Code installed from a deb or rpm package. Use the command below in the terminal to remove the program.
sudo remove --purge codeOr, go to the Software Center, search for the program name, and then uninstall VS Code.
I hope you find this quick tutorial helpful in installing VS Code on Ubuntu.