Mount Drives in Ubuntu Command Line
Learn to mount and unmount drives in Ubuntu command line in this tutorial.

Mounting drives with a graphical user interface is easy. But it becomes a hassle when you don't have access to one.
Well, mounting via the command line is not as easy as doing it in GUI, but it is not super complicated either.
Let me show how to mount drives in Ubuntu command line.
An introduction to mounting
Mounting is the process in which a drive is made accessible to your Operating System to perform read/write operations. This is common to all OSes.
For example, Windows assigns a drive letter (C, D, E, etc) whilst Linux distributions assign a default path in the /media/<username> or /run/media/<username> folder.
To mount your drive, you should be aware of two things:
- What device you're mounting (/dev/sda2, /dev/vdb1, etc)
- Where you're mounting it (A mounting point)
Of course, there are other ways too, but let's stick to the simple and obvious one, the mount command.
The mount command
The mount command is a very popular one, which lets you mount a drive into a folder of your choice. It supports a wide range of partition types.
The general format of the mount command is
sudo mount -t <TYPE> <DEVICE> /PATH/TO/FOLDERIn this command, the following are the ones to note.
<DEVICE>- The address of the drive you're mounting (/dev/sda2 or any hardware address)/PATH/TO/FOLDER- The absolute path of the folder where you're mounting the drive into-t <TYPE>- (Optional) Lets you specify the type of partition which is being mounted
Now, let's look at how you can mount the drive.
Step1: Check Partitions in your system
It is essential to know the drive name which you want to mount and for that purpose, you can list available drives using the following command:
lsblk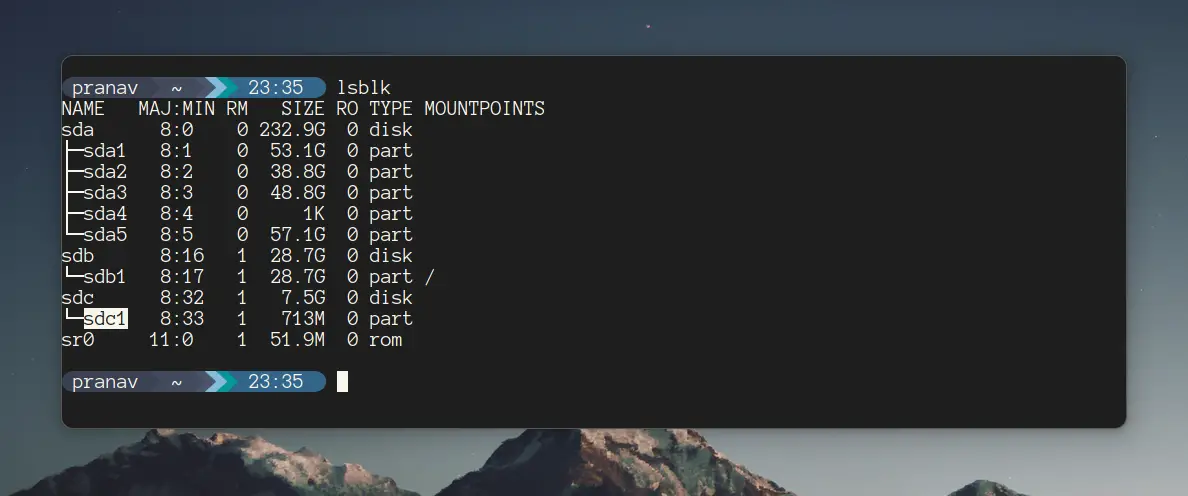
lsblk -fFrom here, check what the drive address your device is pointing to. Here, let us mount a removable USB drive.
Step 2: Creating a mounting point
To mount a drive, first, you have to have a place where you can mount it. But to create a mounting point, you don't need anything else but a mkdir command (yes, the mounting point is nothing but a directory):
sudo mkdir /mounting/pointFor example, here, I created a mounting point inside the media directory named Sandisk:
sudo mkdir /media/SandiskStep 3: Mount the drive
Once you are done creating the mounting point, you can use the mount command in the following manner to mount the drive:
sud mount -t <Filesystem> /path/to/drive /mount/pointFor example, if I want to mount the drive /dev/sdc1 having ext4 FS on a previously created mounting point, I will be using the following:
sudo mount -t ext4 /dev/sdc1 /media/Sandisk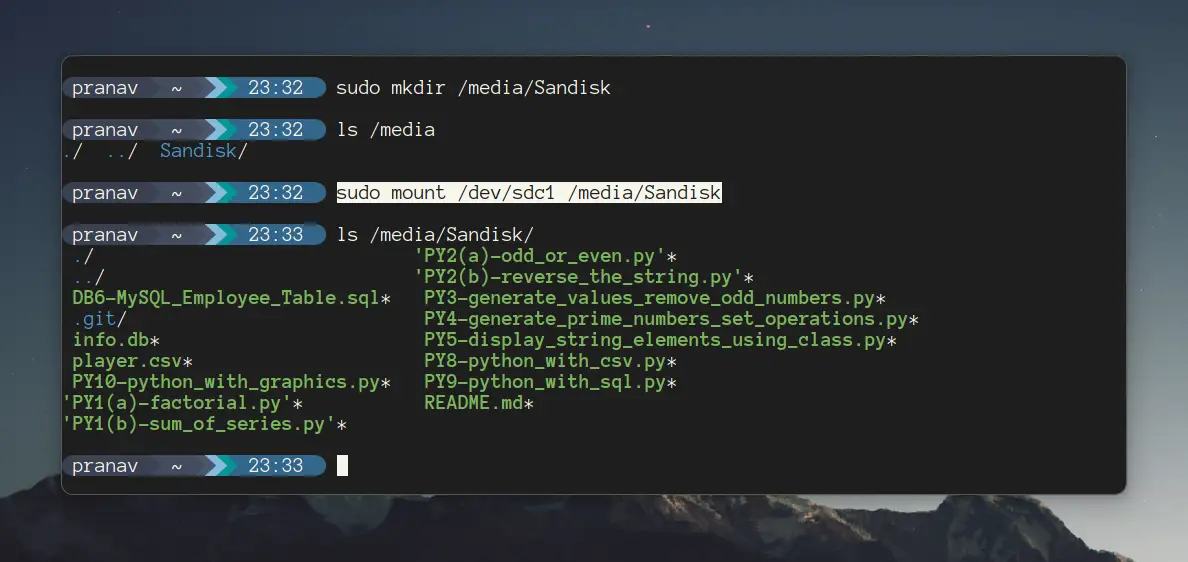
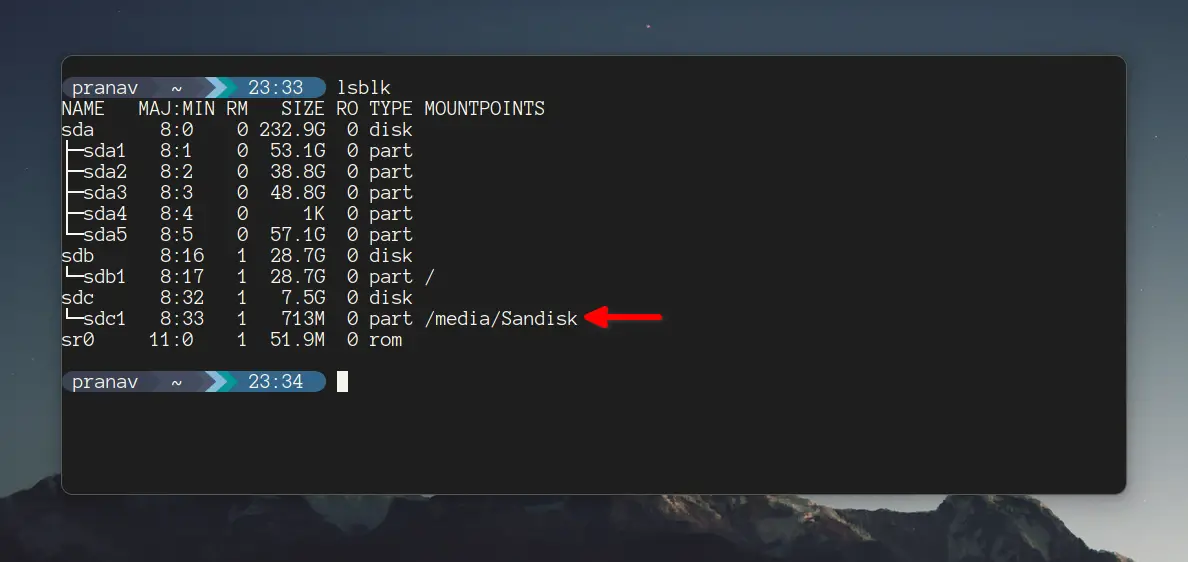
Our mount-point is also shown in the output of lsblk as follows:
Mount drive permanently in Ubuntu
As I mentioned earlier, using the mount command, you can only mount the drive on a temporary basis.
And to make changes permanent, you have to make some changes in the /etc/fstab file.
First, open the /etc/fstab file using the following command:
sudo nano /etc/fstabGo to the end of the file in the nano text editor using Alt + / and add one line in the following syntax:
/dev/Drive-name /mounting-point Filesystem defaults 0 0So if I want to mount /dev/sdc1 having ext4 Filesystem, I will be using the following:
/dev/sdc1 /media/Sandisk ext4 defaults 0 0Once done, save changes and exit from the nano text editor.
Unmount drives in Ubuntu
To unmount, you can type either the mount point (folder) or the device address with the umount command.
sudo umount /dev/sdc1Or
sudo umount /media/SandiskBoth of them should do it.
But if any process is occurring while you're trying to unmount the drive, and you do not want that to fail, use the lazy option to unmount automatically when the process ends.
sudo umount -l /media/Sandisk
# will unmount as soon as the process ends
And if you mounted the drive permanently, open the /etc/fstab file and remove the line and then restart the device.
Getting error 'Umount Target is Busy'?
While unmounting, you may get an error saying "Umount Target is Busy" which is the result of the target being busy and you're trying to unmount it.
And here's the detailed guide on how to fix that issue:

Here's another article that deals with network shares in Ubuntu:
 Abhishek Prakash
Make sure to let me know your doubts in the comment section.
