How to Install MySQL in Ubuntu
Learn how to install MySQL server on an Ubuntu machine in the command line and secure it properly.

Looking for a quick way to install MySQL in Ubuntu? Well, here you have it!
Installing MySQL on Ubuntu
Being one of the most popular and open-source relational database management systems, you'll find this available with almost every package manager.
And the same goes for Apt (package manager for Debian).
So here's the command to update your existing repos and install MySQL in Ubuntu:
sudo apt update && sudo apt install mysql-serverYou will get a MySQL server which is helpful when you want to host a database server on your system but what if you connect to a MySQL server as a client?
Then you will have to install MySQL client instead of server using the given command:
sudo apt install mysql-clientOnce you are done with the installation, you can check for the installed version by appending --version to the mysql command:
mysql --version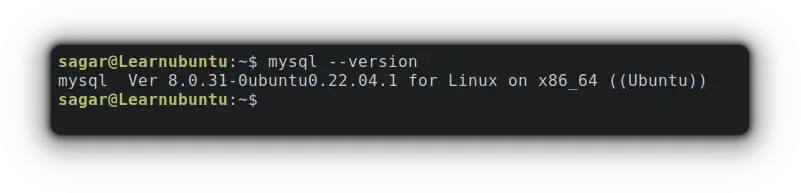
Securing MySQL install with a secure script
MySQL is vulnerable just after installation and this is the reason why it is pre-bundled with a secure script.
To start the secure script, utilize the given command and it will ask various questions ranging from profile password to the level of password validation:
sudo mysql_secure_installationAnd when I choose my password and security validation level, it gave me the following error:
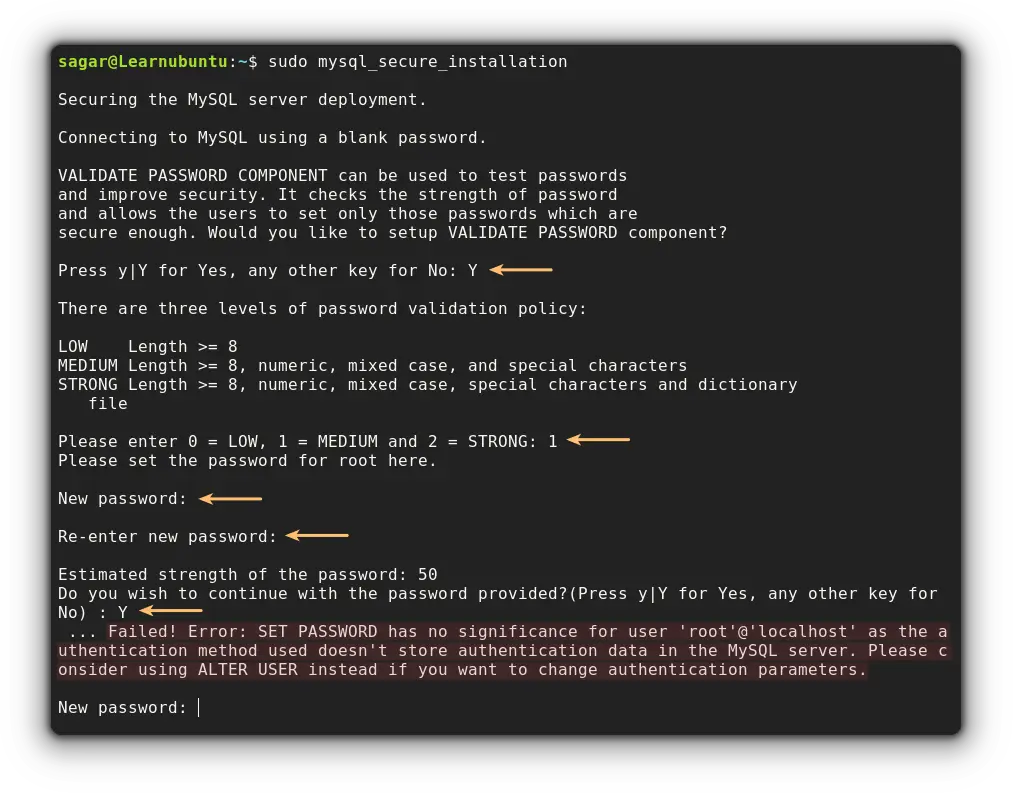
And if you are on Ubuntu, you will probably get the same error so let's resolve this issue first.
How to solve Failed! Error: SET PASSWORD has no significance for user ‘root@localhost’ as the authentication
The reason why you get this error is that by default, the secure script attempts to set the root password for MySQL install.
And by default, Ubuntu is configured to connect using a password.
But the steps are fairly simple. Let's start with starting MySQL:
sudo mysqlNow, we will set the password to identify root@localhost:
alter user root@localhost identified with mysql_native_password by 'Enter strong password here';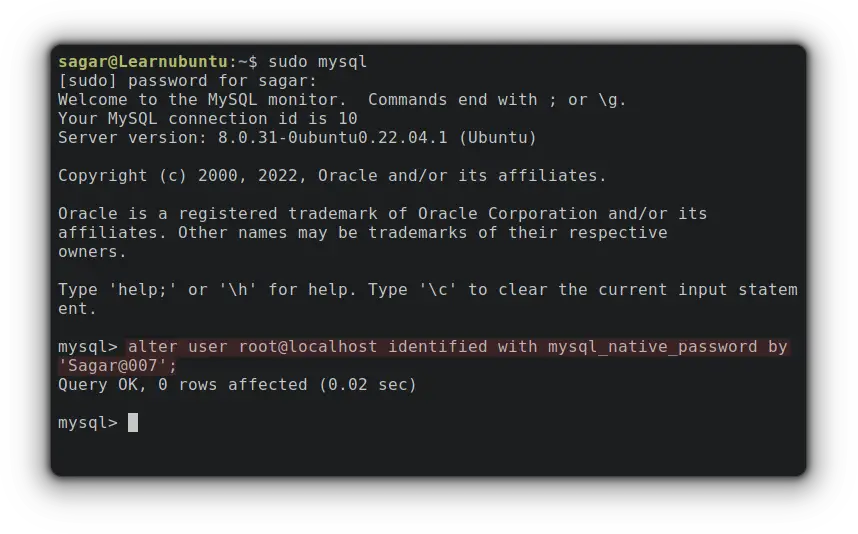
Once done, flush the privileges in MySQL and exit by using the given command:
flush privileges
exit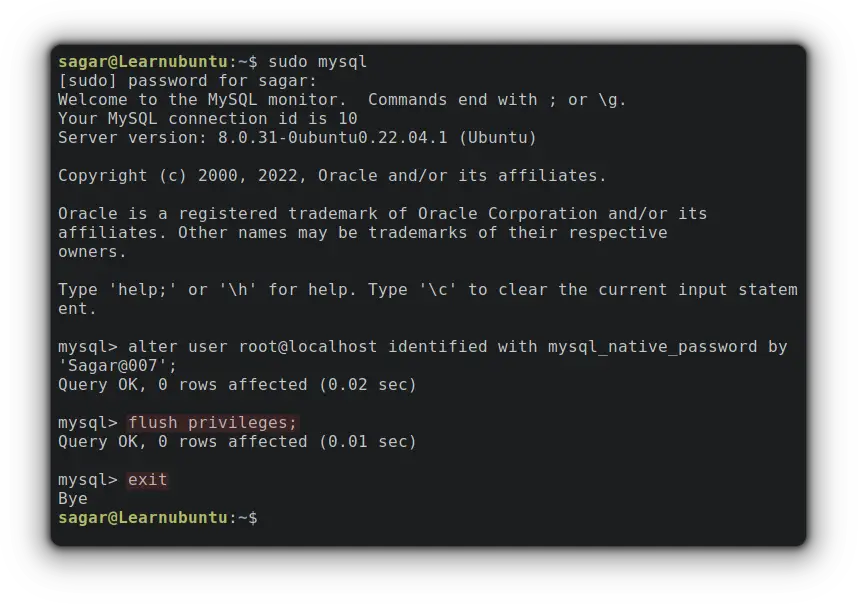
Now, start the secure script again:
sudo mysql_secure_installation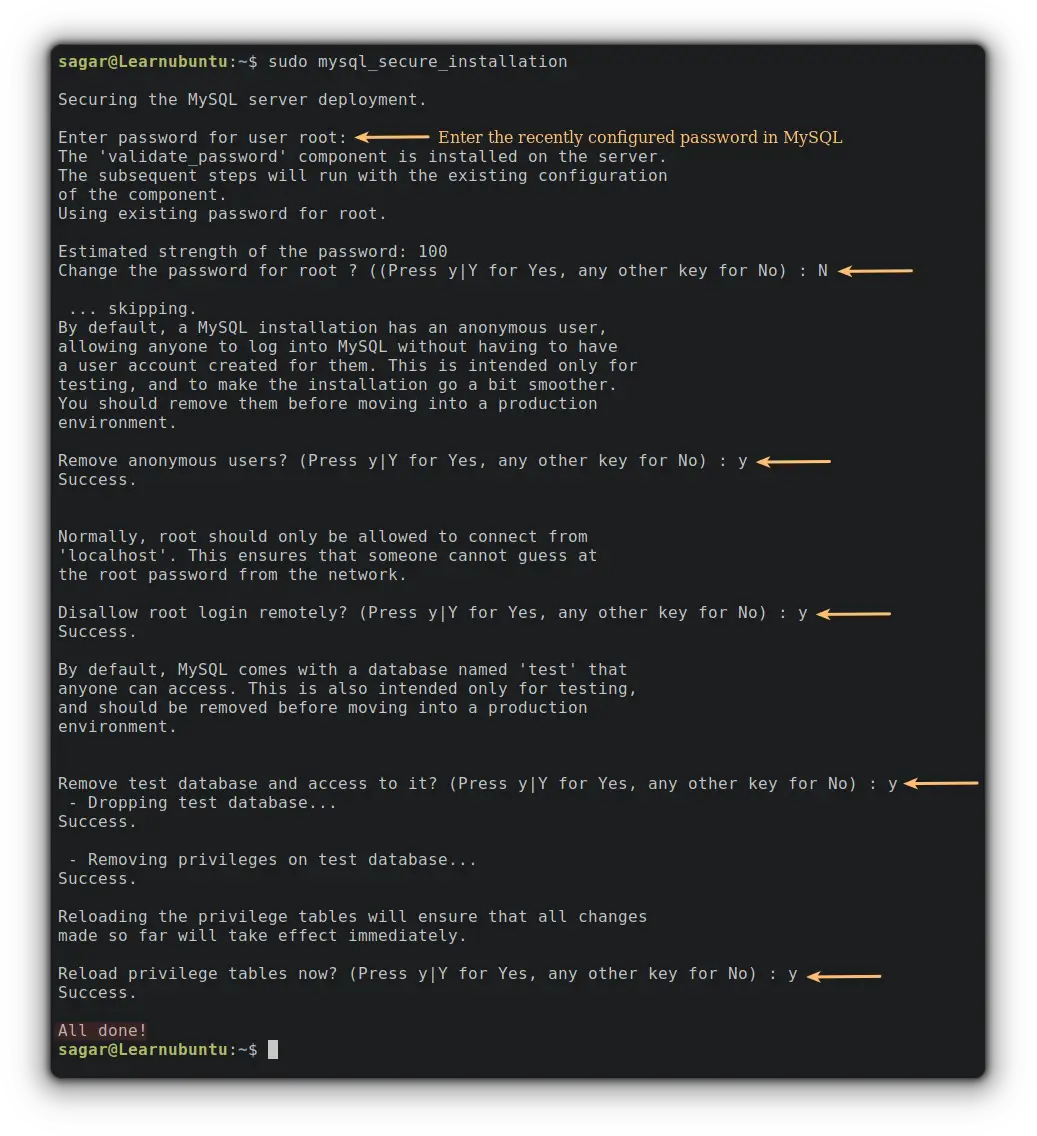
And that's it. You have successfully secured MySQL!
Start MySQL on every boot
To check whether MySQL is running or not, you can check its status by using the given command:
sudo systemctl status mysql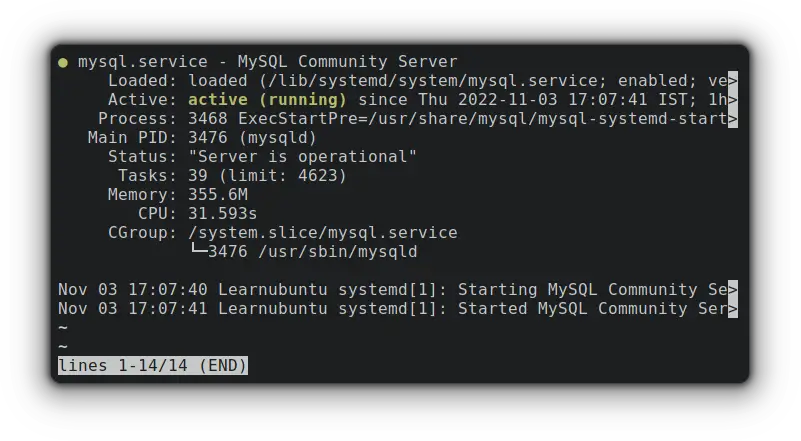
And if it's not active, you can start MySQL using the given command:
sudo systemctl start mysqlTo start MySQL on every boot, you can use the given command:
sudo systemctl enable mysql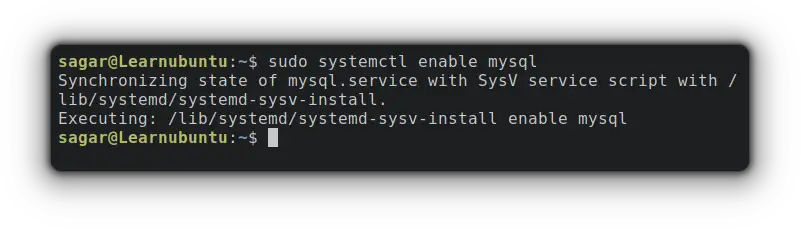
How to uninstall MySQL from Ubuntu
To remove MySQL completely from your Ubuntu system, the first is to stop the MySQL service:
sudo systemctl stop mysqlNow, let's remove every package associated with MySQL so you can have ideal reinstallation:
sudo apt-get purge --auto-remove mysql-server mysql-client mysql-common mysql-server-core-* mysql-client-core-*And if you want to remove the configuration data:
sudo rm -rf /etc/mysql /var/lib/mysqlThat should get your job done.
Wrapping Up
This was my take on how you can install MySQL including how to troubleshoot a secure script and uninstall MySQL from Ubuntu.
I hope you will find this helpful and if you still have any issues, feel free to ask in the comments.

A software engineer who loves to tinker with hardware till it gets crashed. While reviving my crashed system, you can find me reading literature, manga, or watering my plants.