Install PHPMyAdmin in Ubuntu
With PHPMyAdmin, you can access your application's SQL database from a graphical web interface. Learn how to install and use it on Ubuntu.

Not everyone is comfortable using MySQL in the terminal, including me.
No, it is not about a lack of terminal skills but using MySQL to deal with multiple queries can be quite lengthy.
This is where PHPMyAdmin comes in as it gives you a friendly web-based interface to interact with the database.
And in this tutorial, I will walk you through how to install PHPMyAdmin in Ubuntu.
But for the installation, there are some prerequisites:
- Installed and configured LAMP (Linux, Apache, MySQL, and PHP) server. If you haven't configured it, you can refer to our detailed guide on how to install the LAMP server on Ubuntu.
- User with superuser privileges.
Once you have satisfied the prerequisites, you can follow the given guide to install PHPMyAdmin.
How to install PHPMyAdmin on Ubuntu
The PHPMyAdmin package is available in the universe repository. So ensure to enable the universe repository.
To enable the universe repository, you can use the following command:
sudo add-apt-repository universeOnce done, you can use the following command to install PHPMyAdmin in Ubuntu:
sudo apt install phpmyadminDuring the installation, it will open several prompts.
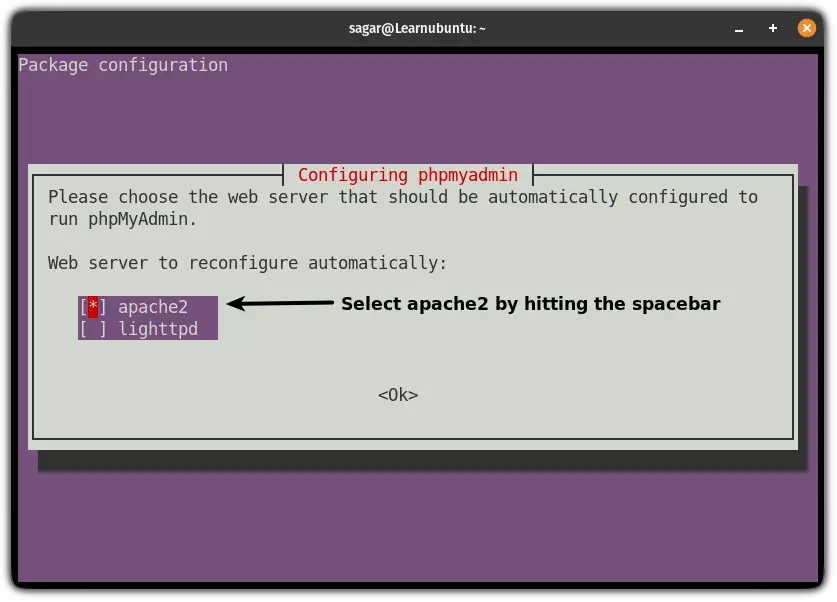
The first one is package configuration where you have to select which web server needs to be reconfigured automatically.
Select the Apache by hitting the spacebar and finalize the changes by pressing the OK button:
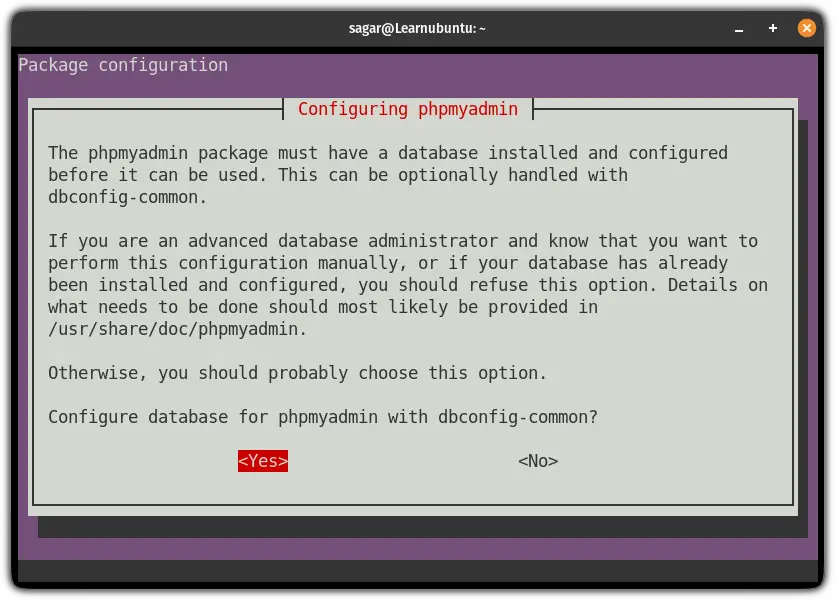
In the next and final prompt, it will ask whether you Configure the database for PHPMyAdmin with dbconfig-common?
Unless you are an advanced database admin and want to configure everything manually, you should go with the dbconfig-common configuring it for you:
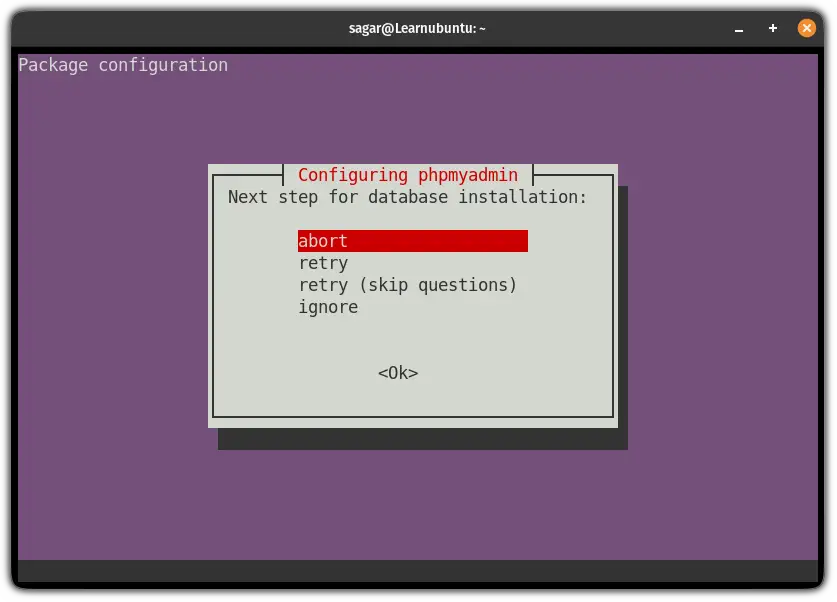
And it will throw the error by saying Your password does not satisfy the current policy requirements:
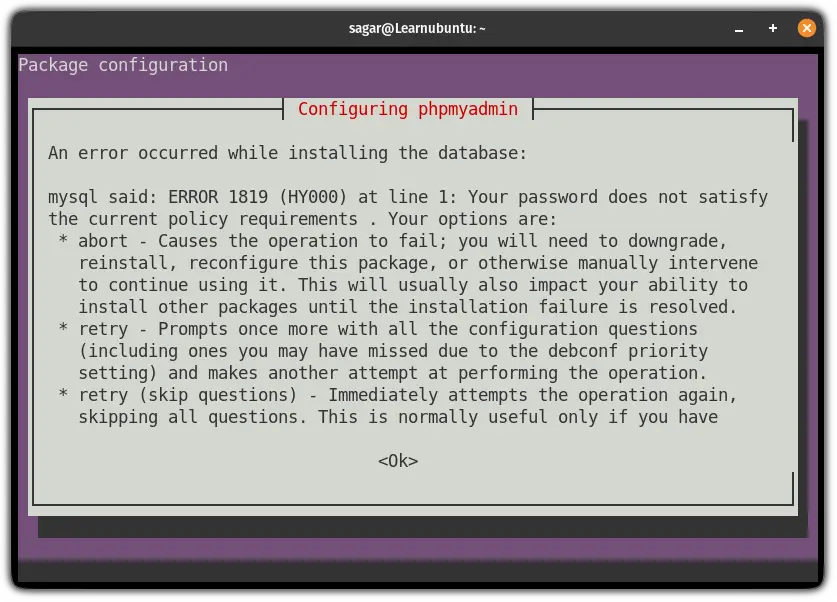
Don't worry! Hit ok and select the abort option:
Solving "Your password does not satisfy the current policy requirements" while installing PHPMyAdmin
Start MySQL using the following command:
sudo mysqlAnd if you enabled password authentication for the root user, you will have to execute the following command to start MySQL:
mysql -u root -pNext, execute the following command to stop the password validation:
UNINSTALL COMPONENT "file://component_validate_password";Once done, exit MySQL:
exit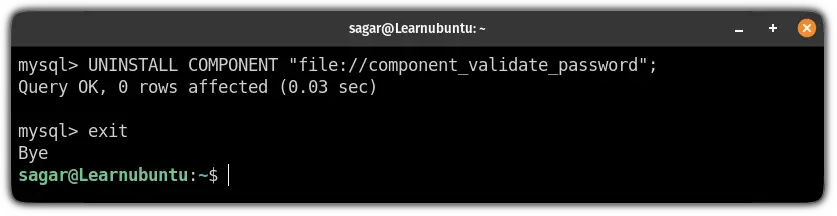
Now, execute the installation command for PHPMyAdmin again:
sudo apt install phpmyadminOnce the installation is done, start MySQL again:
mysql -u root -pAnd start the password validation again:
INSTALL COMPONENT "file://component_validate_password";Now, exit from the MySQL prompt:
exit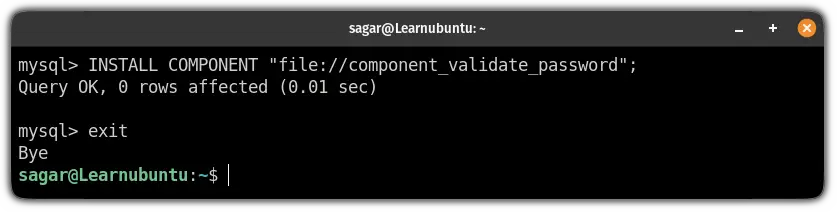
And that's it. PHPMyAdmin has been installed.
You can access PHPMyAdmin by entering the following into your address bar in the browser:
http://IP_Address/phpMyAdmin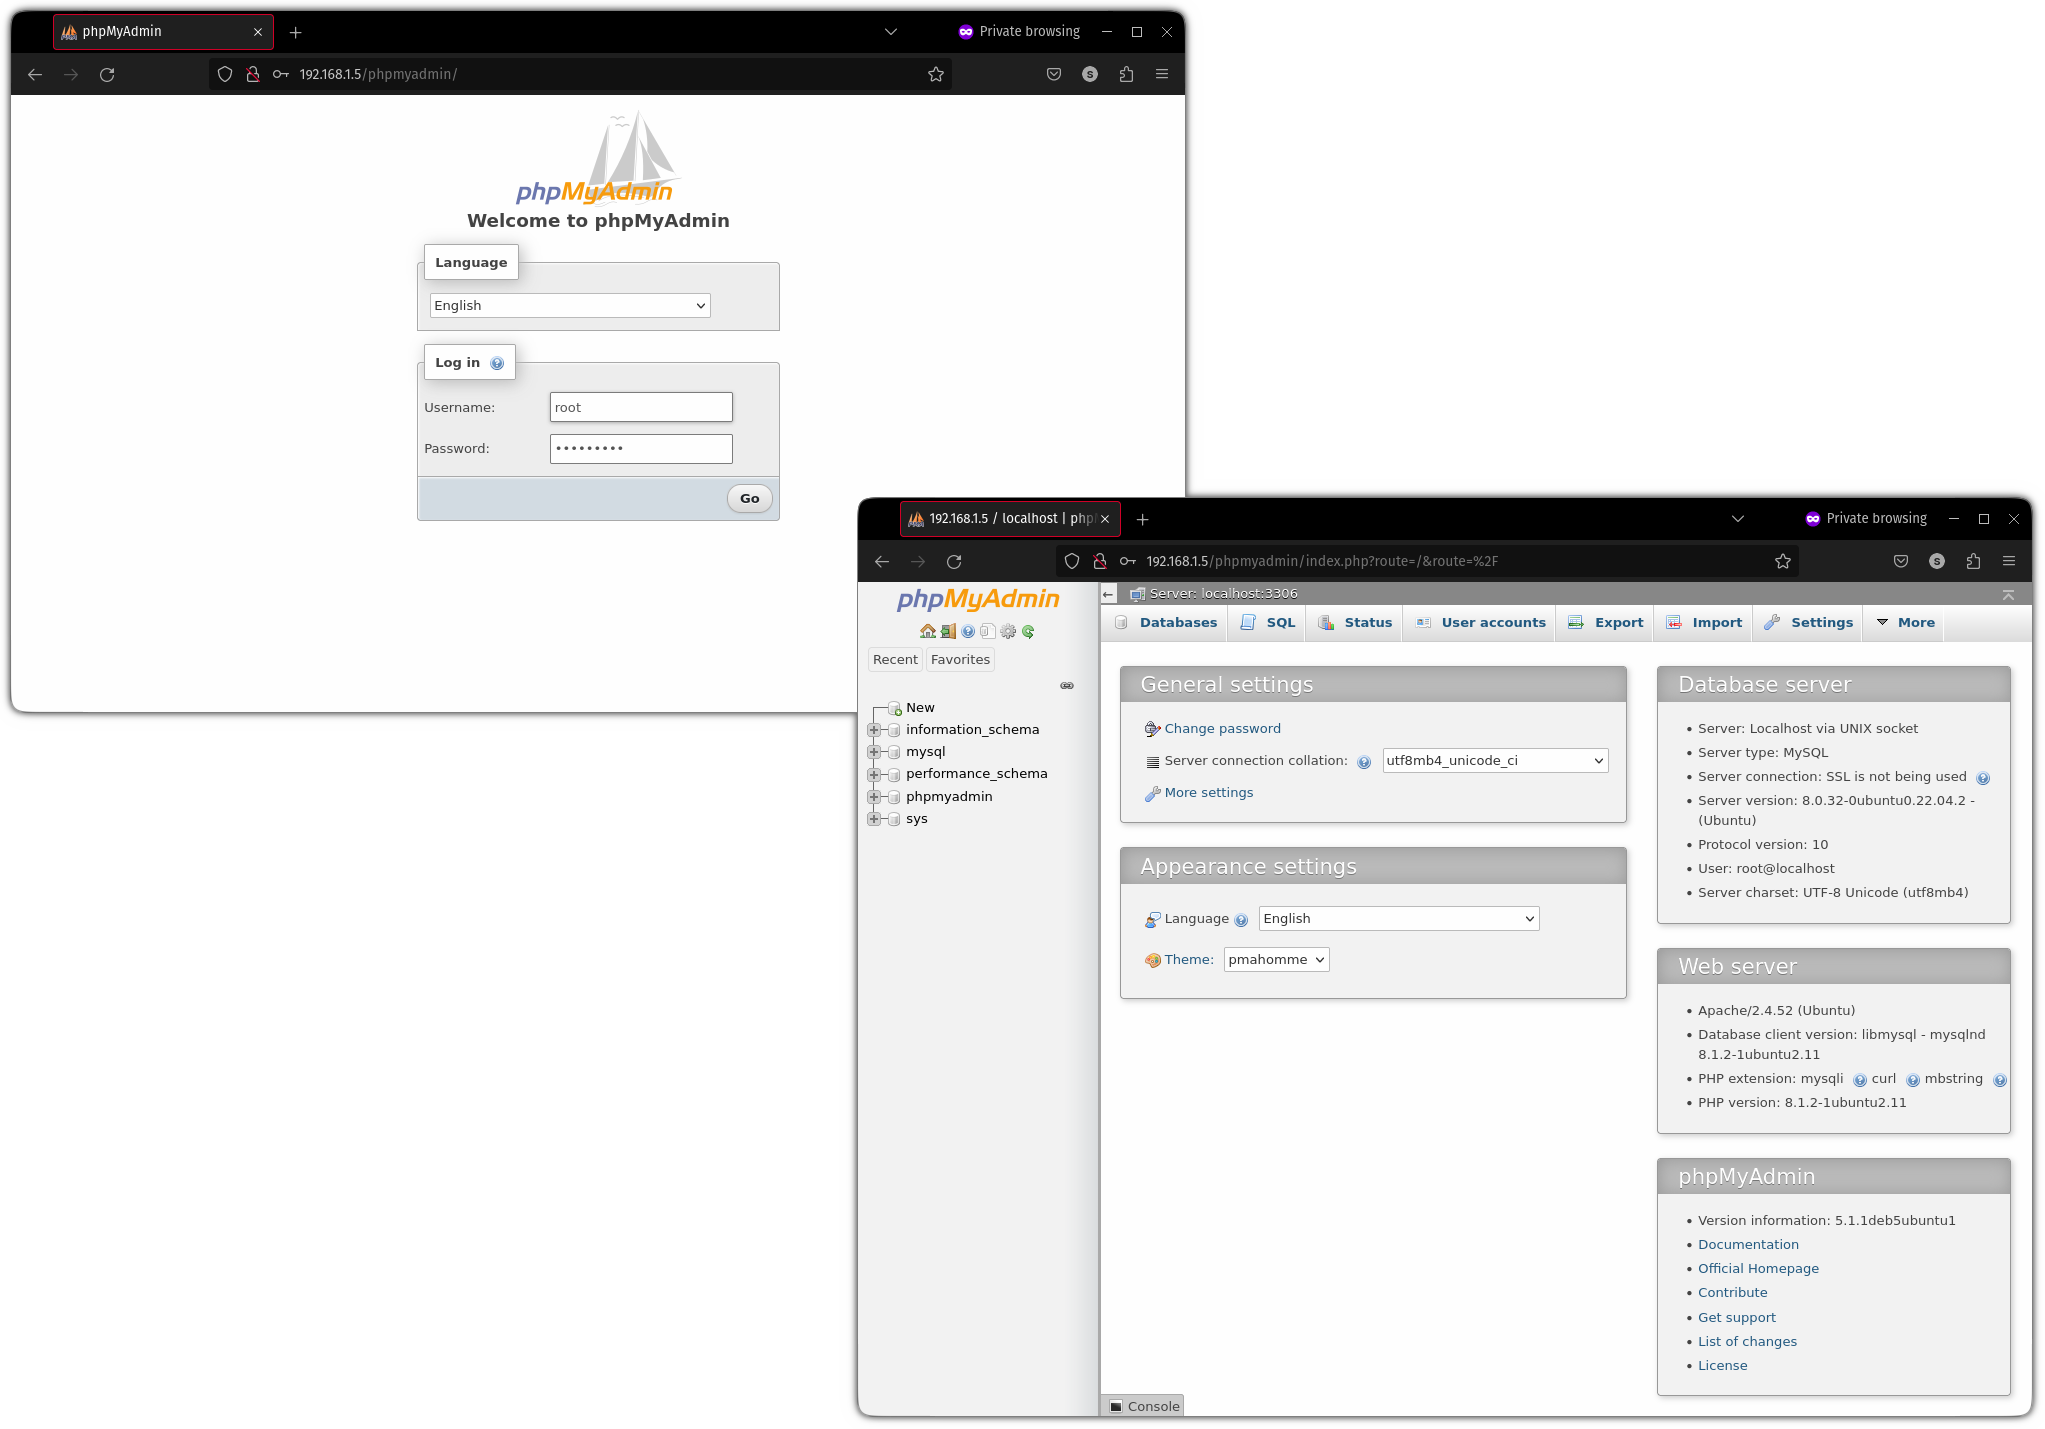
And there you have it.
How to secure PHPMyAdmin in Ubuntu
PHPMyAdmin is one of the favorite targets of hackers so it is necessary to make it secure as possible.
To do so, you will have to utilize the .htaccess file that stops the overriding of the default PHPMyAdmin config file.
First, open the config file:
sudo nano /etc/apache2/conf-available/phpmyadmin.confAnd add AllowOverride All inside the <Directory /usr/share/phpmyadmin> section:
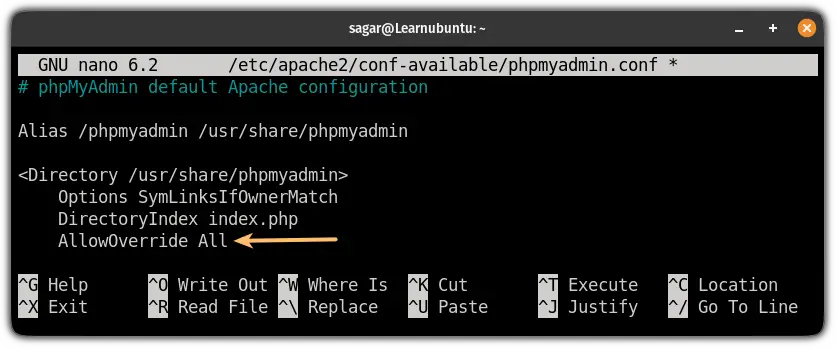
Save changes and exit from the nano text editor.
Next, restart the Apache:
sudo systemctl restart apache2Using the above instructions, you have enabled use of the .htaccess file but you will have to create .htaccess file to make it work.
To do so, use the following command to create and open .htaccess file:
sudo nano /usr/share/phpmyadmin/.htaccess
And enter the following:
AuthType Basic
AuthName "Restricted Files"
AuthUserFile /etc/phpmyadmin/.htpasswd
Require valid-user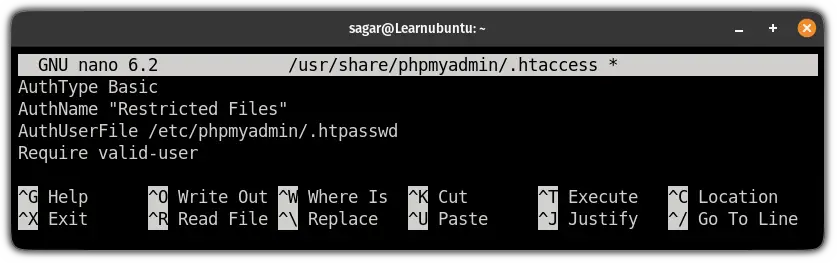
Save changes and exit from the text editor.
Now, to create a user for .htaccess, use the following:
sudo htpasswd -c /etc/phpmyadmin/.htpasswd usernameAnd it will ask you to enter the password:
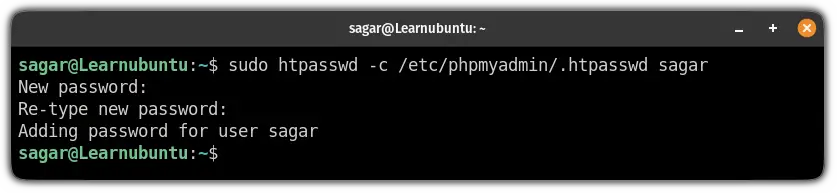
Don't worry, this will work as an additional login page to filter out the attacks.
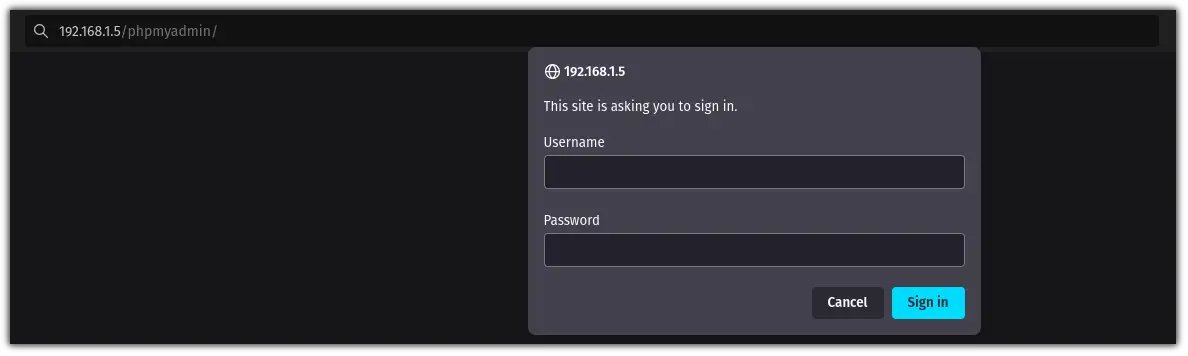
To take effect from this, restart the Apache:
sudo systemctl restart apache2Now, start PHPMyAdmin and you will see an additional login page that can only be bypassed through the added user in the .htaccess file:
Create a new user for PHPMyAdmin (optional)
I would recommend creating a new user for PHPMyAdmin but it is an optional step so you may skip this and use the PHPMyAdmin as root.
First, start MySQL using the following:
sudo mysqlAnd if you enabled password authentication for the root user, use the following command to start MySQL:
mysql -u root -pTo create a new user, use the following command where you have to replace UserName with your desired username and enter a strong password by replacing PassWord:
CREATE USER 'UserName'@'localhost' IDENTIFIED BY 'PassWord';Here, I created a new user named sagar and used Sagar@LU123 as a password:
CREATE USER 'sagar'@'localhost' IDENTIFIED BY 'Sagar@LU123';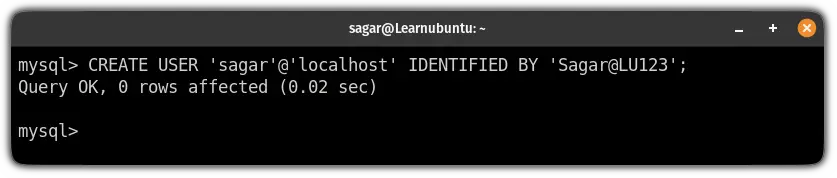
Next, grand all the privileges to the new user:
GRANT ALL PRIVILEGES ON *.* TO 'UserName'@'localhost' WITH GRANT OPTION;And finally, exit from the MySQL prompt:
exitWant to secure your server from DOS attacks?
If you are facing DOS attacks, the easiest way to tackle this situation is to use Fail2Ban.
And guess what. We have a detailed guide for this topic:

I know that this is a lengthy guide and you may face difficulties. Leave a comment below and I'll try to help you out.

A software engineer who loves to tinker with hardware till it gets crashed. While reviving my crashed system, you can find me reading literature, manga, or watering my plants.