Install and Setup SFTP Server on Ubuntu
This step by step tutorial shows how you can install and configure a SFTP server on your Ubuntu system.

If you are looking for a reliable way to transfer files over the network, SFTP is one of the best choices you have!
SFTP (Secure File Transfer Protocol) is nothing but a secure extension of SSH which is used to connect securely over remote networks for file transfer.
Sure, you can use the SFTP with the configuration but by default, every user can access the SFTP which comes as a security threat.
So it is a good idea to configure the SFTP for enhanced security and control!
And in this guide, I will walk you through step by step how to install and set up an SFTP server on Ubuntu.
How to install and setup SFTP server on Ubuntu
As I mentioned earlier, the SFTP is part of the SSH and for the installation, all you need to do is install SSH on Ubuntu.
So if you haven't installed it already, you an use the following:
sudo apt install sshThat's it! You have the SSH installed on your system.
Step 1: Creating a new user group for SFTP
By creating groups in Linux, you can easily manage permissions of users so here, I will be creating a new user group.
To create a new group in Linux, you can use the addgroup as I mentioned:
sudo addgroup [group-name]Here, I will name my group sftp and I would recommend you to do the same so you can use my commands directly without any changes:
sudo addgroup sftp
Step 2: Create and configure a new user
Once you are done with creating a new user group, it's time to create a new user account and make it secure with the password.
To create a new user in Linux, you'd have to use the useradd command in the following manner:
sudo useradd [username]Here, I'm going with the roy:
sudo useradd royOnce done, add a password for the user using the passwd command:
sudo passwd [username]For me, the username is roy, so I will be using the following:
sudo passwd roy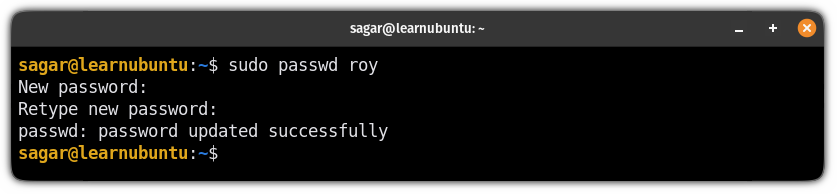
Once done, add the user to the group using the usermod command in the following manner:
sudo usermod -a -G [group-name] [username]In my case, the group name was sftp and the username was roy so my command would look like this:
sudo usermod -a -G sftp royStep 3: Create and configure a directory for SFTP
To store files, you have to have a directory so in this section, I will walk you through how you can create and configure a directory for SFTP.
Here, I will create a new directory named Files inside the /var/sftp.
But here's a condition, the target directory (/var/sftp/Files in my case) must be owned by the user that you created recently (roy in my case) and its parent directory /var/sftp must be owned by the root!
So first, create a new directory inside the /var/sftp using the following:
sudo mkdir -p /var/sftp/[directory-name]As I mentioned earlier, I will be going with the Files as a directory name:
sudo mkdir -p /var/sftp/FilesNow, let's change the ownership of the parent directory to the root:
sudo chown root:root /var/sftpNext, change the permissions for the same directory by giving all rights to the root and others can only read and execute:
sudo chmod 755 /var/sftpAnd finally, change the ownership of the directory you've created for SFTP for the recently created user:
sudo chown [username]:[default_usergroup] /var/sftp/DocumentIn my case, the username was roy and the directory name was Files so, my command would look like this:
sudo chown roy:roy /var/sftp/FilesStep 4: Make changes to the SSHD config file
In this step, I will show you how you can configure the sshd config file to enhance protection and restrict access to the created directory and sibling shell access.
First, open the sshd config file using the following command:
sudo nano /etc/ssh/sshd_configGo to the end of the file in the nano text editor using Alt + / and paste the following (Make sure to change the group name if you used anything apart from sftp):
Match group sftp
ChrootDirectory /var/sftp
X11Forwarding no
AllowTcpForwarding no
AllowAgentForwarding no
ForceCommand internal-sftp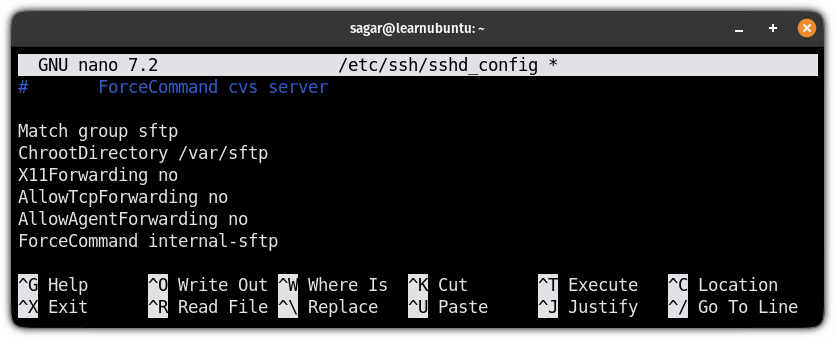
Once done, save changes and exit from the nano text editor.
Now, let me explain the meaning of each line used above.
Match group sftpallows you to specify settings for the specific group.ChrootDirectory /home: It ensures that the user won't be able to access anything apart from/var/sftp.X11Forwarding no: By disabling the X11 port forwarding, you can save yourself from the vulnerabilities of the X11.AllowTcpForwarding no: Ensures that the user can not create arbitrary network connections from the SFTP server.AllowAgentForwarding no: It is a security measure and ensures that any compromised server cannot misuse the client's SSH keys.ForceCommand internal-sftp: It forces the connection to run upon the login and disables the shell.
To take effect from the changes you've made, restart the service using the following command:
sudo systemctl restart sshStep 5: Verifying the SFTP configuration
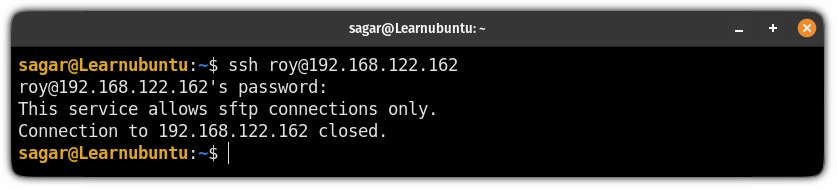
You can start by trying to log in as a user with SSH you created for the SFTP and it will throw an error by saying "This service allows sftp connections only".
For example, here, I tried with my user roy to log in with SSH:
Now, use the sftp command instead of ssh and it will get you into the SFTP prompt:
sftp username@IP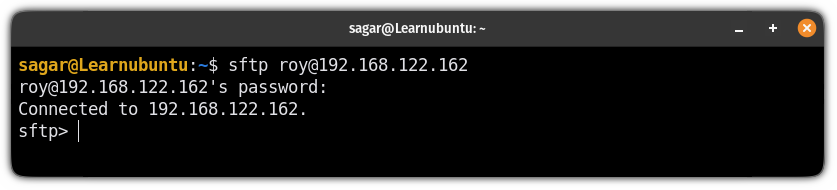
And if you will use the ls command to list the contents of the current directory, it will only show the directory that you assigned it:
ls
And here you have your SFTP server working!
Want to check vulnerabilities in your server?
If you are managing a mainframe server, it is necessary for you to check the current vulnerabilities, and for that purpose, you can use OpenVAS.
And for that purpose, we have a detailed guide on how you can use OpenVAS to check vulnerabilities of your system:

I hope you will find this guide helpful. And if you have any queries, feel free to ask in the comments.

A software engineer who loves to tinker with hardware till it gets crashed. While reviving my crashed system, you can find me reading literature, manga, or watering my plants.