Install and Use Webmin on Ubuntu
Not comfortable with the command line for managing your server? Use Webmin and manage it graphically.

Webmin is a web-based control panel used to manage Linux systems. This tool is helpful for server admins as it provides a simple GUI to manage multiple Linux systems pretty easily through a web browser.
In this tutorial, I will walk you through how you can install Webmin in Ubuntu and in the end will also show you how you can use it.
Let's start with the installation.
How to install Webmin in Ubuntu
If you try to install webmin directly with apt, it will throw an error saying "Unable to locate package webmin":
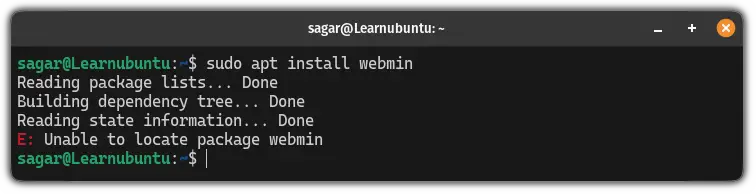
There's a simple reason behind this error! Webmin is not available in the default repository of Ubuntu.
Sure, you can add the repository manually, but Webmin provides a script that will take care of all the steps of adding the repository including setting up GPG keys.
So first use the curl command to download that script:
curl -o setup-repos.sh https://raw.githubusercontent.com/webmin/webmin/master/setup-repos.sh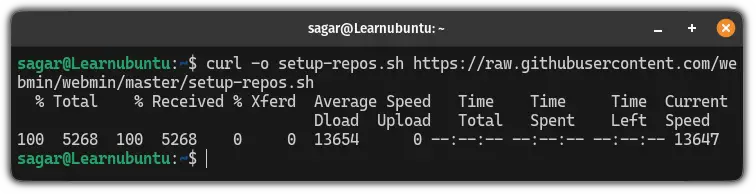
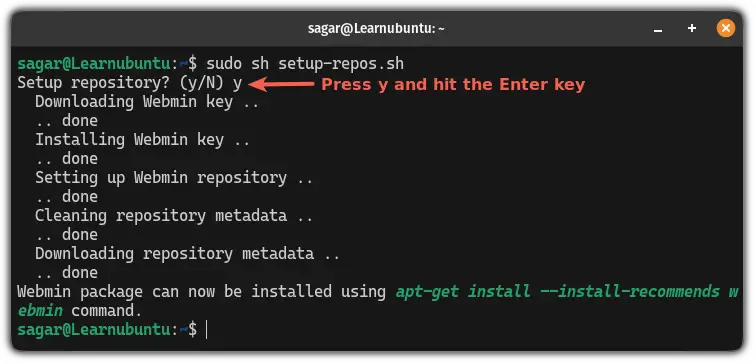
Then simply execute the script using the following command:
sudo sh setup-repos.shOnce you execute the script, press the y key to confirm that you want to add the repository and it will automatically download and set the Webmin key and repository:
To take effect from the added repository, update the repository index using the following command:
sudo apt updateFinally, install the Webmin using the given command:
sudo apt install webmin --install-recommends
Once done, you can check the installed version of Webmin using the awk command in the following manner:
dpkg -l | awk '/webmin/ {print $3}'

As you can see, it gave me the Webmin version 2.104!
Allow Webmin port through firewall
But if you are using a UFW firewall, it will block port number 10000 (a port used by Webmin). To make it work, you need to allow the port in UFW using the following:
sudo ufw allow 10000/tcpHow to use Webmin in Ubuntu
First, let's have a look at how you can access Webmin from your web browser.
If you want to access Webmin from the system on which you did the installation, use the following in the address bar:
https://localhost:10000To access from the other machine from the network, use the IP address of the server instead in the following manner:
https://IP_of_server:10000For example, if the IP of my server is 192.168.1.1, then I will be using the following:
https://192.168.1.1:10000It will show you the website is not protected. But you can skip this warning and proceed to the next part.
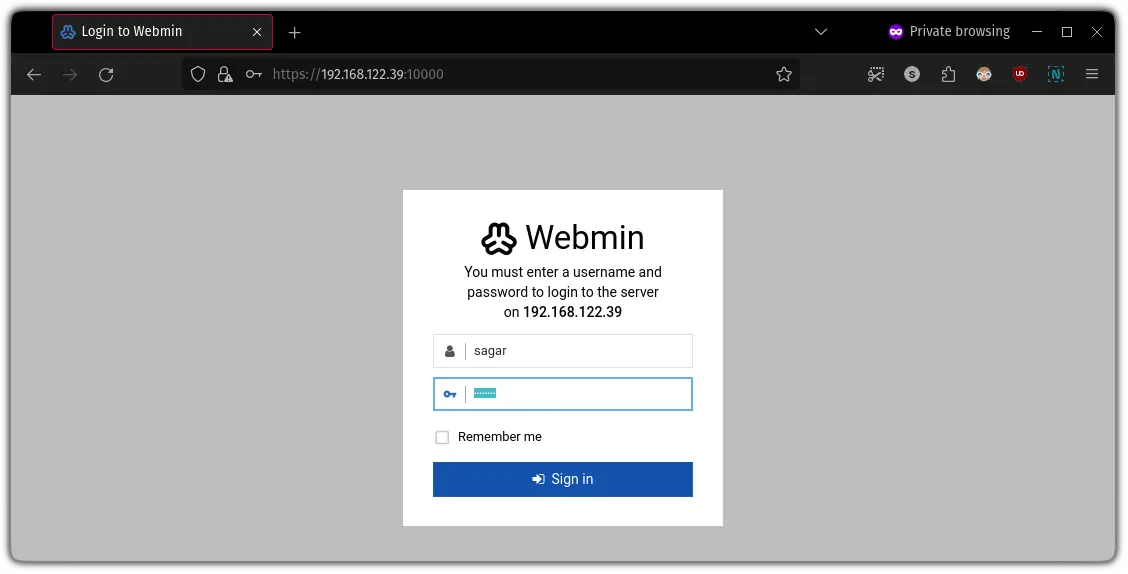
Once you do that, you will see a prompt asking for the username and password.
For now, enter the ID and password of a user that has superuser privileges:
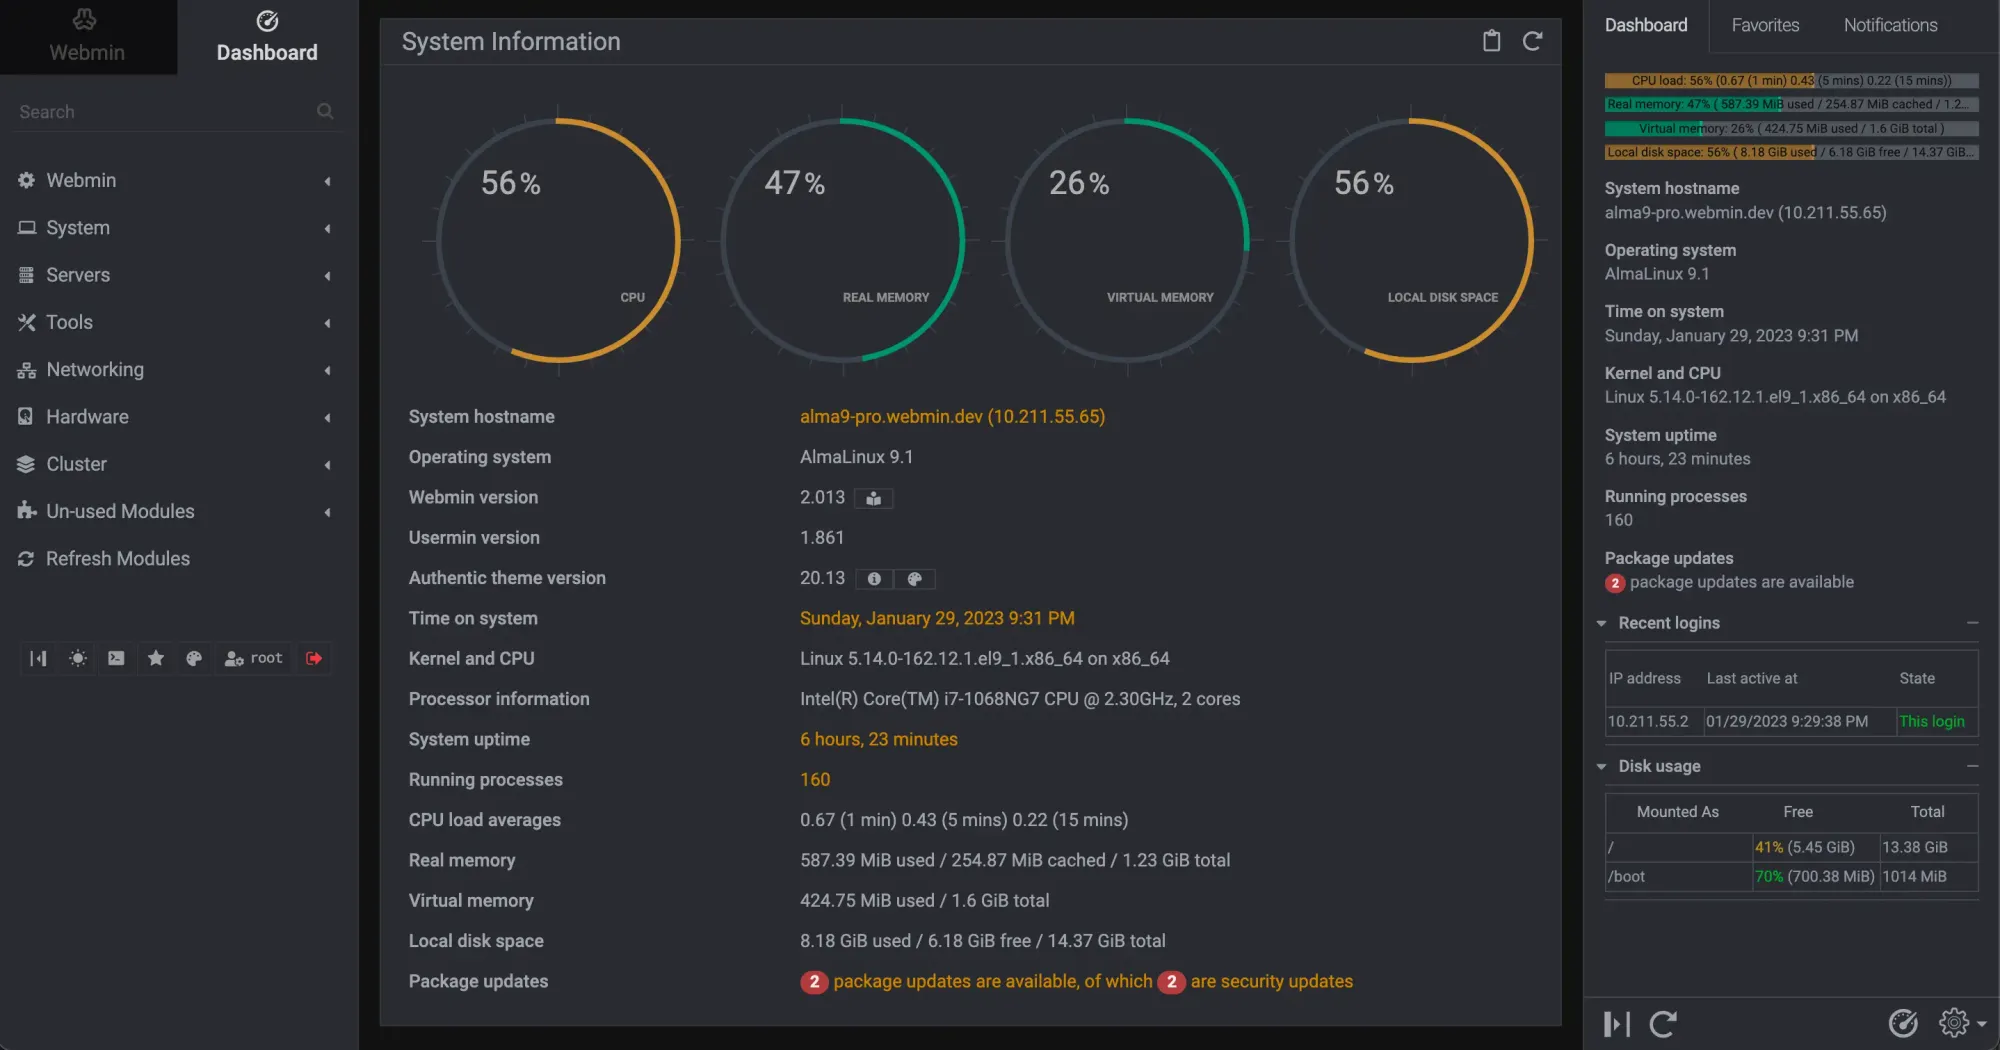
After you log in, it will show you basic information about the server such as processor, kernel, number of outdated packages, and more:
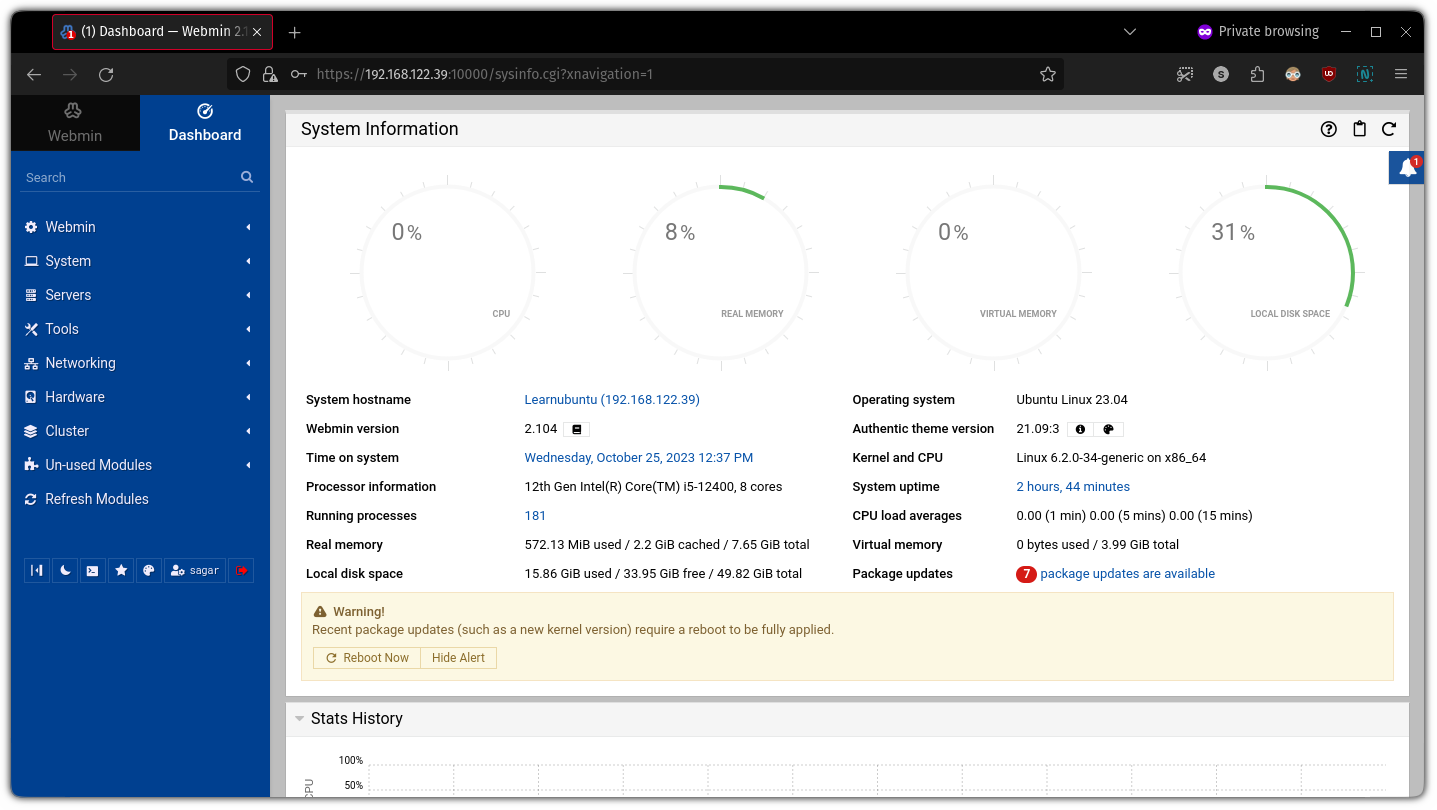
On the left-hand side, you will see a menu having multiple options so let's take a look at what is the use of each item.
- Webmin: provides multiple options for Webmin itself including Webmin configuration files, creating a backup of config files, etc.
- System: it is related to general administrative tasks and allows you to perform tasks like creating users and groups, configuring date and time, and monitoring system performance.
- Servers: here's where you can configure and manage various server-related services which include creating a mail server and SSH server.
- Tools: this menu provides various tools and utilities to help you with your administrative tasks. It includes tools like file managers, process management, and other utilities for system management.
- Networking: from here, you can perform firewall setup, network configuration, and other related configurations to meet your needs.
- Hardware: as the name suggests, you get multiple options to fine true hardware-related settings which include RAID configuration, partition management, printer settings, and system time.
- Cluster: the cluster menu has multiple options to manage a cluster of servers.
- Un-used modules: it is a place where you can find a list of Webmin modules that are installed but not actively used on the system.
- Refresh modules: this option is used to refresh the list of modules in Webmin.
Now, let's have a look at how you can create a new user using Webmin.
Create a user using Webmin in Ubuntu
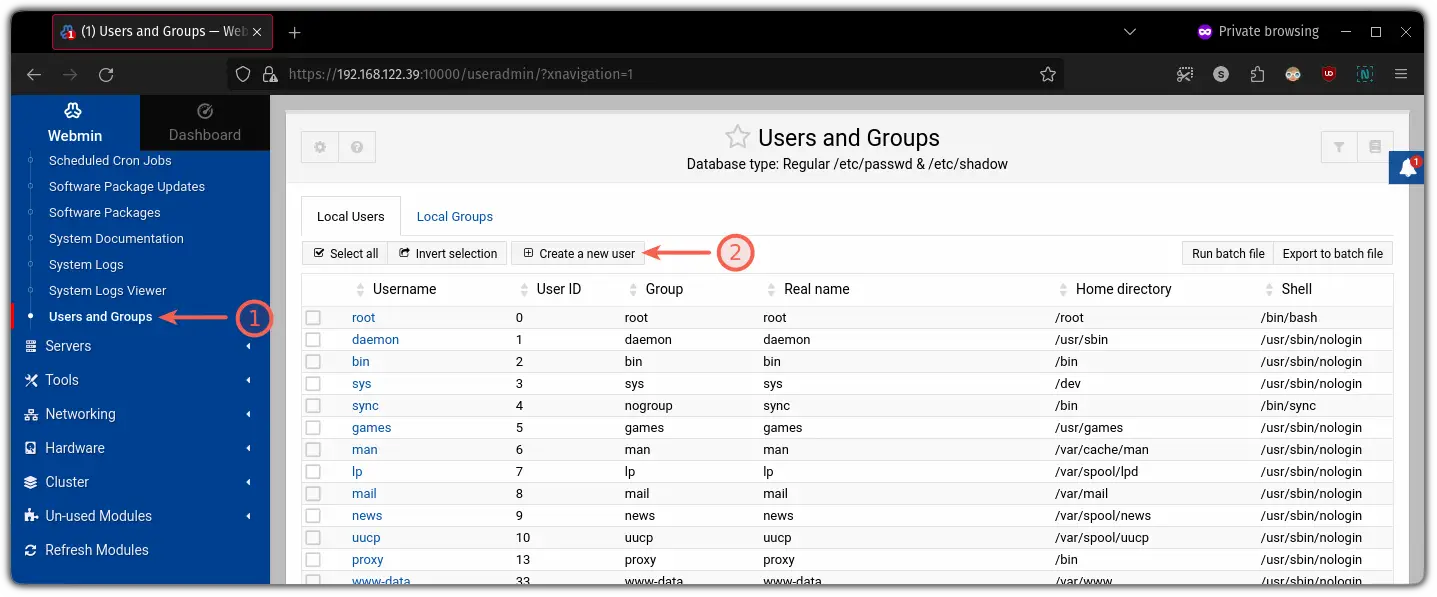
To create a new user in Webmin, click on System > Users and Groups and then click on Create a new user option:
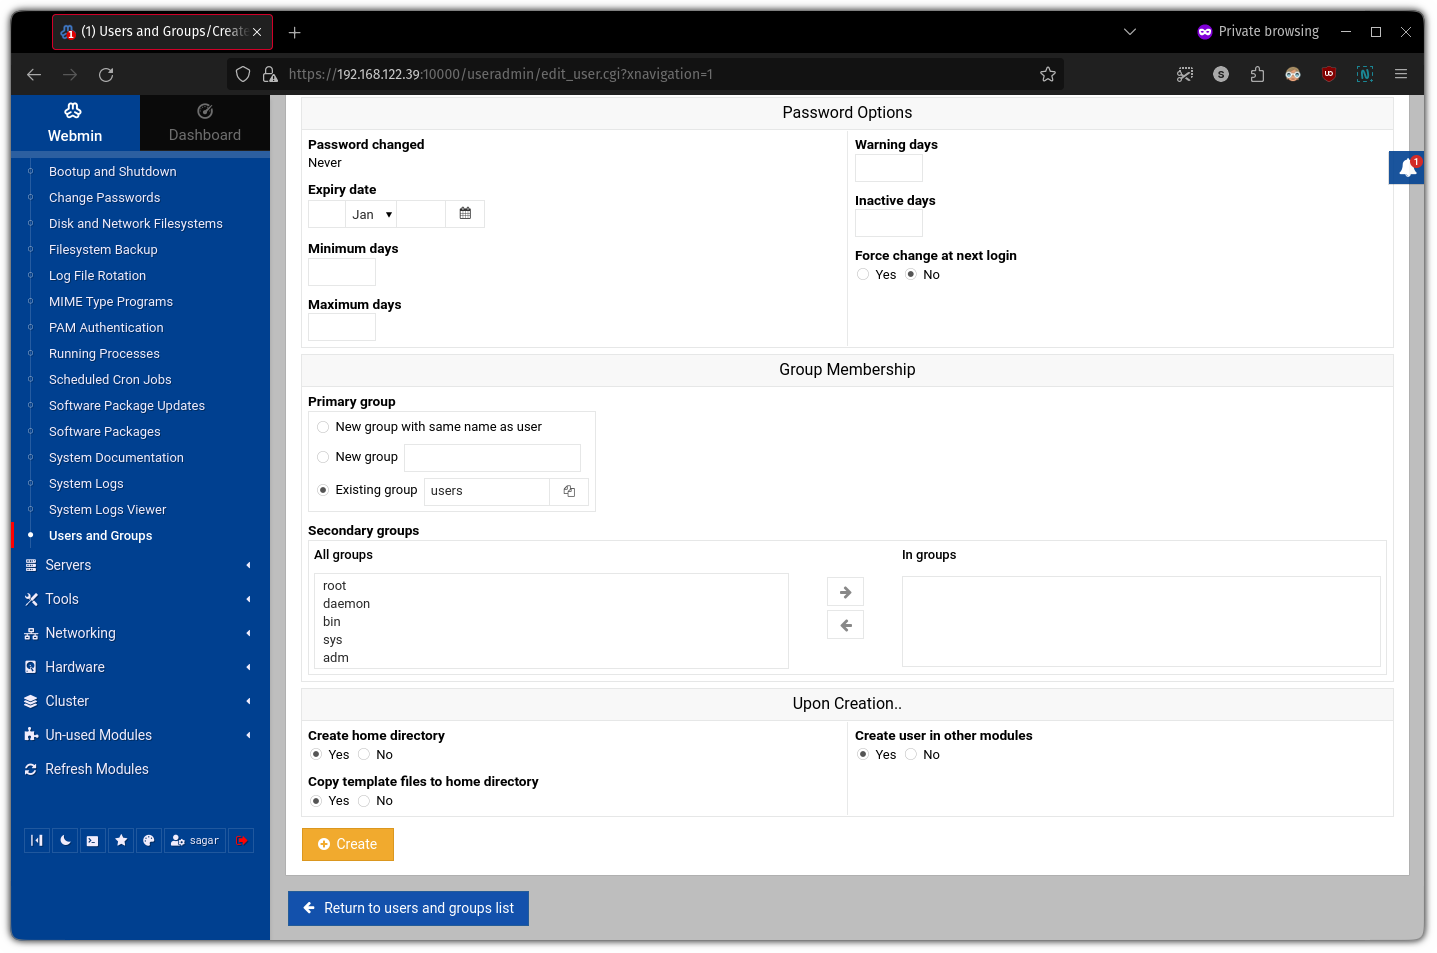
Once you do that, it will give you multiple options such as adding a username and password:
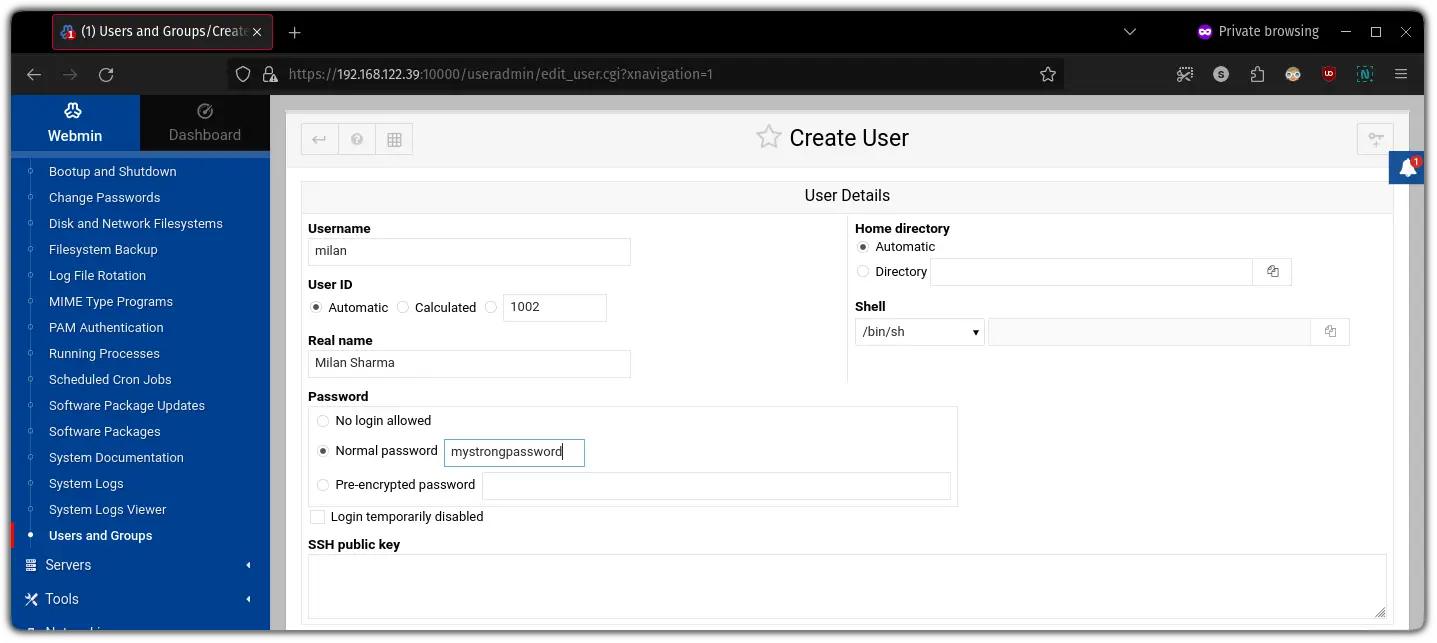
Alternatively, you also get options to set an expiry date, add this user to the group, and option to choose if you want to create a home directory or not:
Once you create a user, it will list all the users of the system:
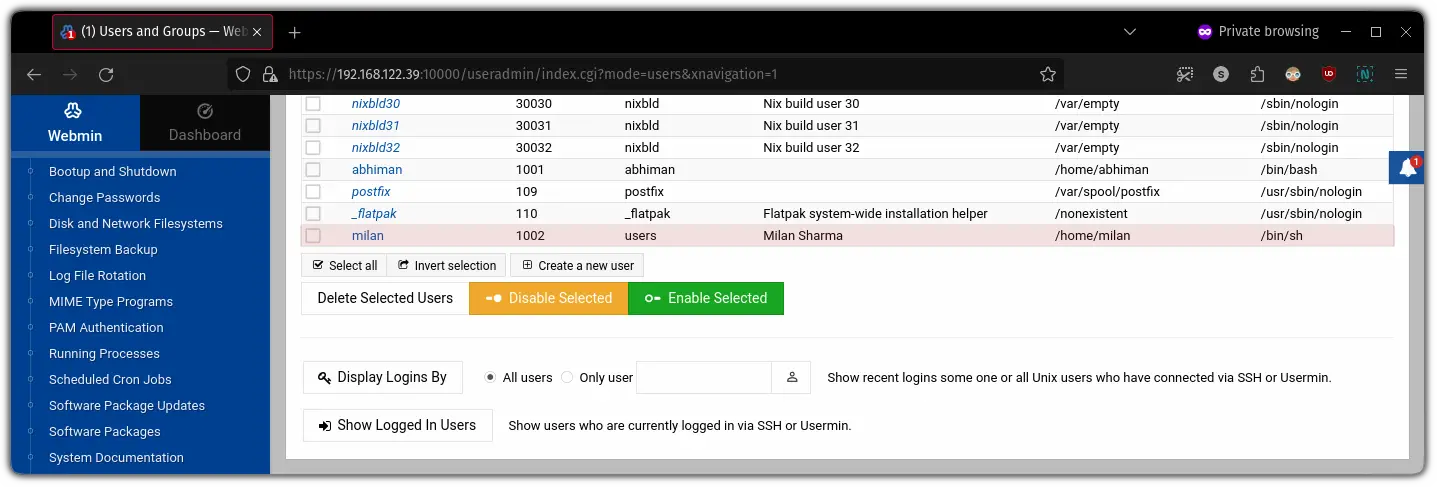
That's it!!
Wrapping Up
This was a quick tutorial on how to install and use Webmin in Ubuntu in the easiest way possible. I really hope you will find this guide helpful.
Encountered any issues while installation or have queries? Feel free to leave a comment.

A software engineer who loves to tinker with hardware till it gets crashed. While reviving my crashed system, you can find me reading literature, manga, or watering my plants.