Absolute Basics of Using iptables on Ubuntu
iptables allows you to manage incoming and outgoing traffic through configurable table rules. Learn the basics in this tutorial.
While UFW is easy to configure and maintain, for advanced control, you can use the classic tool iptables.
In this tutorial, I will walk you through the basics of the iptables. If you are using Ubuntu, the iptables come pre-installed, so you don't need to do anything to install it.
List iptables rules
So let's start with how you can list the existing rules:
sudo iptables -L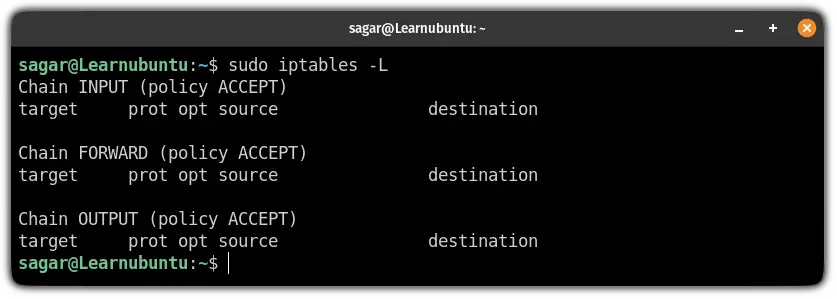
And if you notice carefully, by default, it is configured to accept traffic.
Now, let's have a look at how you can add rules to fine-tune your network.
Add rules to the iptables
While learning more about iptables, you will come across a term named chains.
Chains are nothing but a firewall rule in sequence and your firewall will behave accordingly.
You can apply the rule at the top of the chain using the -I flag and if you want to add your rule at the bottom, you will use the -A flag.
Allow port using iptables
To allow traffic from the specific port, you will have to use the following command syntax:
sudo iptables -A INPUT -p [protocol] --dport [port_no] -j ACCEPTNow, let's have a look at used flags:
-Awill add the rule to the end of the chainINPUTis used to make rules for incoming traffic-pis used to specify the protocol--dportis used to specify the destination port-jallows you to specify the action
For example, if I want to allow the HTTP (uses port no. 80) then I will be using the following:
sudo iptables -A INPUT -p tcp --dport 80 -j ACCEPT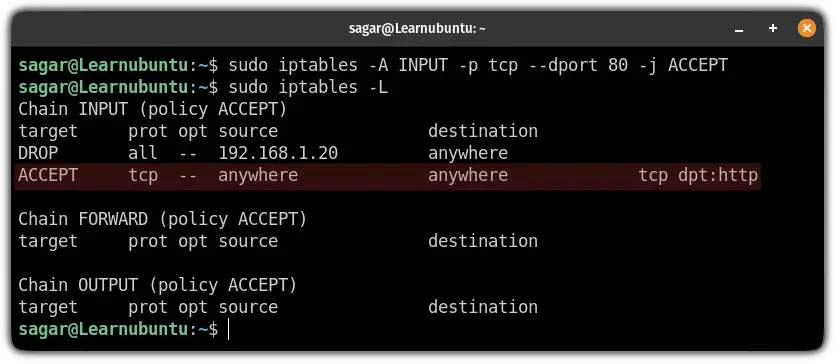
Deny traffic from port
To deny traffic from a specific port, all you have to do is execute the command in shown syntax:
sudo iptables -A INPUT -p [protocol] --dport [port_no] -j DROPSo let's say I want to block port no 443 (HTTPs) then I will be using the following:
sudo iptables -A INPUT -p tcp --dport 443 -j DROP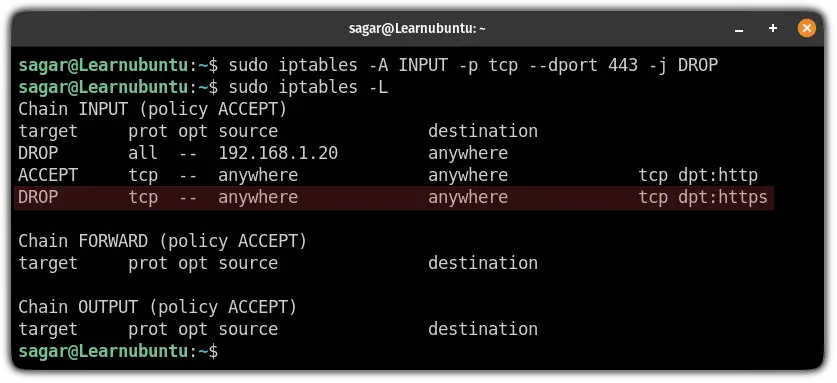
Allow traffic from specific IP
If you have the IP addresses of trusted sources, you can allow traffic from them.
To allow traffic from a specific IP, execute the command in a similar fashion to the given syntax:
sudo iptables -A INPUT -s [IP_Address] -j ACCEPTHere, -s is used to specify the source.
For your reference, here, I allowed traffic from 192.168.1.10:
sudo iptables -A INPUT -s 192.168.1.10 -j ACCEPT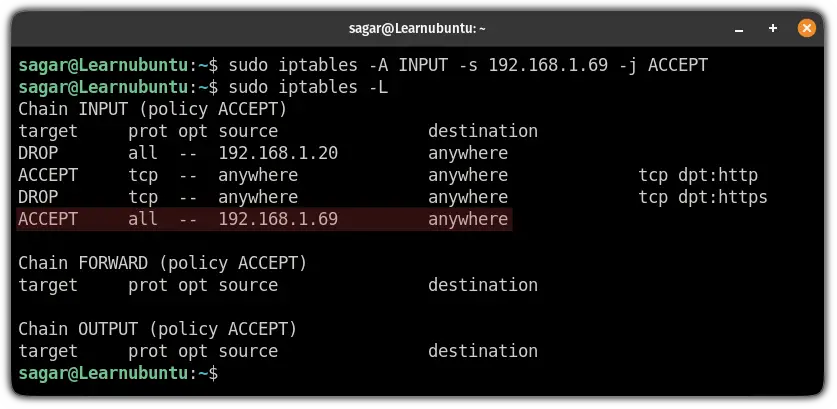
Deny traffic from a specific IP
You can deny traffic from specific IPs with a slight change in the above command.
Here, you will have to use DROP instead of ACCEPT:
sudo iptables -A INPUT -s 192.168.1.20 -j DROP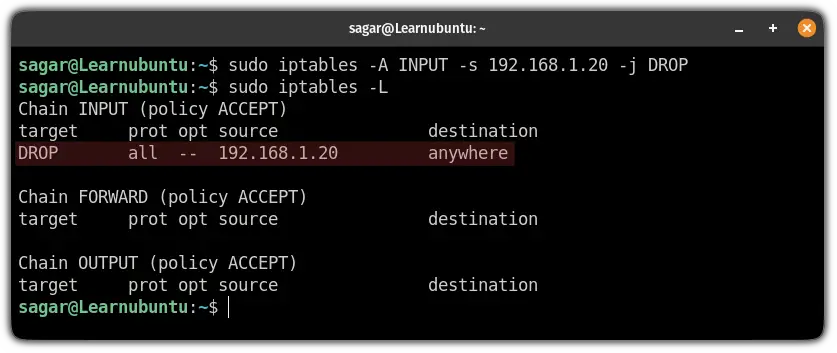
Similarly, you can specify the entire subnet:
sudo iptables -A INPUT -s 192.168.1.20/24 -j DROPDelete iptables rules
The procedure to remove rules from iptables is quite similar to how you remove rules from the UFW firewall.
First, list the available rules in numbered manner:
sudo iptables -L --line-numbers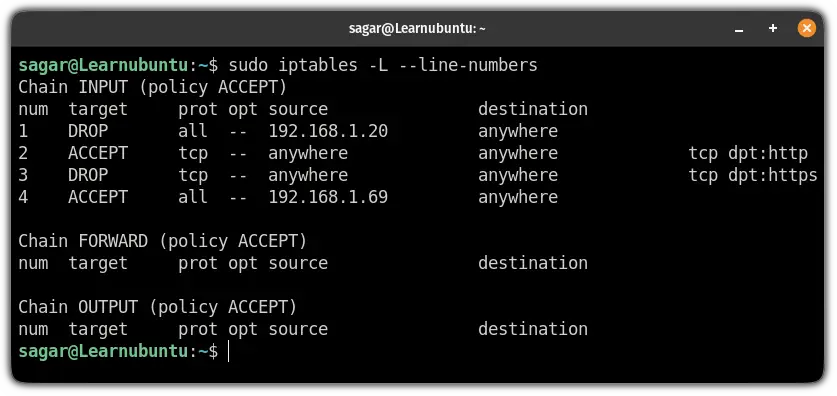
Once you know which one to remove, execute the command in the given fashion:
sudo iptables -D [INPUT/FORWARD/OUTPUT] [Number]Let's say I want to remove 4th rule, then I will be using the following command:
sudo iptables -D INPUT 4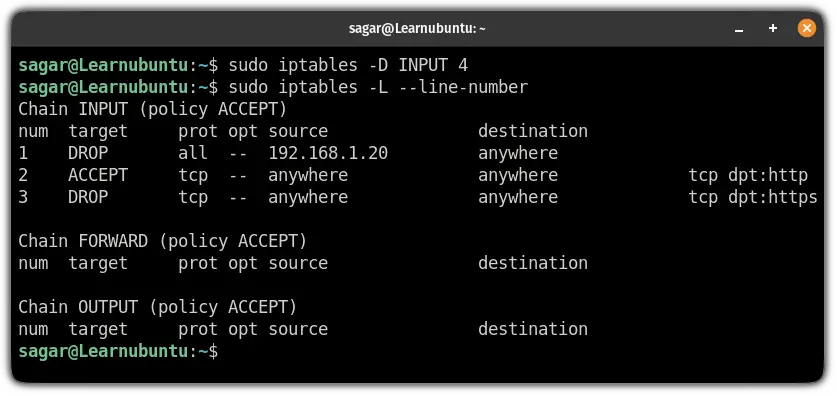
Save changes in iptables
In case you are wondering why you have to save changes, let me tell you why.
The iptables are saved in memory so when you reboot the system, the changes will be wiped down.
To save iptables in the current state, use the following command:
sudo /sbin/iptables-saveUsing UFW? Learn more about logging
If you love using UFW, we have a detailed guide on how you can get the most out of UFW using logs:

I hope you will find this guide helpful.
And if you have any queries, let me know in the comments.
A software engineer who loves to tinker with hardware till it gets crashed. While reviving my crashed system, you can find me reading literature, manga, or watering my plants.

