Install Kafka on Ubuntu
Installing Apache Kafka on Ubuntu could seem complicated but with a little patience, you can get it running happily.

Apache Kafka is a powerful tool that allows computers and applications to communicate with each other in the fastest and most reliable way.
Think of it as a highly organized messaging system that ensures specified information is delivered at the right time and in the right place.
But how would you install it?
I know the installation is a little lengthy but trust me, if you follow along without skipping any mentioned step, then, you'll be there in no time.
How to install Kafka on Ubuntu
Unlike other packages, Kafka is not available in the default repositories of Ubuntu, so the manual installation (installing from source) is the only option you have.
In this tutorial, I will walk you through the following:
- Installation of JDK
- Creating a new user for Kafka
- Downloading and extracting Kafka binaries
- Configuring Kafka server
- Creating unit files for Kafka and Zookeeper
So let's start with the first one.
Step 1: Install JDK for Kafka
Having JDK installed is the key prerequisite of Kafka.
To install JDK in Ubuntu, you can use the following command:
sudo apt install openjdk-11-jdkOnce done, you can check the installed version using the following:
java --version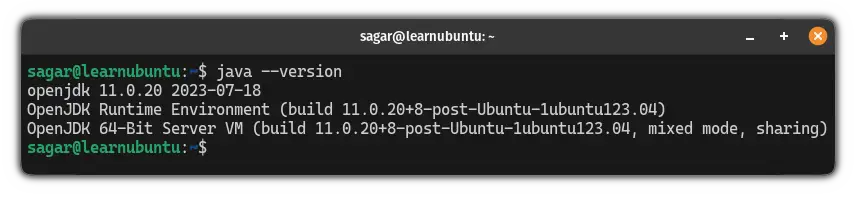
Step 2: Create a new user and switch to it
As Kafka can handle requests over the network, creating a new user and managing everything from that user would minimize the data compromise if something goes wrong.
Here, I'll be naming the new user kafka so it will be easy for you to manage things across the board.
To create a new user in Ubuntu, you can use the following:
sudo adduser kafkaIt will ask you to enter the password and the other information like full name is optional.
Once done, add the user to the sudo group:
sudo adduser kafka sudo
Finally, log in as a user kafka:
su -l kafkaFrom here on, make sure to perform every step while logged in as a user kafka.
Step 3: Download and extract Kafka binaries
First, let's create a directory to store the binaries:
mkdir ~/Downloads
Now, visit the official download page of Kafka and copy the link of the preferred version of Kafka binary:
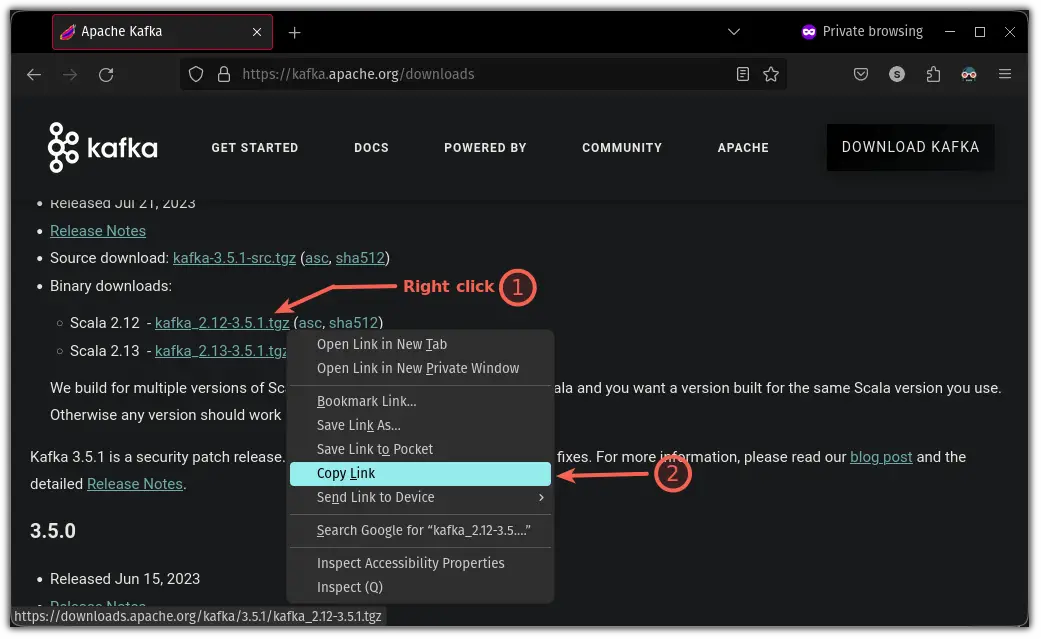
Now, paste the link in the following syntax:
curl "Link_to_Kafka_binaries" -o ~/Downloads/kafka.tgzIn my case, it was the Kafka version 3.5.1, so my link would look like this:
curl "https://downloads.apache.org/kafka/3.5.1/kafka_2.13-3.5.1.tgz" -o ~/Downloads/kafka.tgzWhat the above command would do is save the binary with a different name kafka.tgz inside the Downloads directory.
Create a new directory inside the home directory named kafka and change your directory to kafka using the following:
mkdir ~/kafka && cd ~/kafkaFinally, untar the archive using the following:
tar -xvzf ~/Downloads/kafka.tgz --strip 1In case you're curious, the --strip 1 flag was used to ensure that the archive is extracted inside the kafka directory.
Step 4: Configure Kafka to remove topics
By default, you can not remove the topic but that can easily be changed with a few tweaks in the config file.
First, open the config file using the following:
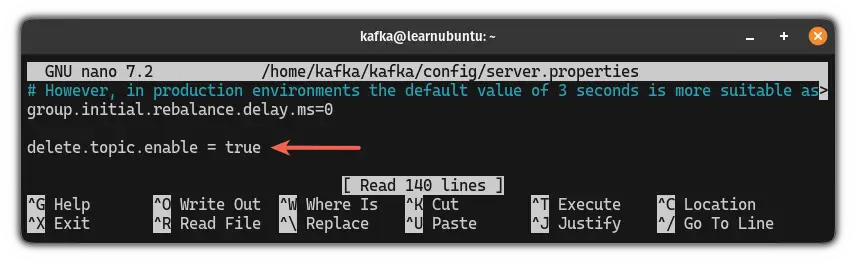
nano ~/kafka/config/server.propertiesGo to the end of the file in the nano text editor by pressing Alt + / and paste the following line:
delete.topic.enable = true
Once done, you are advised to change the log directory of Kafka.
To do so, press Ctrl + w and it will open the search prompt. Type log.dirs and press the Enter key, it will land you on the line /tmp/kafka-logs.
Change it to /home/kafka/logs:

Once done, save changes and exit from the nano text editor.
Step 5: Create unit files for Kafka and Zookeeper
In this step, I will show you how you can create a systemd init file for Kafka and Zookeeper (used to manage cluster state and config).
First, let's create a systemd service for Zookeeper. To do so, use the following command to create a new file:
sudo nano /etc/systemd/system/zookeeper.serviceAnd paste the following contents to the file:
[Unit]
Requires=network.target remote-fs.target
After=network.target remote-fs.target

[Service]
Type=simple
User=kafka
ExecStart=/home/kafka/kafka/bin/zookeeper-server-start.sh /home/kafka/kafka/config/zookeeper.properties
ExecStop=/home/kafka/kafka/bin/zookeeper-server-stop.sh
Restart=on-abnormal

[Install]
WantedBy=multi-user.target
Here, the first section [Unit] specifies that Zookeeper needs the networking and filesystem ready before it starts.
The second section [Service] instructs systemd to use the zookeeper-server-start.sh script to start and zookeeper-server-stop.sh to stop the service.
The last line WantedBy=multi-user.target ensures that the service will be started when you boot the system.
Now, let's create an init file for Kafka.
First, create and open the new file using the given command:
sudo nano /etc/systemd/system/kafka.serviceAnd paste the following to the new empty file:
[Unit]
Requires=zookeeper.service
After=zookeeper.service

[Service]
Type=simple
User=kafka
ExecStart=/bin/sh -c '/home/kafka/kafka/bin/kafka-server-start.sh /home/kafka/kafka/config/server.properties > /home/kafka/kafka/kafka.log 2>&1'
ExecStop=/home/kafka/kafka/bin/kafka-server-stop.sh
Restart=on-abnormal

[Install]
WantedBy=multi-user.target
The [Unit] part tells systemd that this unit file depends on zookeeper.service. Also, it will ensure that Zookeeper starts automatically along with Kafka.
The [Service] part is nothing but instructs which files to use to start and stop the Kafka service.
Once done, you can save the changes and exit from the nano text editor.
The moment of truth.
Start the Kafka service using the following command:
sudo systemctl start kafkaAnd check the status of the Kafka service. If everything is done right, it should be active and running:
sudo systemctl status kafka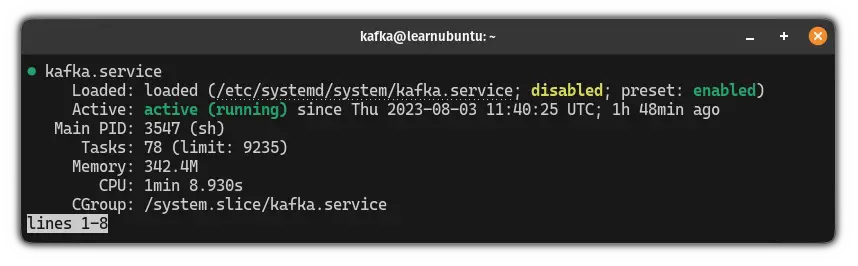
But if you reboot your system, it won't start the system automatically.
So to start the Zookeeper while the system boots up, use the following:
sudo systemctl enable zookeeper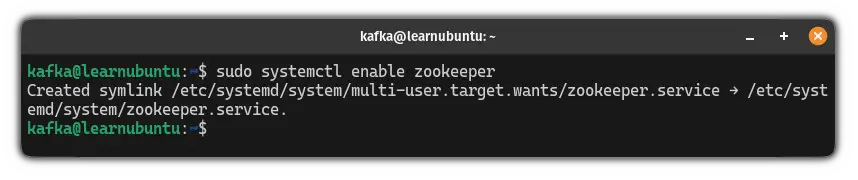
Similarly, to start Kafka automatically, use the following:
sudo systemctl enable kafka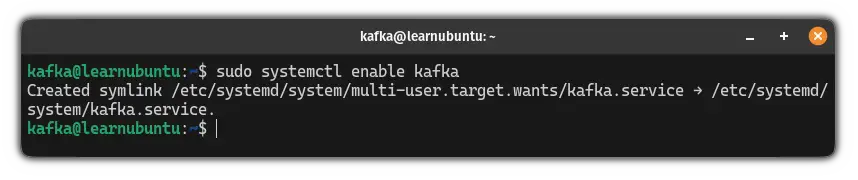
Step 6: Test Kafka Installation
In this section, I will send and receive messages using Kafka to make sure it works as it should.
To do so, you have to create a topic using the following command:
~/kafka/bin/kafka-topics.sh --create --bootstrap-server localhost:9092 --replication-factor 1 --partitions 1 --topic <Topic_name>For example, here, I created a topic named LU:
~/kafka/bin/kafka-topics.sh --create --bootstrap-server localhost:9092 --replication-factor 1 --partitions 1 --topic KafkaTest
Now, to send the message, you can use the echo command and pipe it to the kafka-console-producer.sh script as shown:
echo "Message here" | ~/kafka/bin/kafka-console-producer.sh --broker-list localhost:9092 --topic <Topic_name> > /dev/nulI went with a normal hello world message sent using a recently created topic:
echo "Hello World" | ~/kafka/bin/kafka-console-producer.sh --broker-list localhost:9092 --topic KafkaTest /dev/nul
But as you can see, it won't show you any output to see messages.
To see the sent messages, you have to use the use kafka as a consumer using the following command:
~/kafka/bin/kafka-console-consumer.sh --bootstrap-server localhost:9092 --topic <Topic_name> --from-beginningAnd if I enter my topic name, then, the command will look like this:
~/kafka/bin/kafka-console-consumer.sh --bootstrap-server localhost:9092 --topic KafkaTest --from-beginning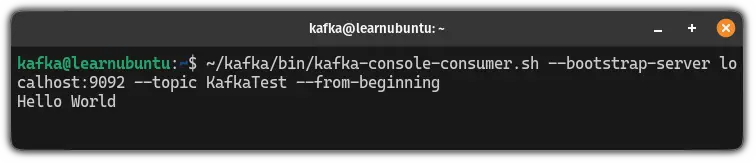
If you notice, the prompt will be active and is able to receive continuous messages so here's a small demo of how you can send and receive messages using Kafka:

Pretty cool. Right?
Wrapping Up...
This was a detailed guide on how you can install Kafka including basic configuration and creating systemd service to make things work.
I've tried this guide several times on a clean Ubuntu server installation and it has worked every time without any issues. I hope you get the same experience.
For more on Kafka, you can always refer to the official guide.


But I have a question. Why is your reason to use Kafka? Let me know in the comments.

A software engineer who loves to tinker with hardware till it gets crashed. While reviving my crashed system, you can find me reading literature, manga, or watering my plants.