5 Ways to Free up space on Ubuntu
Running out of disk space? Here are various ways to easily free up GBs of precious disk space on Ubuntu.

Linux servers are often given a small chunk of disk space and in most cases, it is sufficient. But over time, disk space gets consumed. You check the disk space and find yourself left with less than a GB or so.
The good thing is that you can employ a few tricks to free up space on Ubuntu. Do it regularly and you'll have a healthy system with decent free disk space.
In this guide, I will show you the following ways to free up space in Ubuntu:
- Remove dependencies that are no longer required
- Remove unnecessary utilities
- Clear apt-cache
- Remove older versions of snaps
- Delete duplicate files
1. Remove unnecessary dependencies packages
When you install a tool in your system, in most cases, it heavily relies on some other packages but once you uninstall that package, those dependencies will still be there.
And in most cases, those dependencies will be in hundreds of MBs or even GBs.
You list the unnecessary dependencies with total size using:
sudo apt autoremove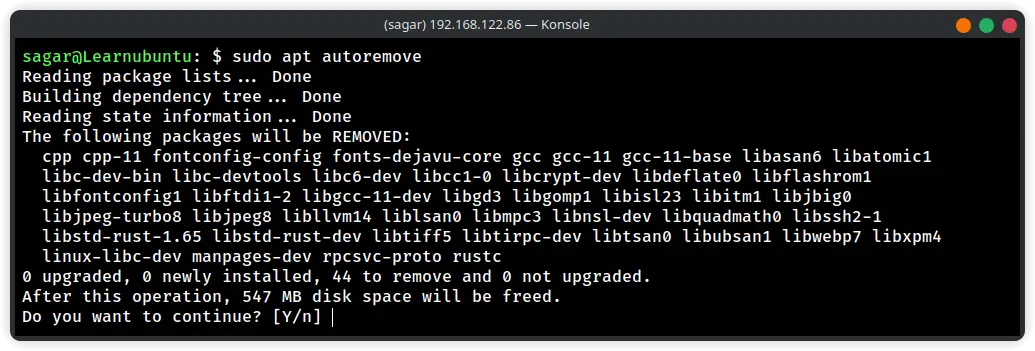
In my case, the size is around 547 MB and to remove it, all you have to do is hit enter as it will trigger the default option and in this case, its Y.
apt autoremove command also deleted older Linux kernel versions that are not needed anymore.2. Remove unnecessary packages
We often forget the packages that were installed and are no longer in use and will consume a large chunk of the disk.
Sure, you can use the apt-list, but it will list everything that came pre-installed too!
So in that case, you can use the apt-mark command in the following manner to list packages that were manually installed by the user:
apt-mark showmanual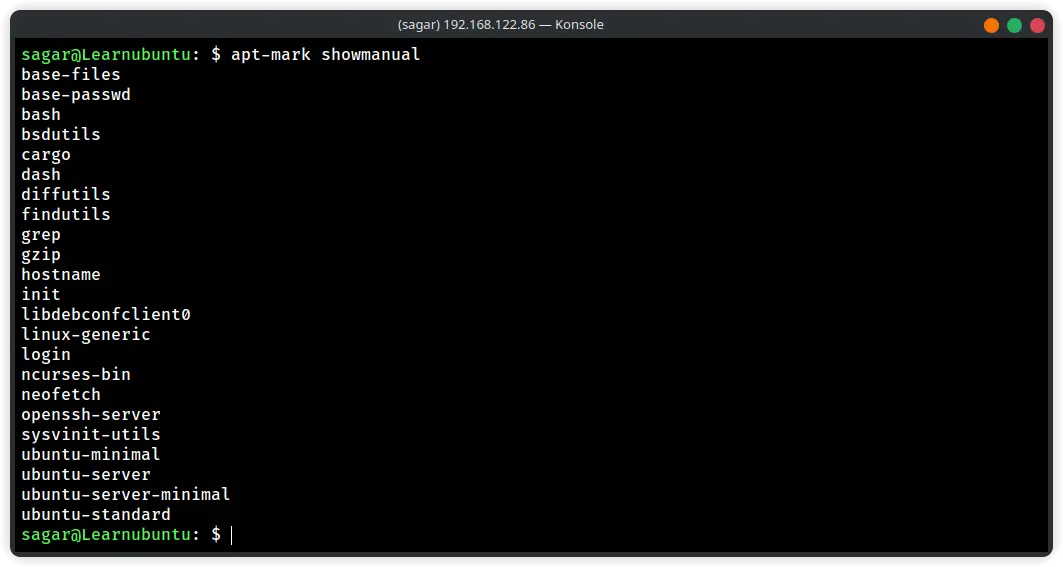
I do understand that some of the shown packages are not installed by the user but it includes all the packages installed by the user and the pre-installed packages can be ignored easily.
From here, you can remove packages using the apt remove command:
sudo apt remove <package-name>3. Clear systemd journal logs
The journal logs of the systemd contain various kinds of information such as logging data, log messages, standard input, output errors, and a lot more.
And over time, these logs can take a large amount of data. To check how much space is taken by systemd logs, you can use the following command:
journalctl --disk-usageIn my case, it was around 1.8GB:
sagar@Learnubuntu:~$ journalctl --disk-usage
Archived and active journals take up 1.8G in the file system.
I would recommend clearing logs older than 3 days using the following:
sudo journalctl --vacuum-time=3dAnd that should do the job!
4. Remove previous versions of snap packages
In case you don't know, snap by default, keeps two previous versions as if something wrong happens, you can roll back to the previous version.
But snaps take up a lot of space! And when combined with the previous iterations, the number gets bigger.
To check how much space is occupied by the snaps, you can use the du command as shown:
du -h /var/lib/snapd/snapsIn my case, it was around 5 GB!!
To remove the previous versions, you can use the script developed by Alan Pope who himself is a part of the Snapcraft team at Canonical.
First, create and open a file named Free_snaps.sh using the following:
nano Free_snaps.shAnd paste the following:
#!/bin/bash
# Removes old revisions of snaps
# CLOSE ALL SNAPS BEFORE RUNNING THIS
set -eu
snap list --all | awk '/disabled/{print $1, $3}' |
    while read snapname revision; do
        snap remove "$snapname" --revision="$revision"
    done
Save changes and exit from the nano text editor.
Next, make the script executable using the chmod command:
chmod +x Free_snaps.shAnd finally, execute the script:
./Free_snaps.shWhen I checked again, it removed packages worth 2.5GB:
sagar@Learnubuntu:~$ du -h /var/lib/snapd/snaps
4.0K    /var/lib/snapd/snaps/partial
2.5G    /var/lib/snapd/snaps
5. Clear apt cache
Your package manager for Ubuntu (Apt) also stores cache to make your experience better.
But if left as it is, it may consume more storage space than your usual packages do.
And you can find the size of the cache using the following:
sudo du -sh /var/cache/aptIn my case, the size was around 500 MB and that's a huge number!
To clear the cache, all you have to do is use the following command:
sudo apt clean6. Delete duplicate files
To delete duplicate files, I will be using a simple tool called fdupes. But it does not come pre-installed in Ubuntu and you'd have to use the following command for installation:
sudo apt install fdupesOnce done, you can use it in the following manner:
fdupes /path/to/folderFor example, here, I used it over the Text directory:
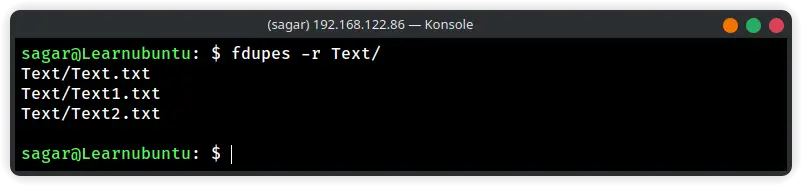
As you can see, there are 3 duplicate files.
Once you find out duplicate files, you can remove them using the rm command as shown:
rm FilenameFinally, check the disk space
Once you use shown methods, you can use the df command to check the disk space.
And here's detailed guide to use the df command in Ubuntu:

I hope this guide has helped you to free the disk space.